
2. Language, Signup, and Bluetooth
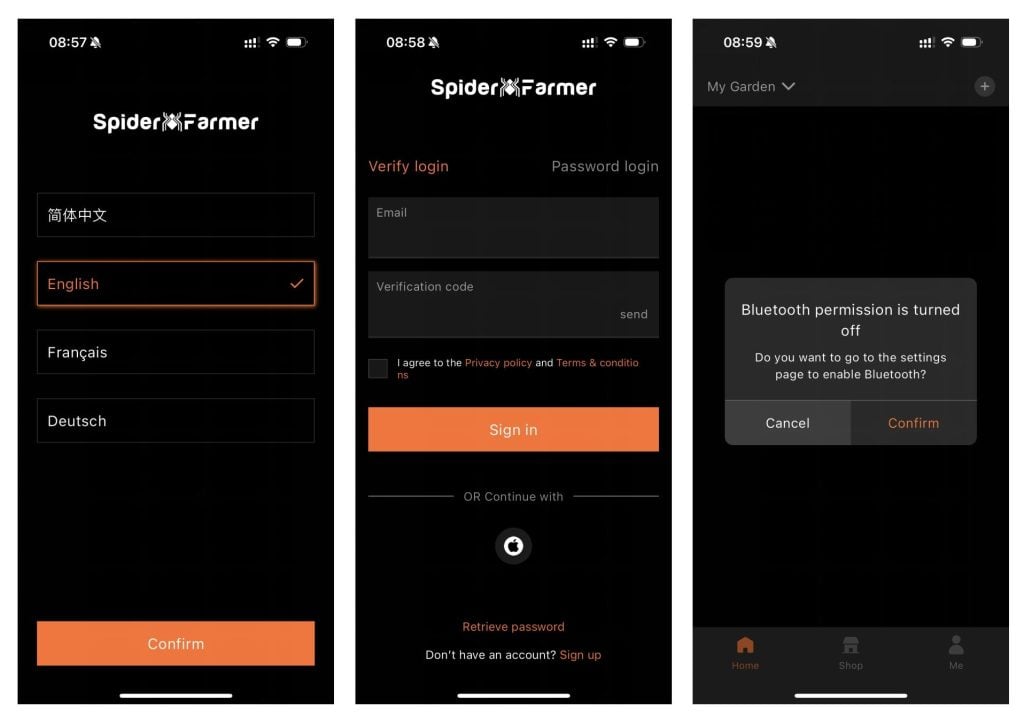
Once you open the app, pick your language and sign up with your email. The app will then ask you to turn on Bluetooth.
3. Finding and Identifying Your Spider Farmer Devices
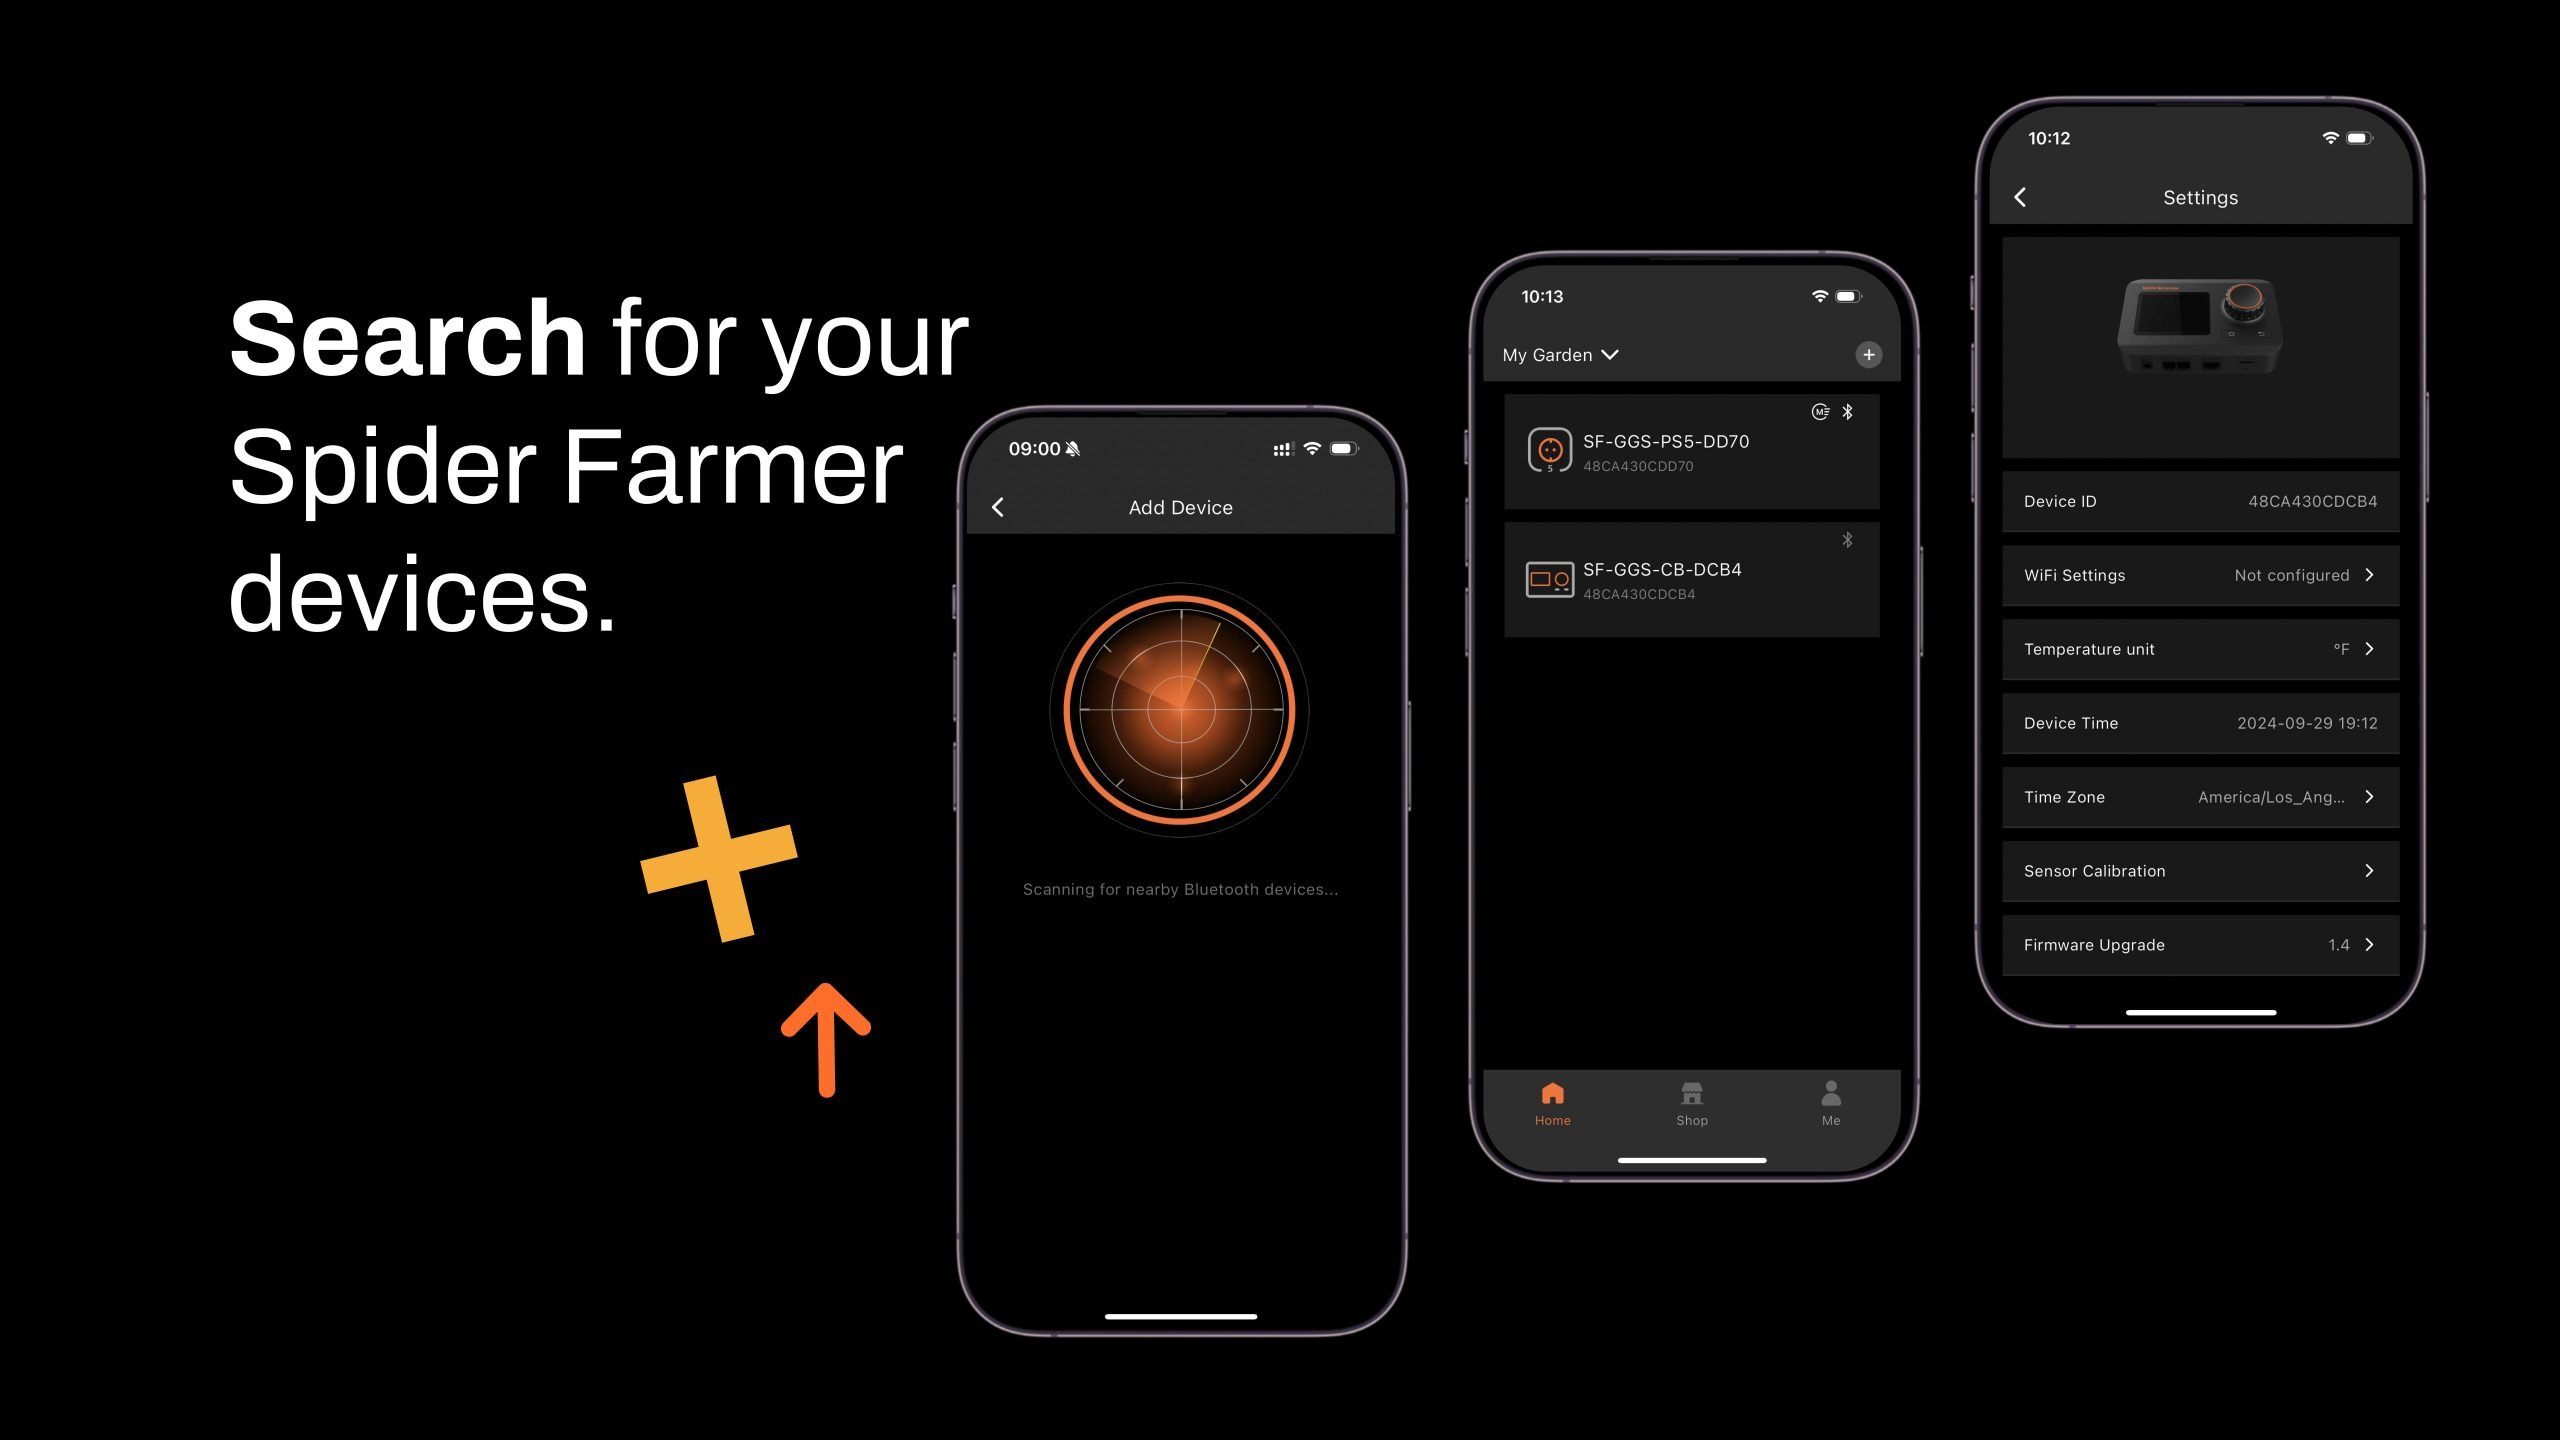
3.1 Starting Device Search
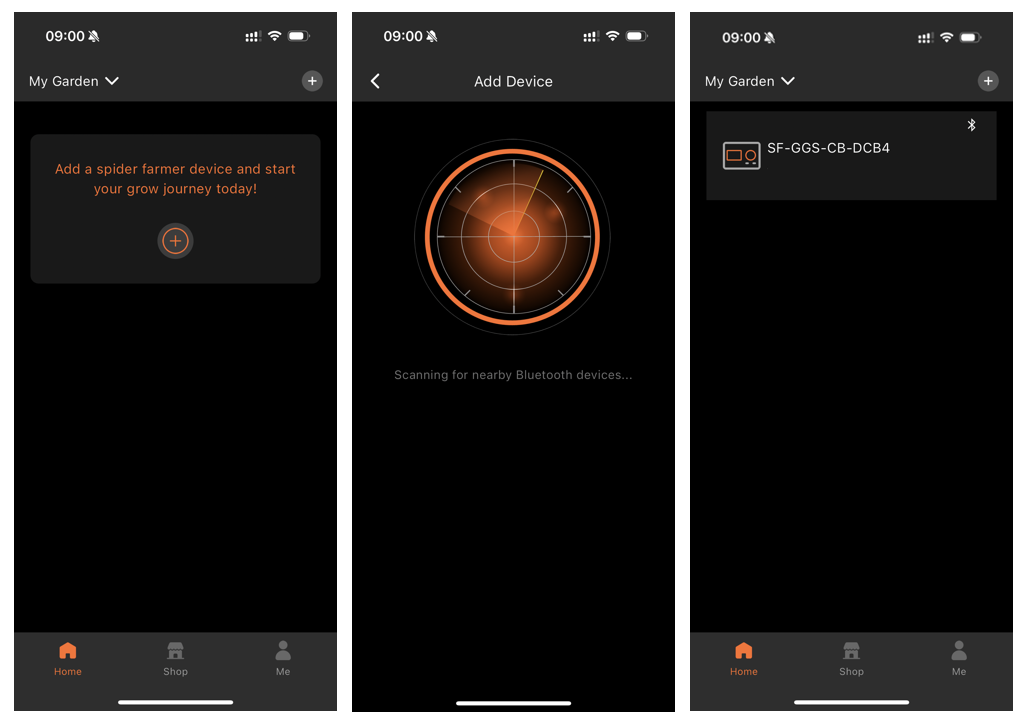
- Tap the plus icon to begin searching for nearby Spider Farmer devices.
- Detected devices will appear in the app, and you can identify them by their icons.
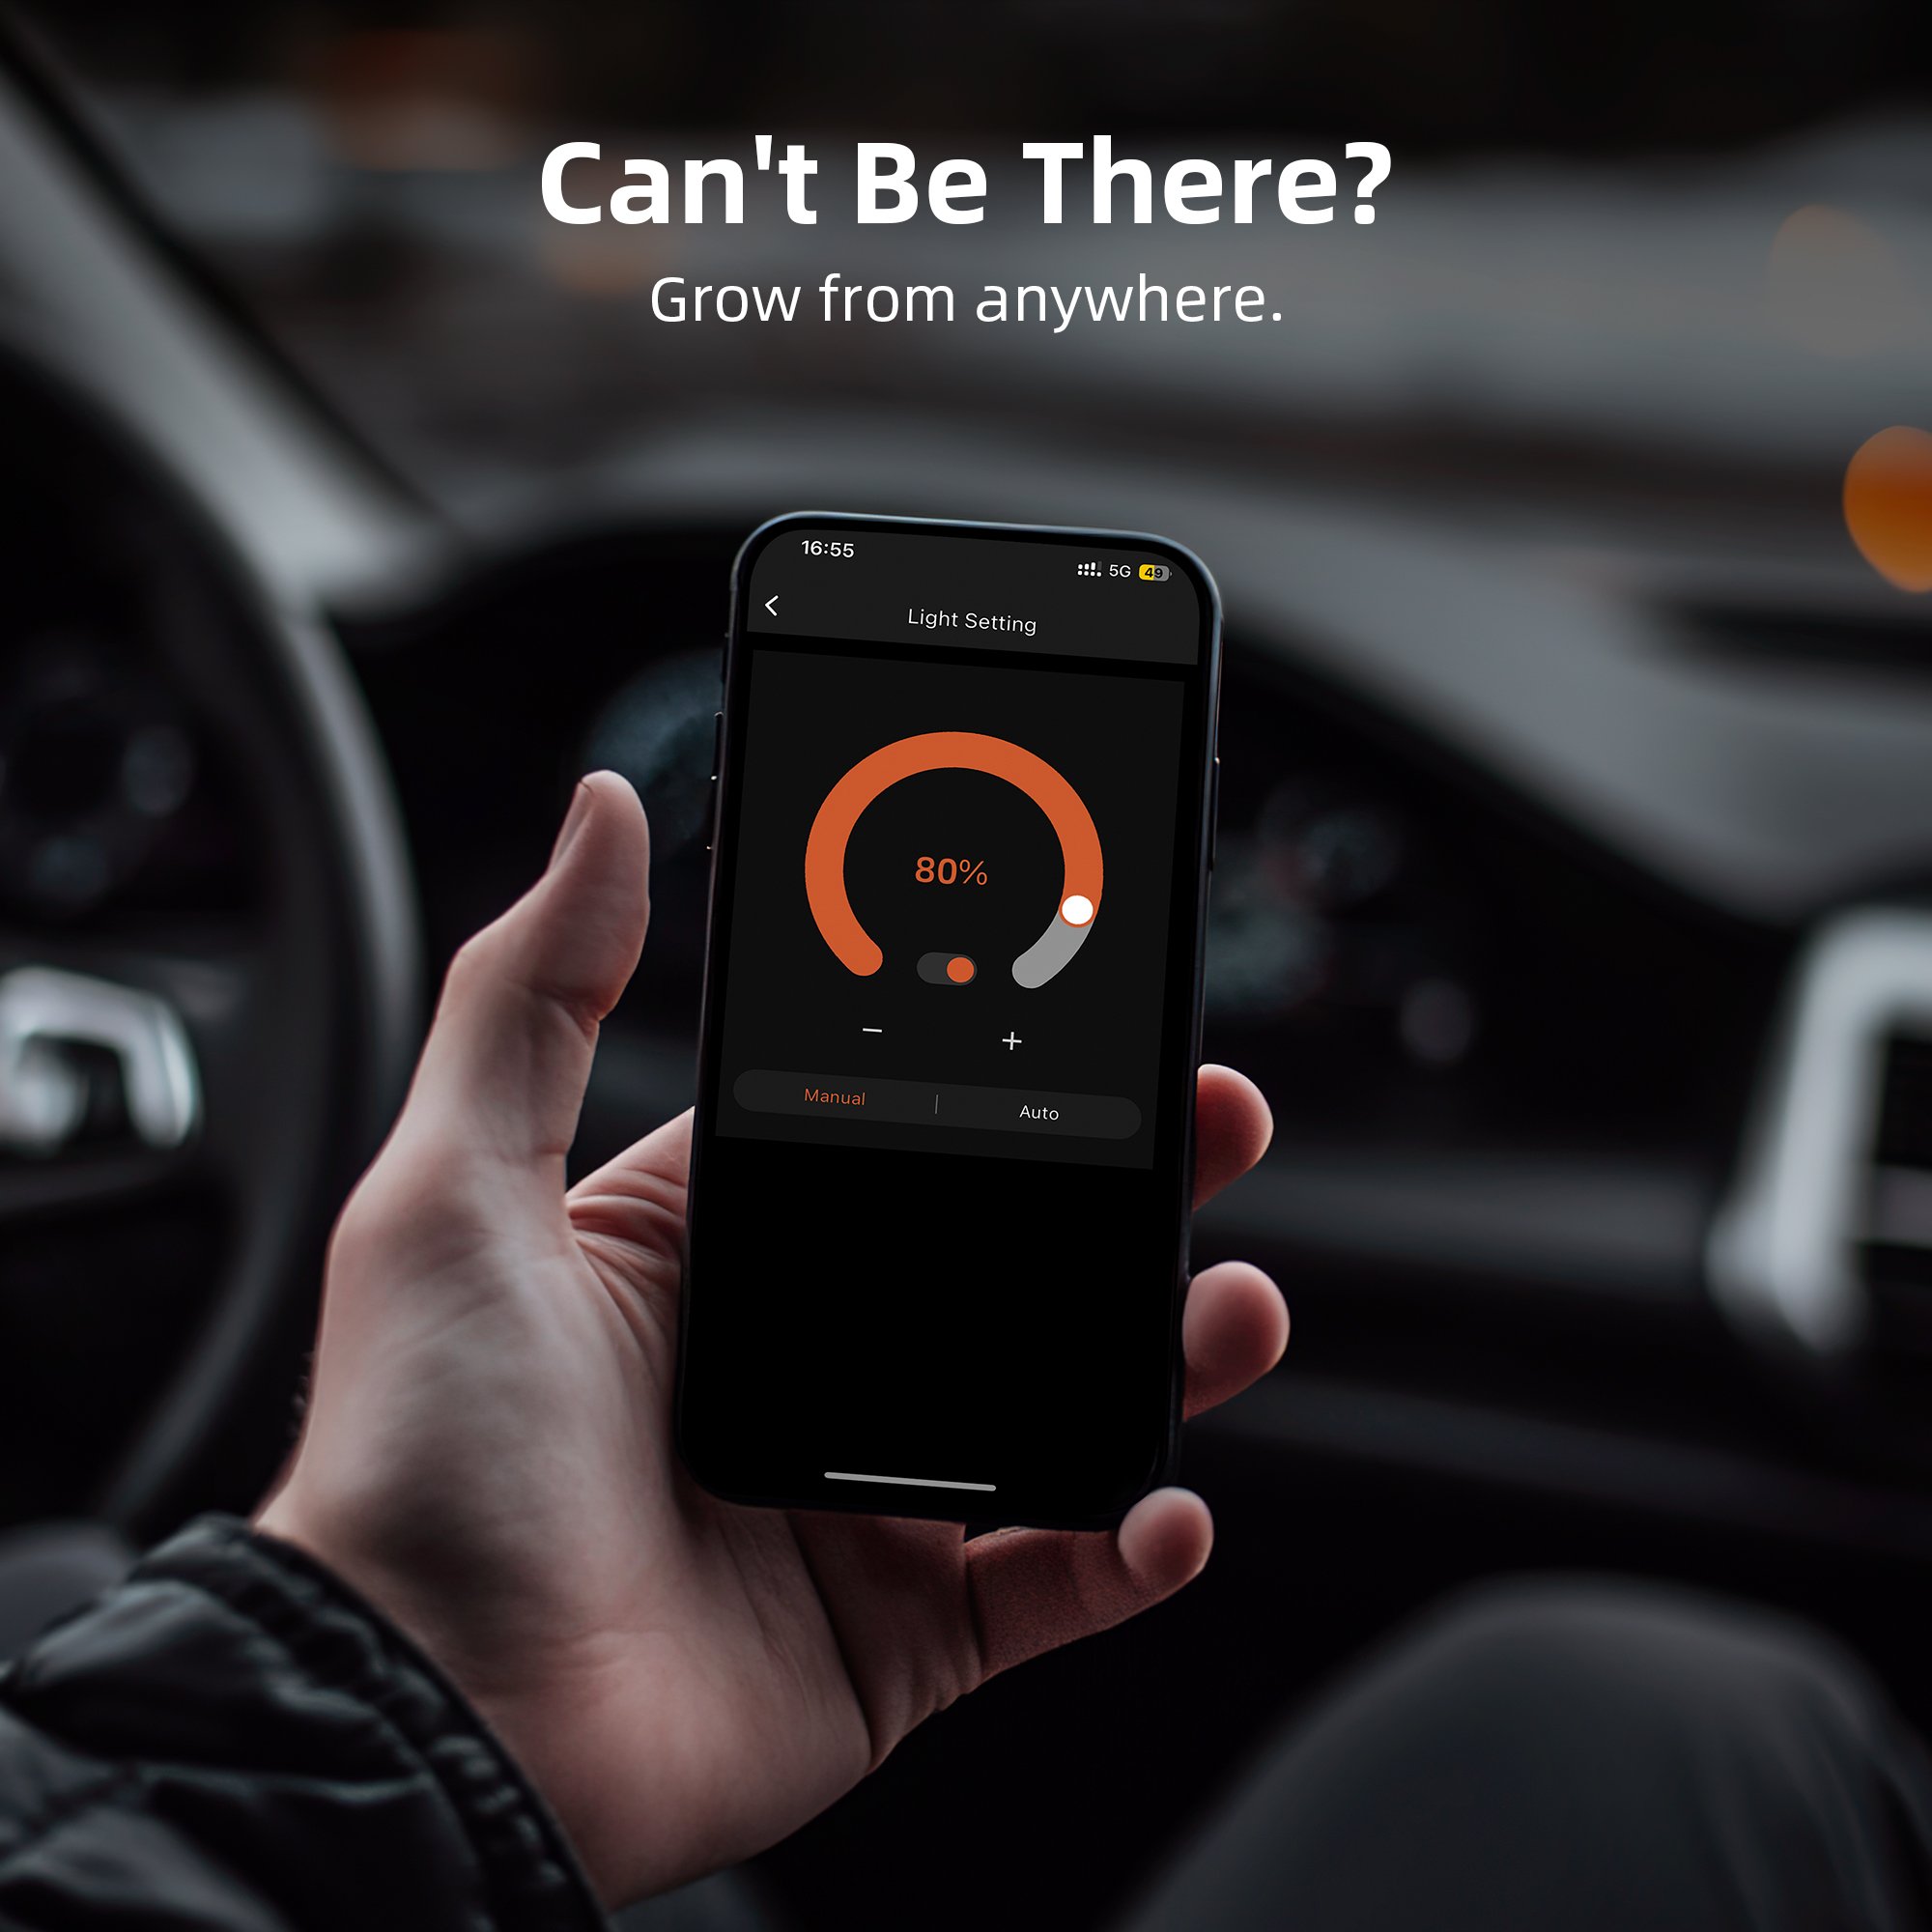
3.2 Troubleshooting Device Discovery
If you can't locate your device, try the following steps based on the device type:
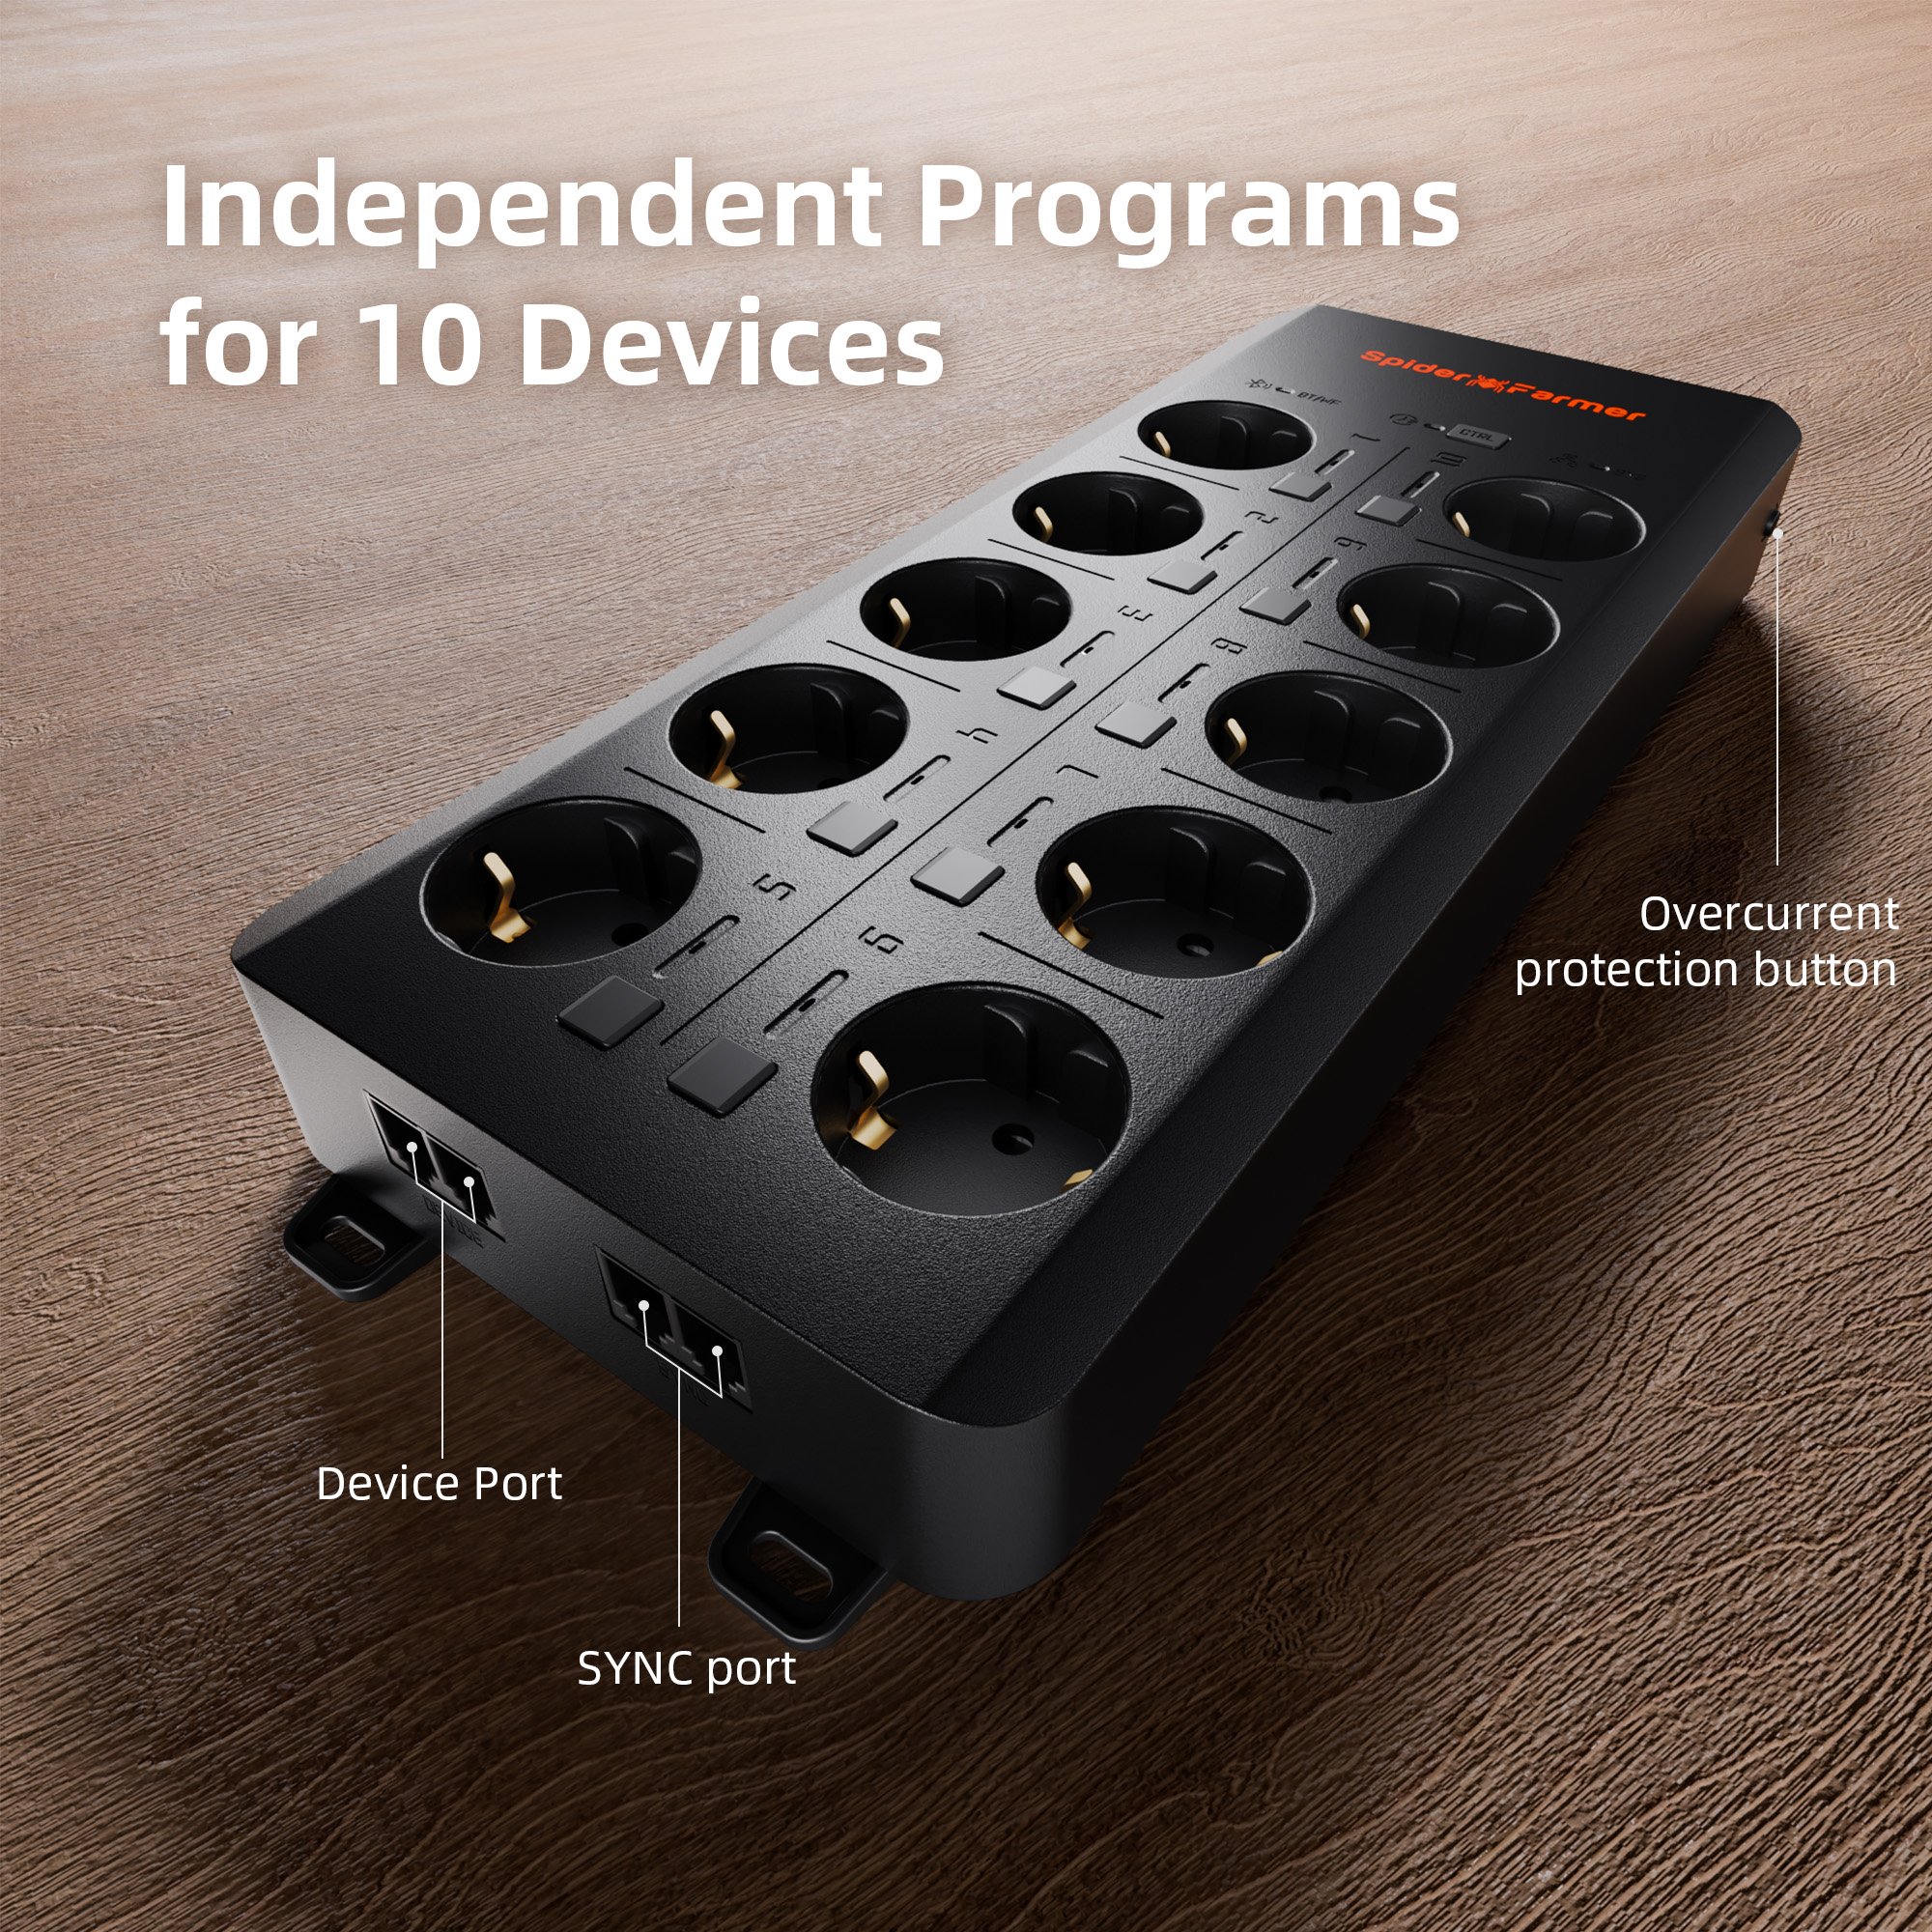
- If you have a Spider Farmer AC5/AC10 Power Strip: Press and hold the Ctrl button for 3 seconds to reset Bluetooth.
- If you have an LED Grow Light with a Digital Display: Press and hold the knob for 3 seconds, then release to restore factory settings.
- If you have a Spider Farmer GGS Controller: Select “Restore Factory Settings” from the interface.
Note: Restoring factory settings will delete all automation schedules and user connections.
3.3 Setting Up the SF-GGS-AC10 Kit
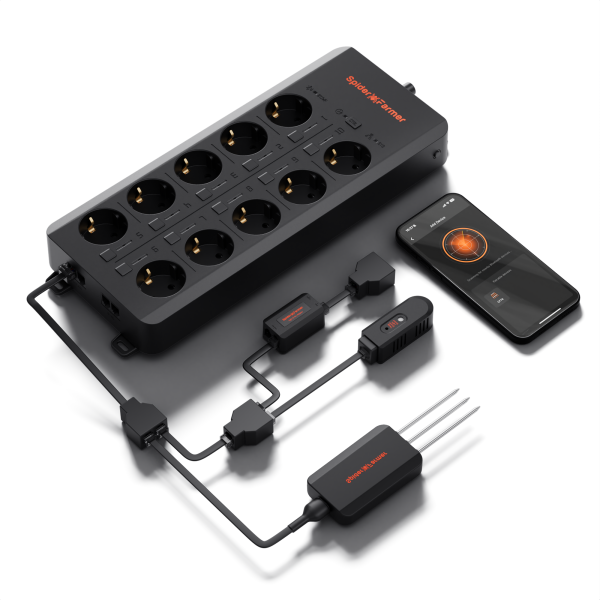
If you’ve purchased the SF-GGS-AC10 Kit, follow these steps:
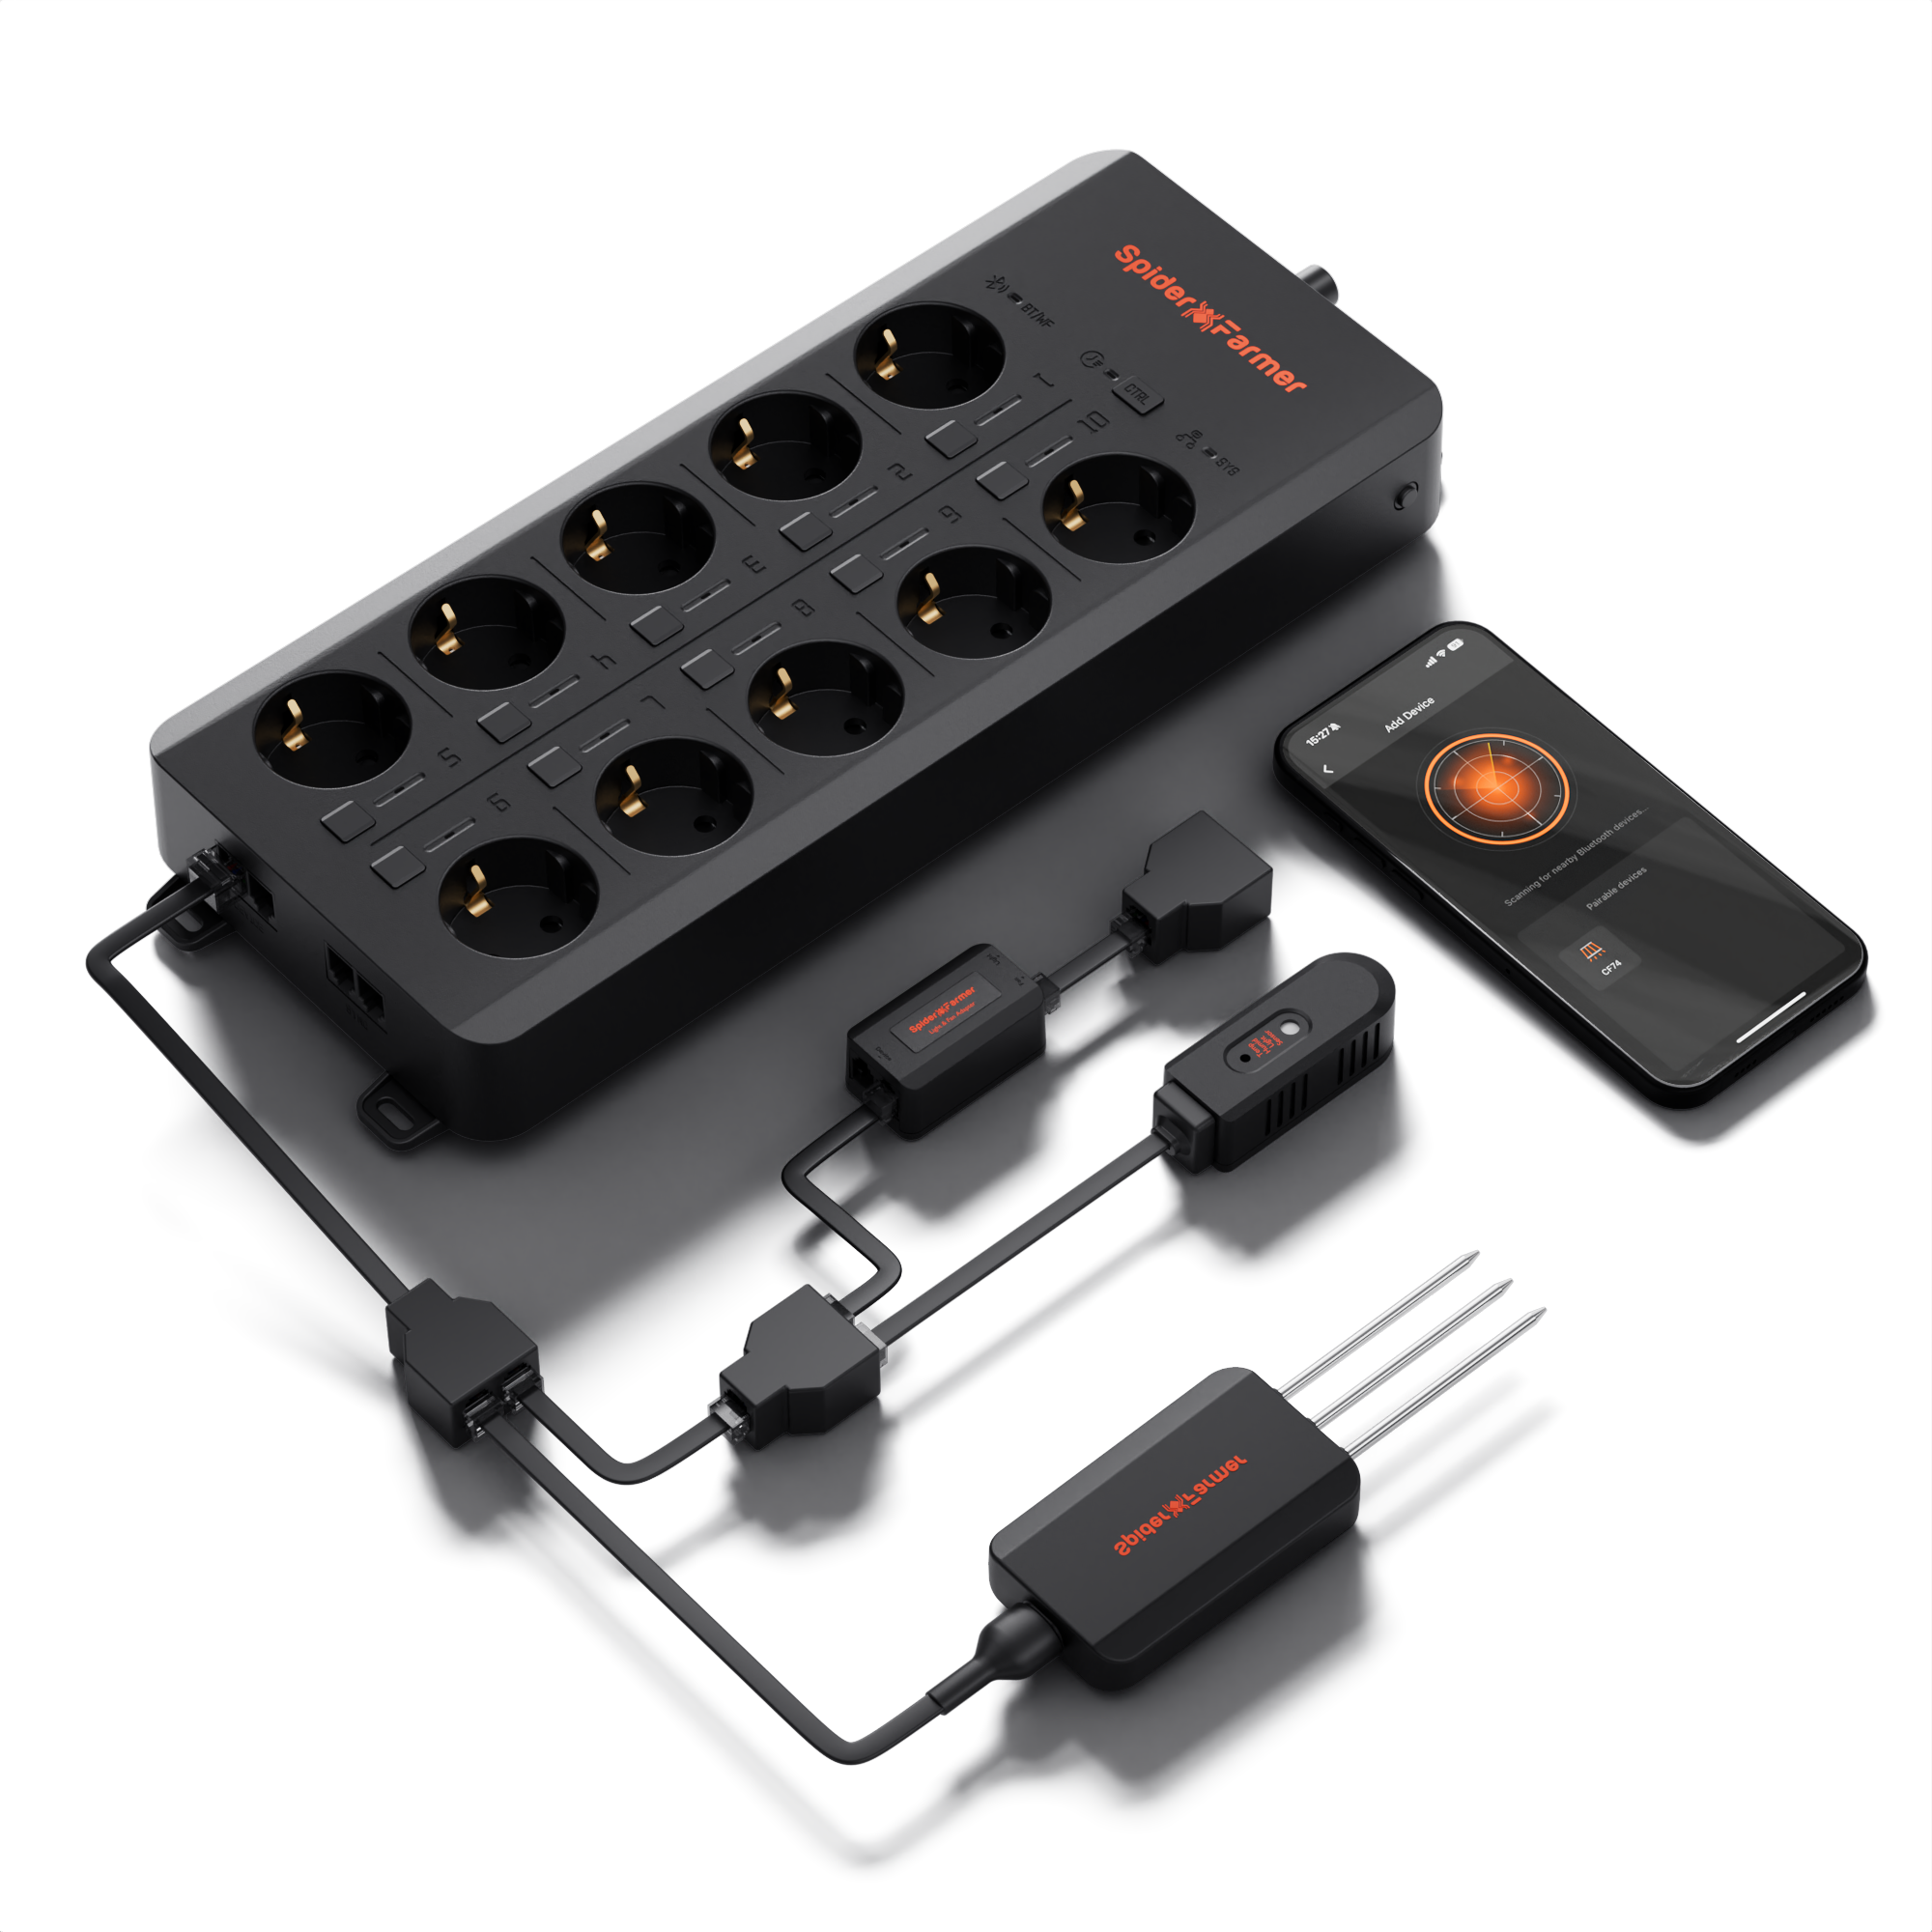
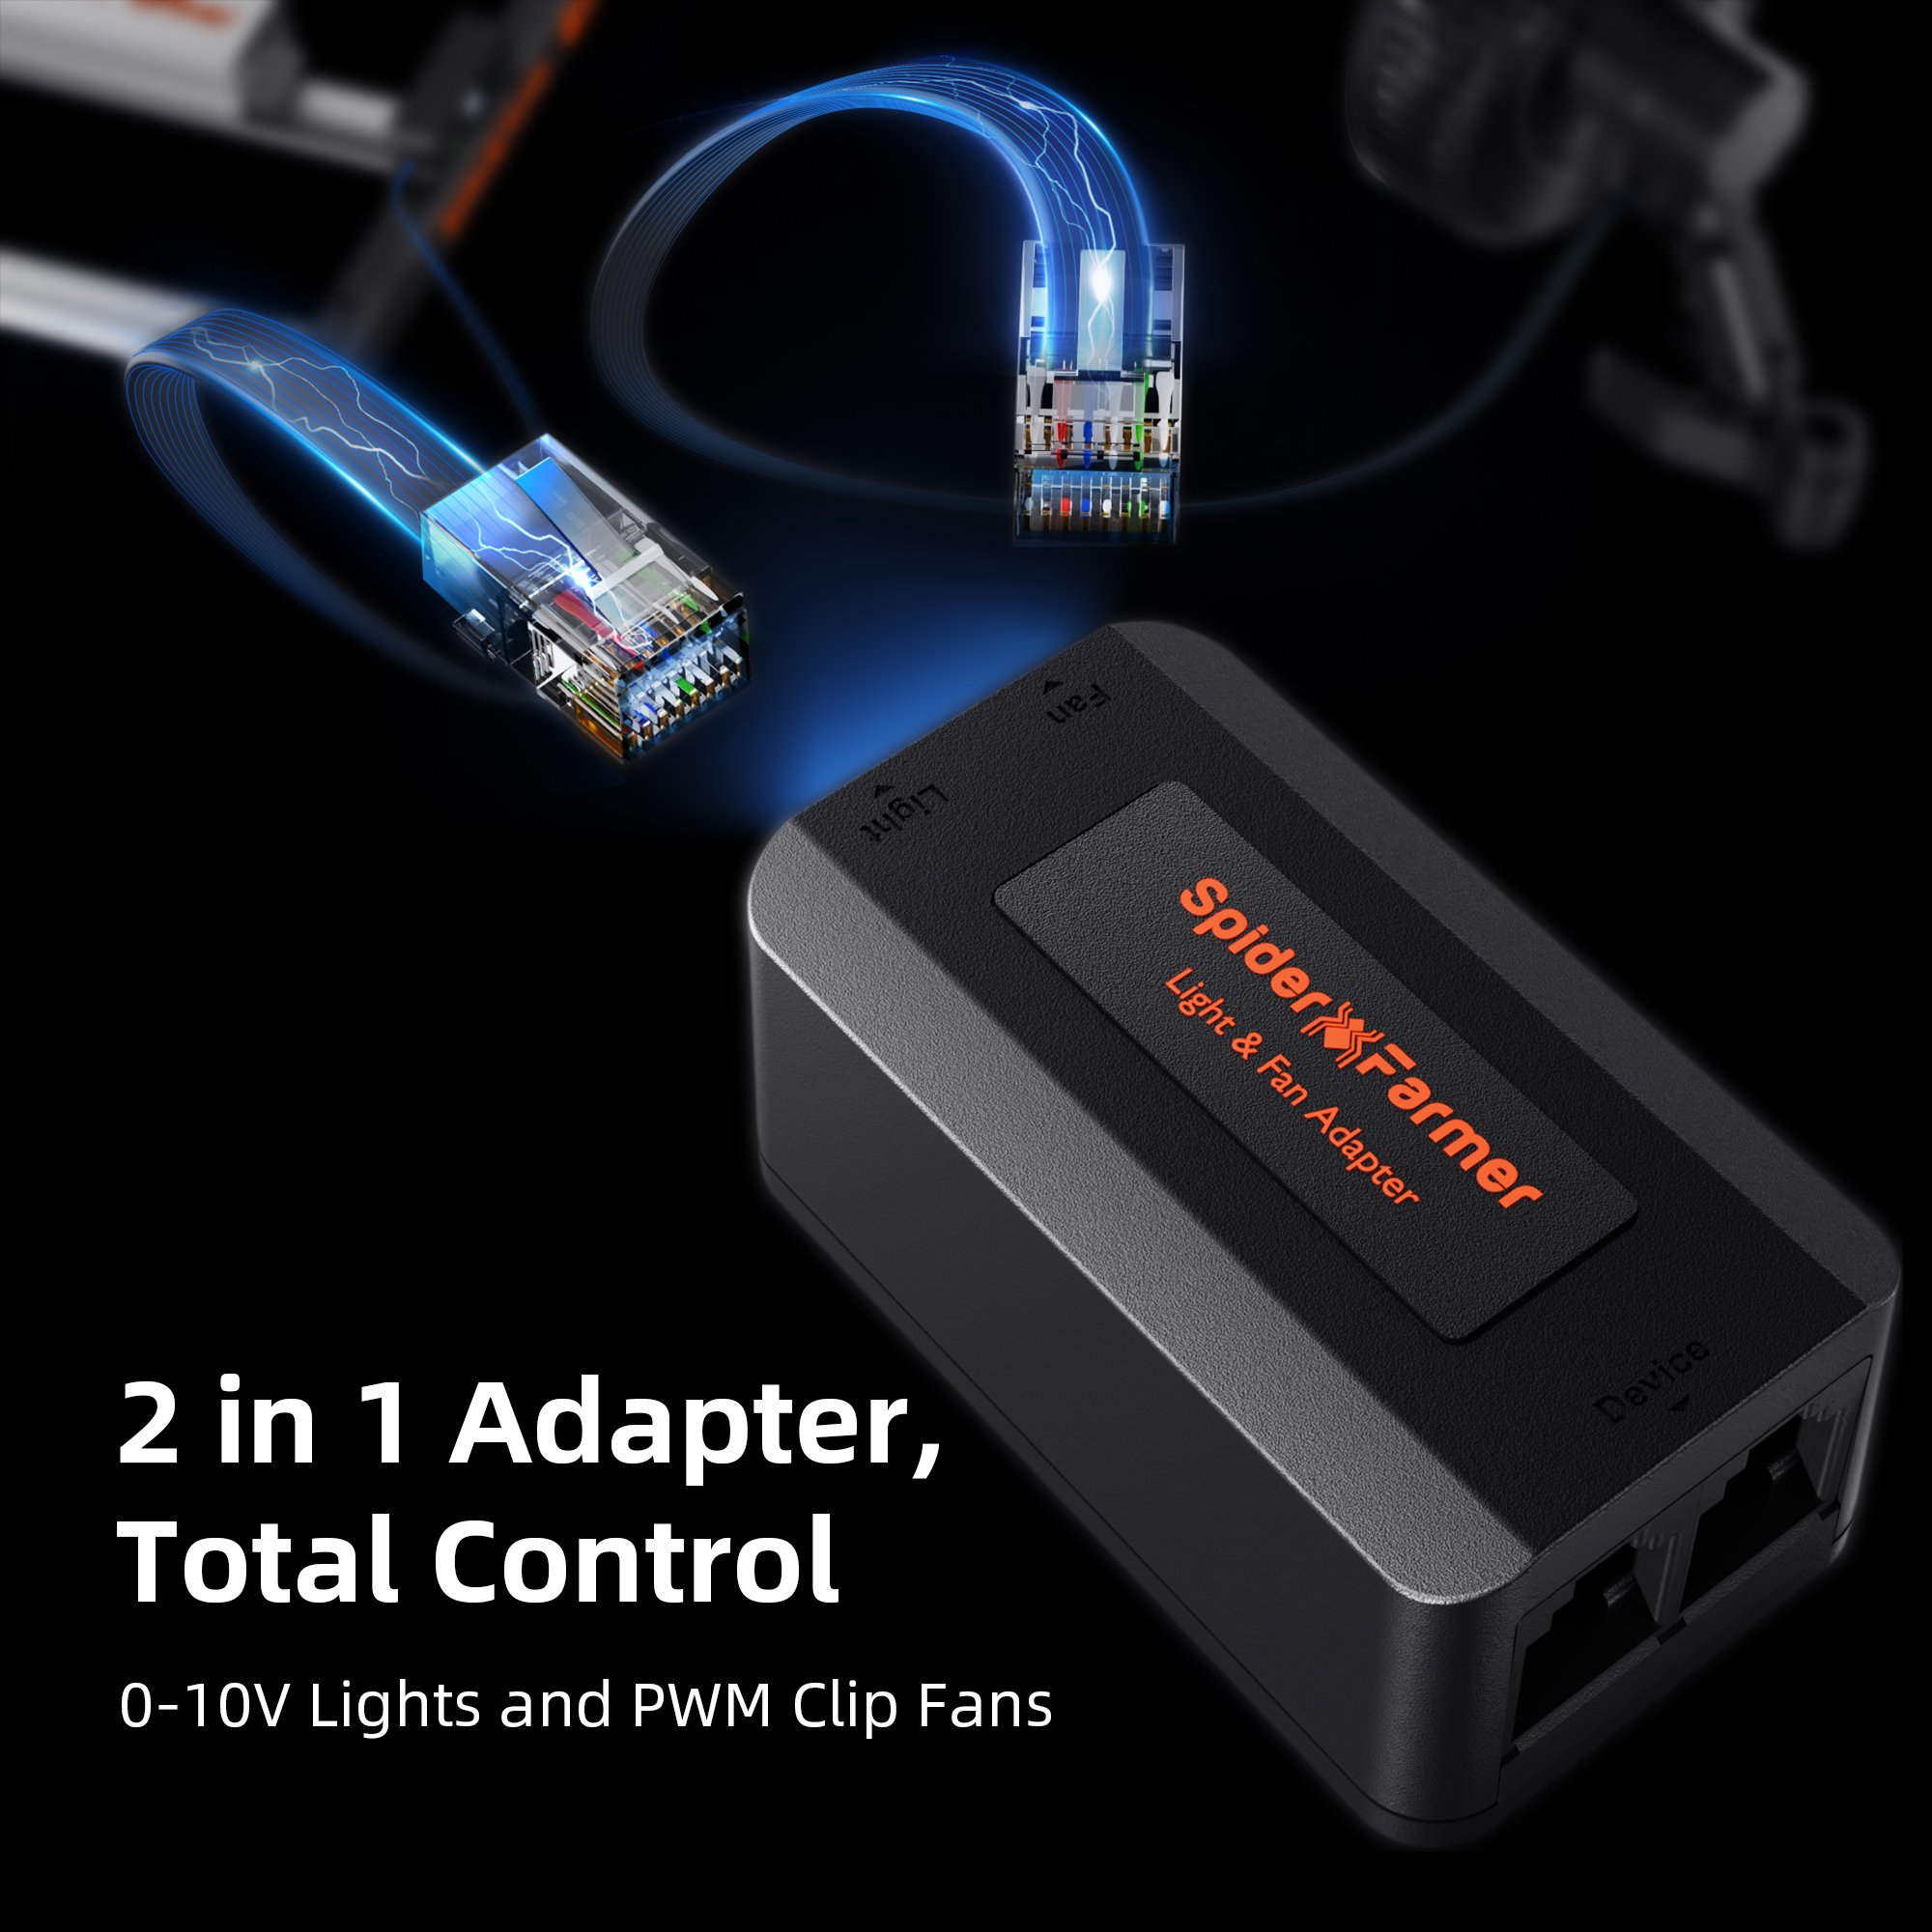
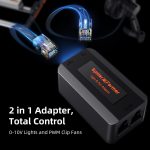
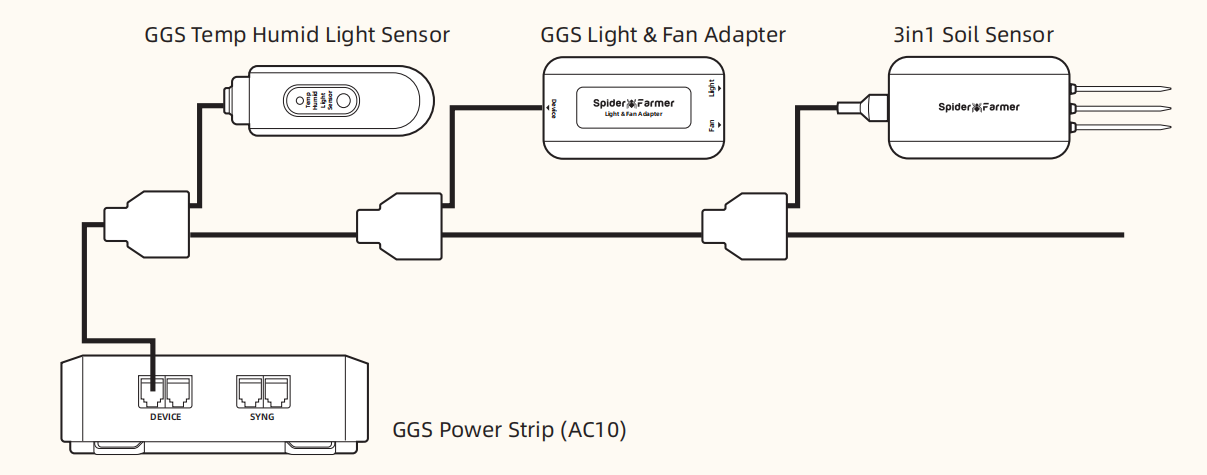
- Use the RJ12 cable to connect devices according to the provided diagram. (If you need to control the LED grow light, the GGS 2-in-1 adapter (included in this kit) is required. You’ll need to plug the light into the “light” port on the adapter.)
- Ensure all devices are plugged into a power source, as the RJ12 cable does not provide power. The sensor only requires the RJ12 connection.
- Open the app, search for your devices, and tap the Power Strip icon to start the setup.
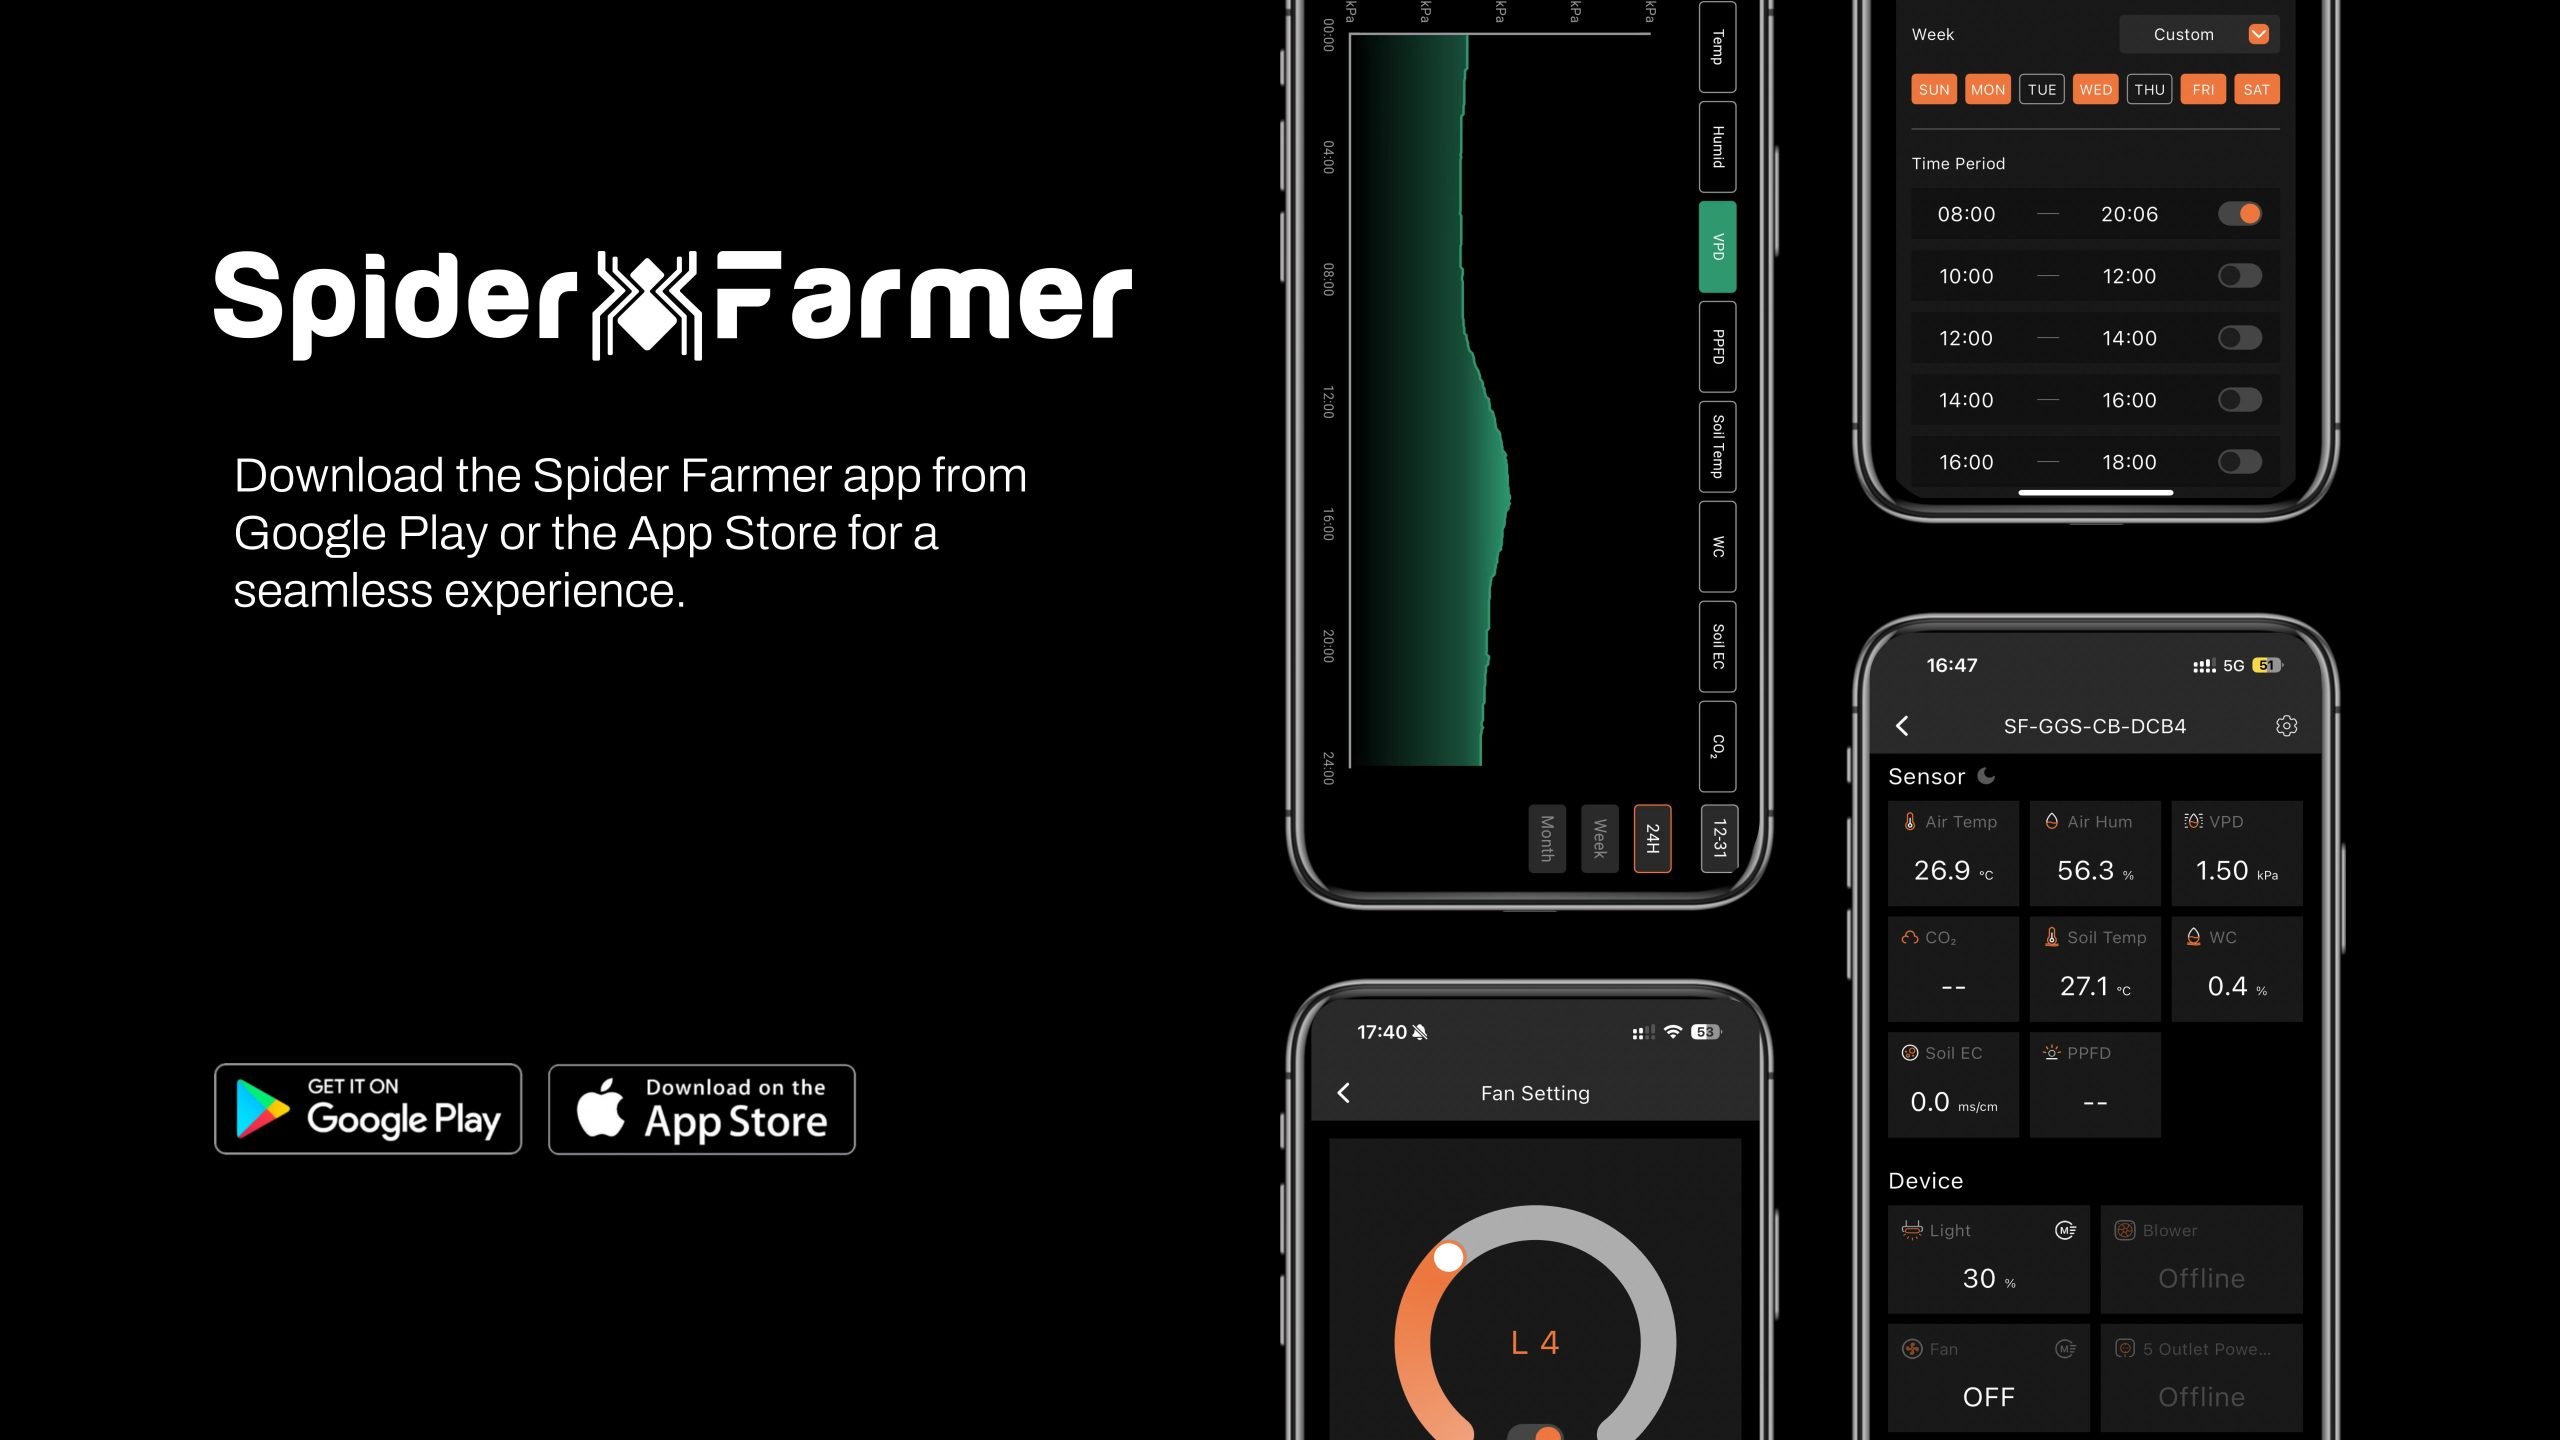
4. What Data Can You View on the Spider Farmer App?
4.1 Time Display:
Quickly check the current date and time in your grow room with ease.
4.2 Day/Night Icon:
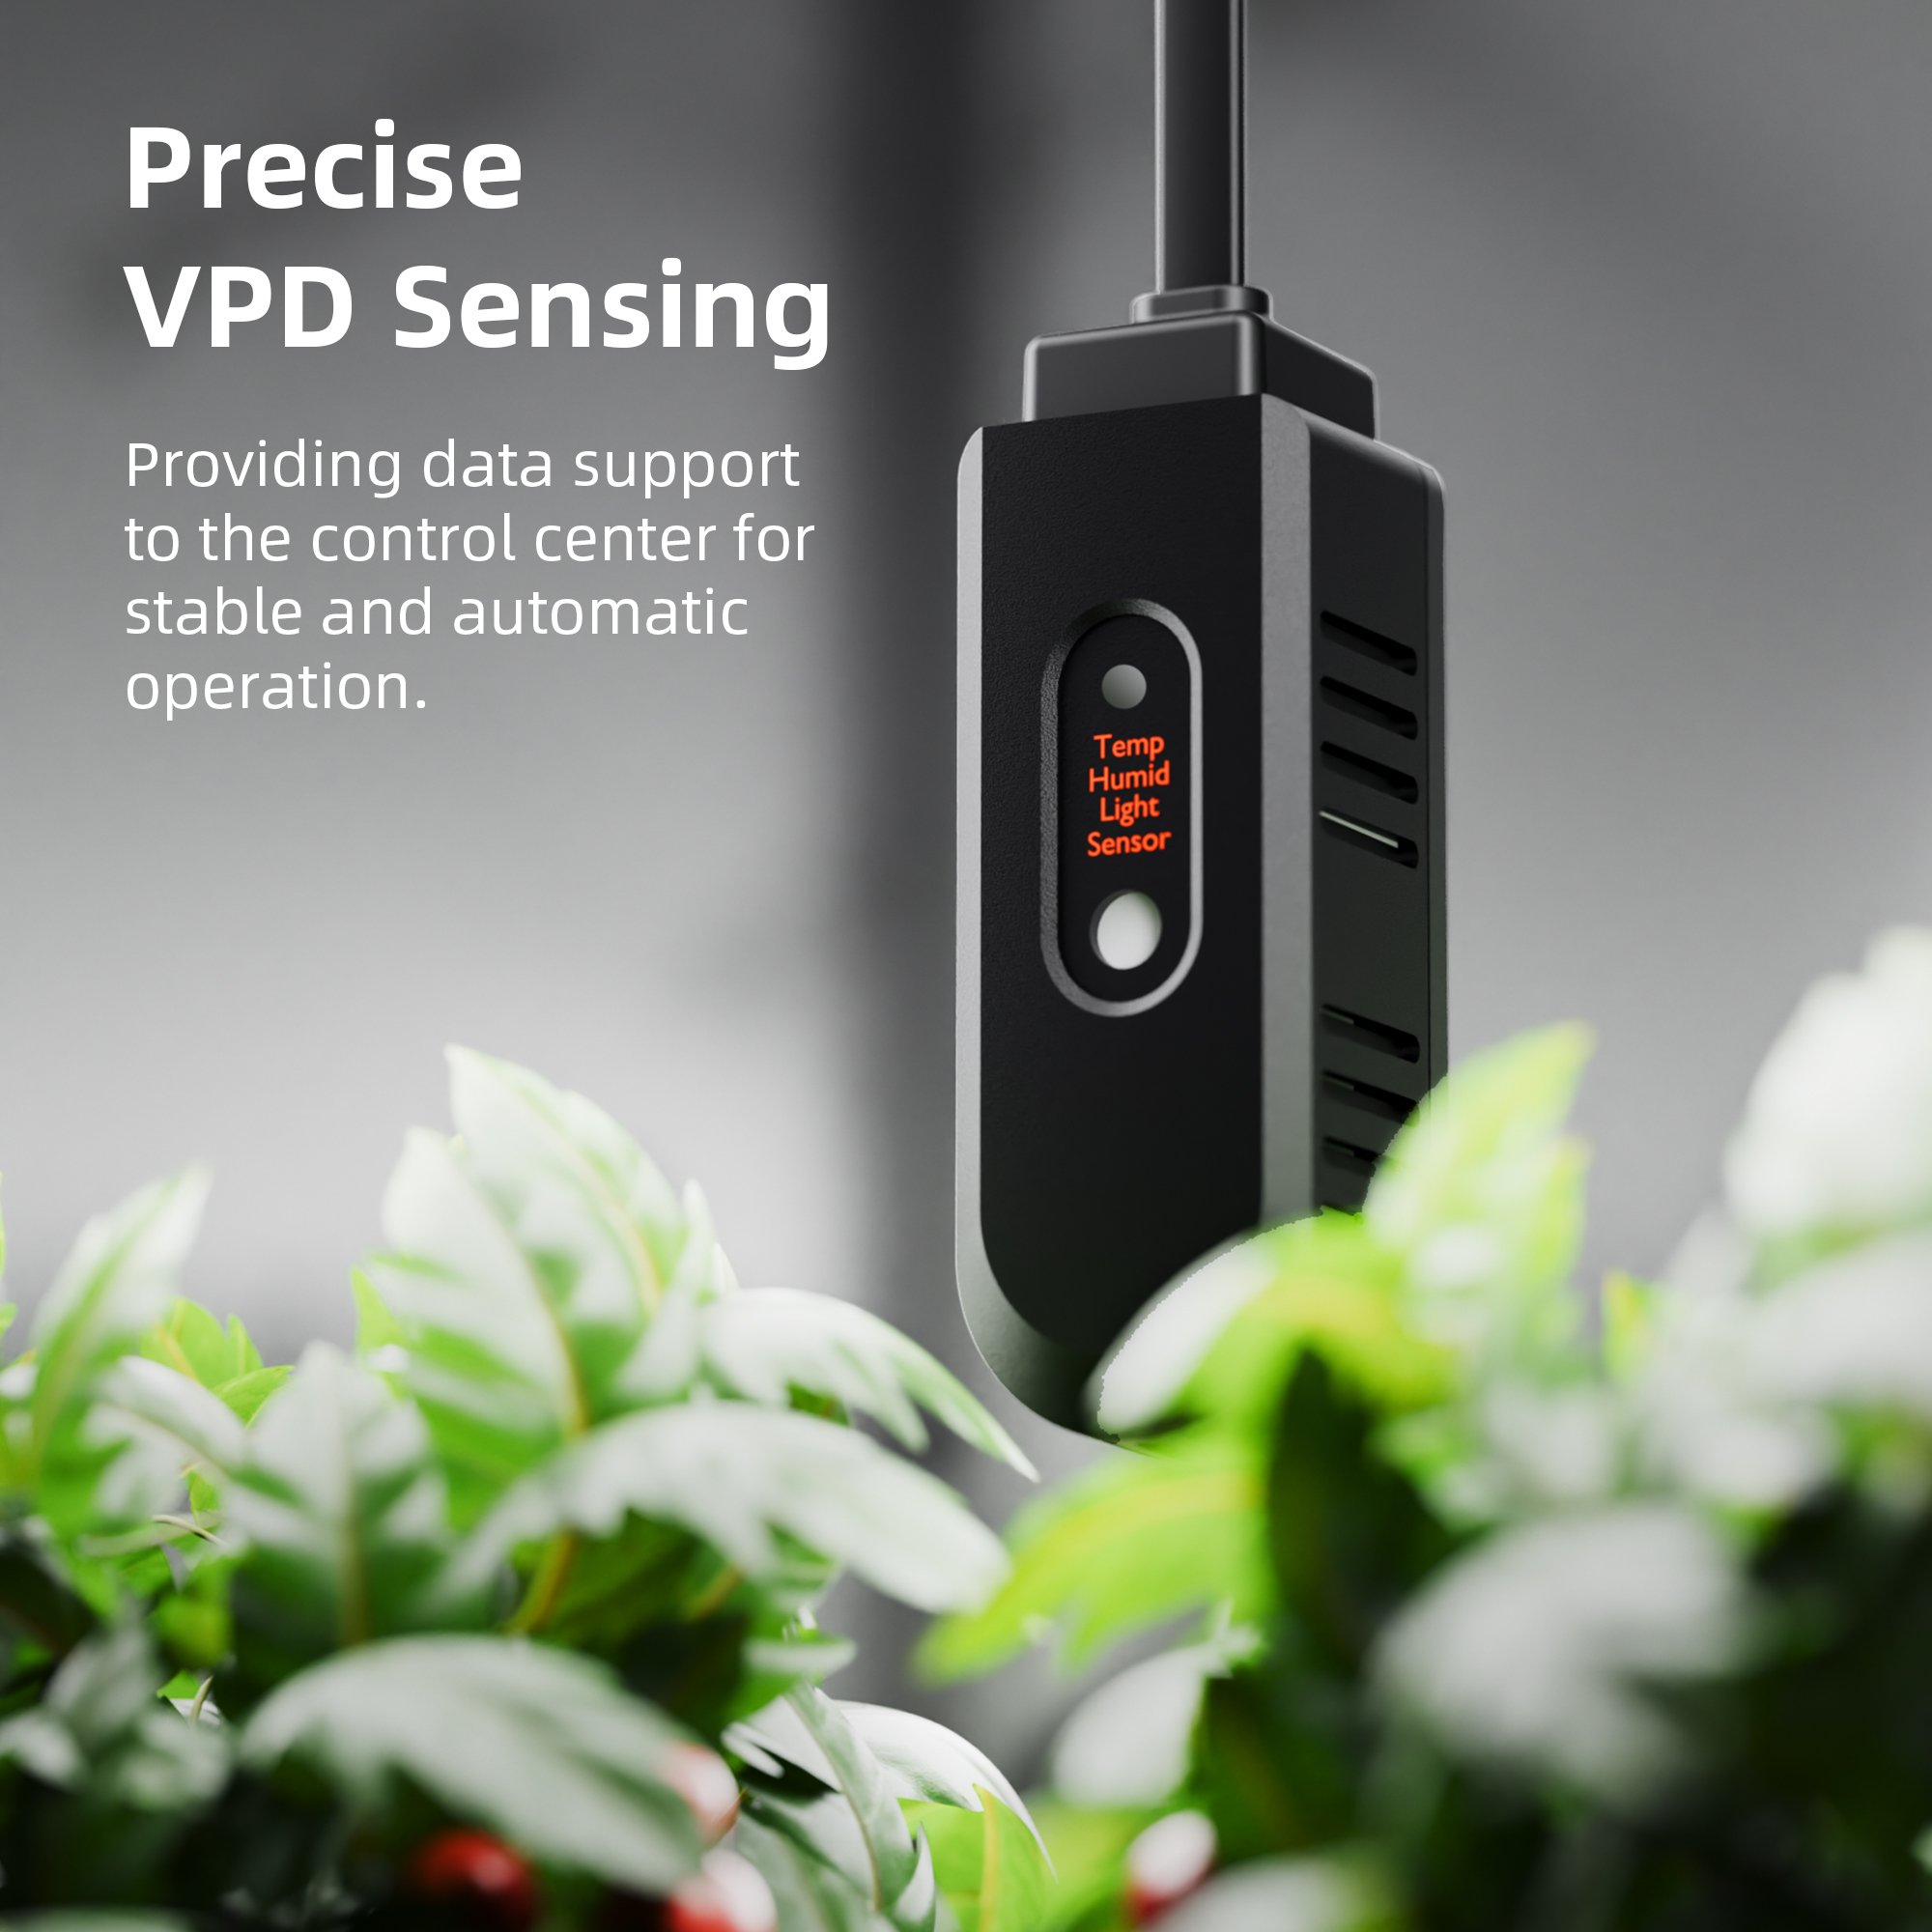
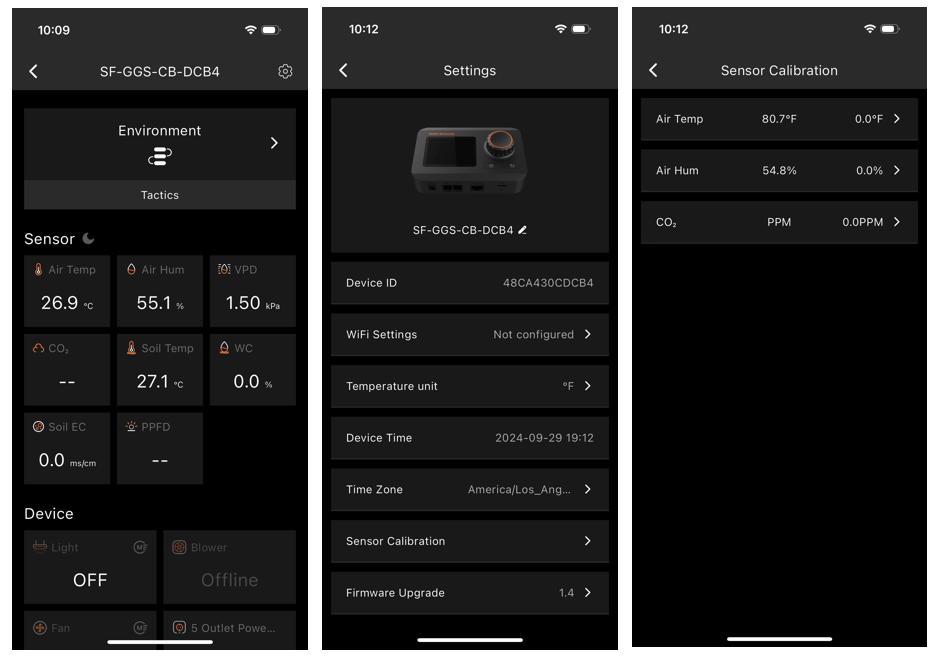
See at a glance if your grow tent is in its light or dark cycle. A sun icon appears when light is detected, and a moon icon shows during dark periods. This feature allows you to monitor light conditions without opening the tent. (Requires the temperature, humidity, and light sensor included in this GGS AC10 Power Strip kit)
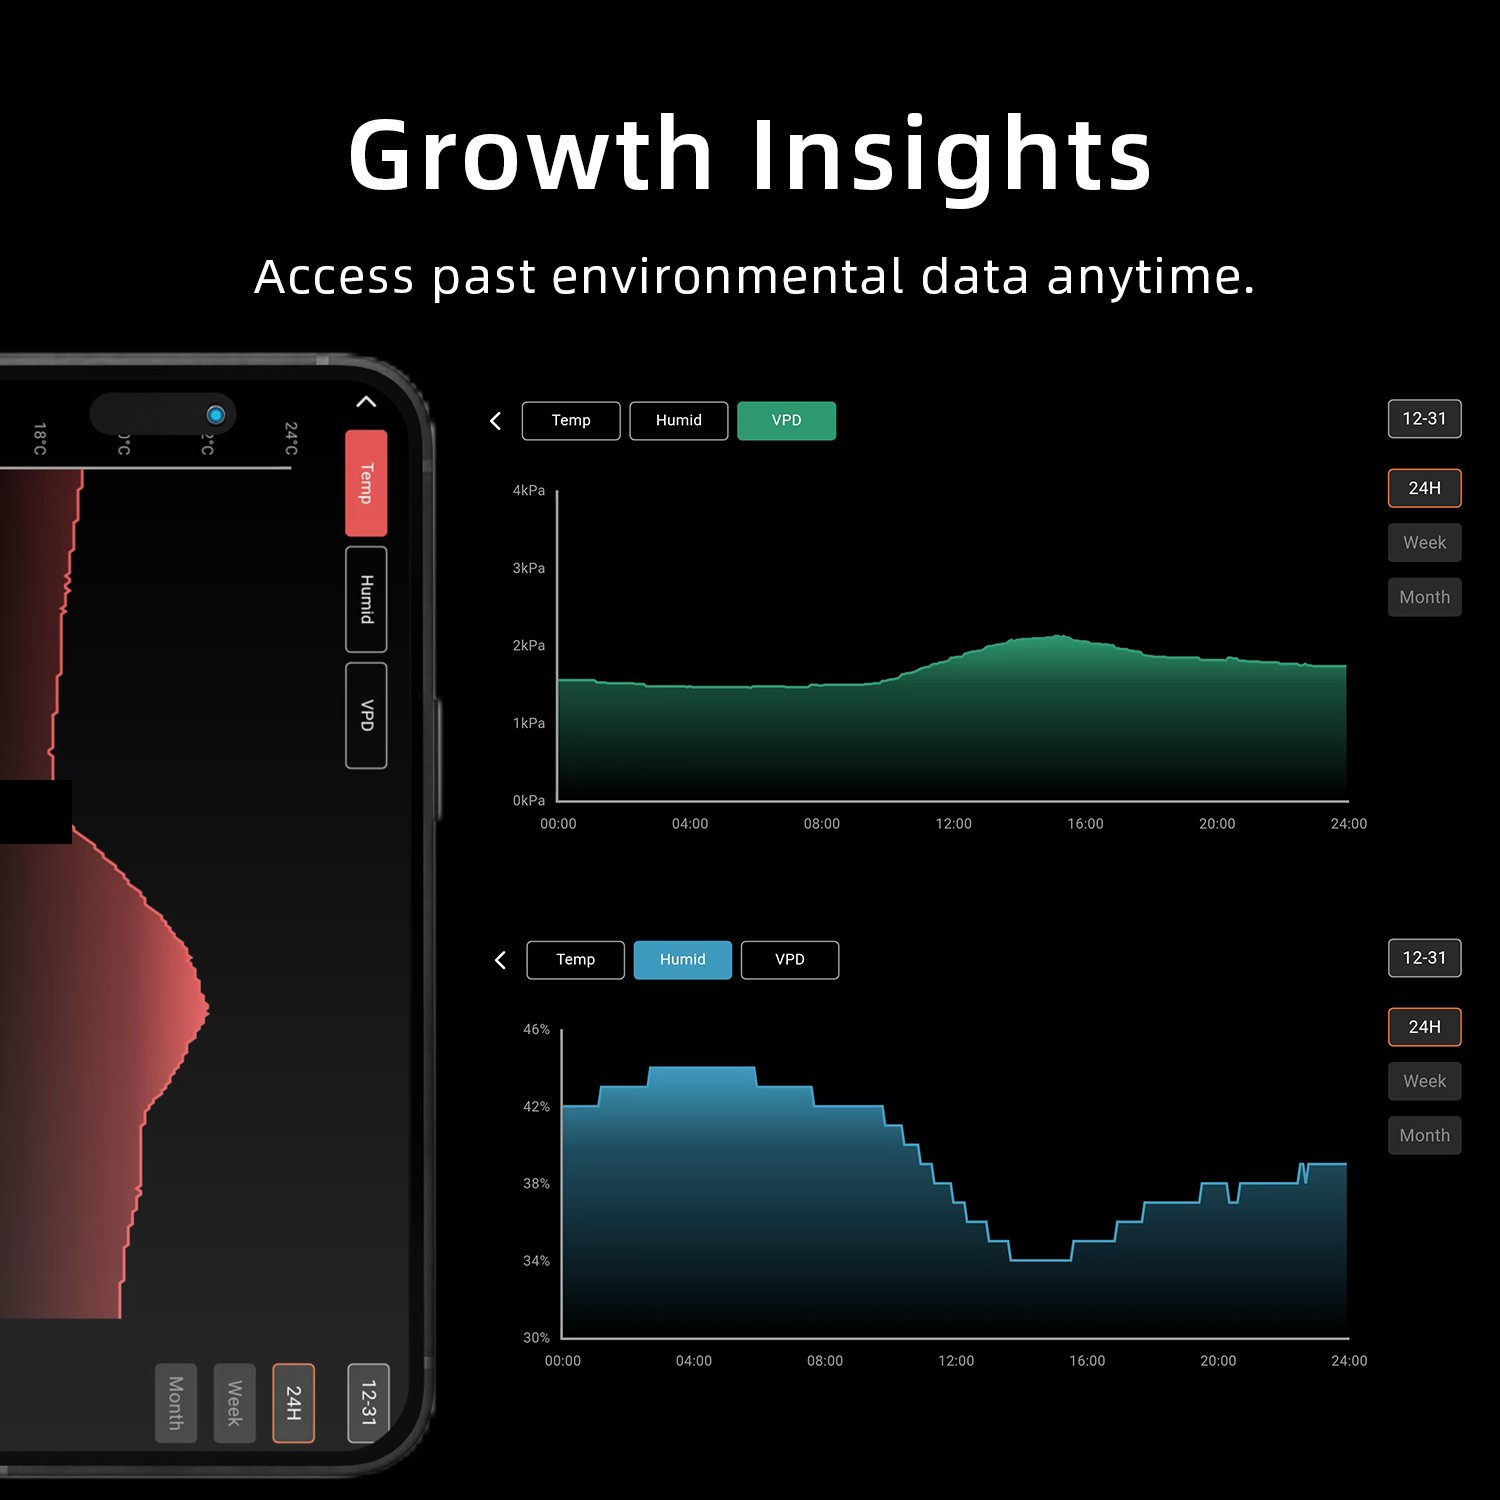
4.3 VPD and Temperature/Humidity Display:
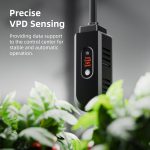
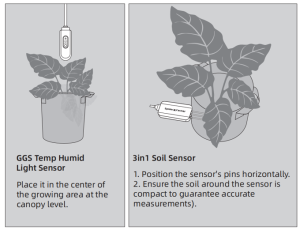
Get precise readings for temperature, humidity, and Vapor Pressure Deficit (VPD). (Requires the temperature, humidity, and light sensor included in this GGS AC10 Power Strip kit; Tip: Place the sensor at canopy level in the center of your growing area for the most accurate readings.)
4.4 Soil Data Display:
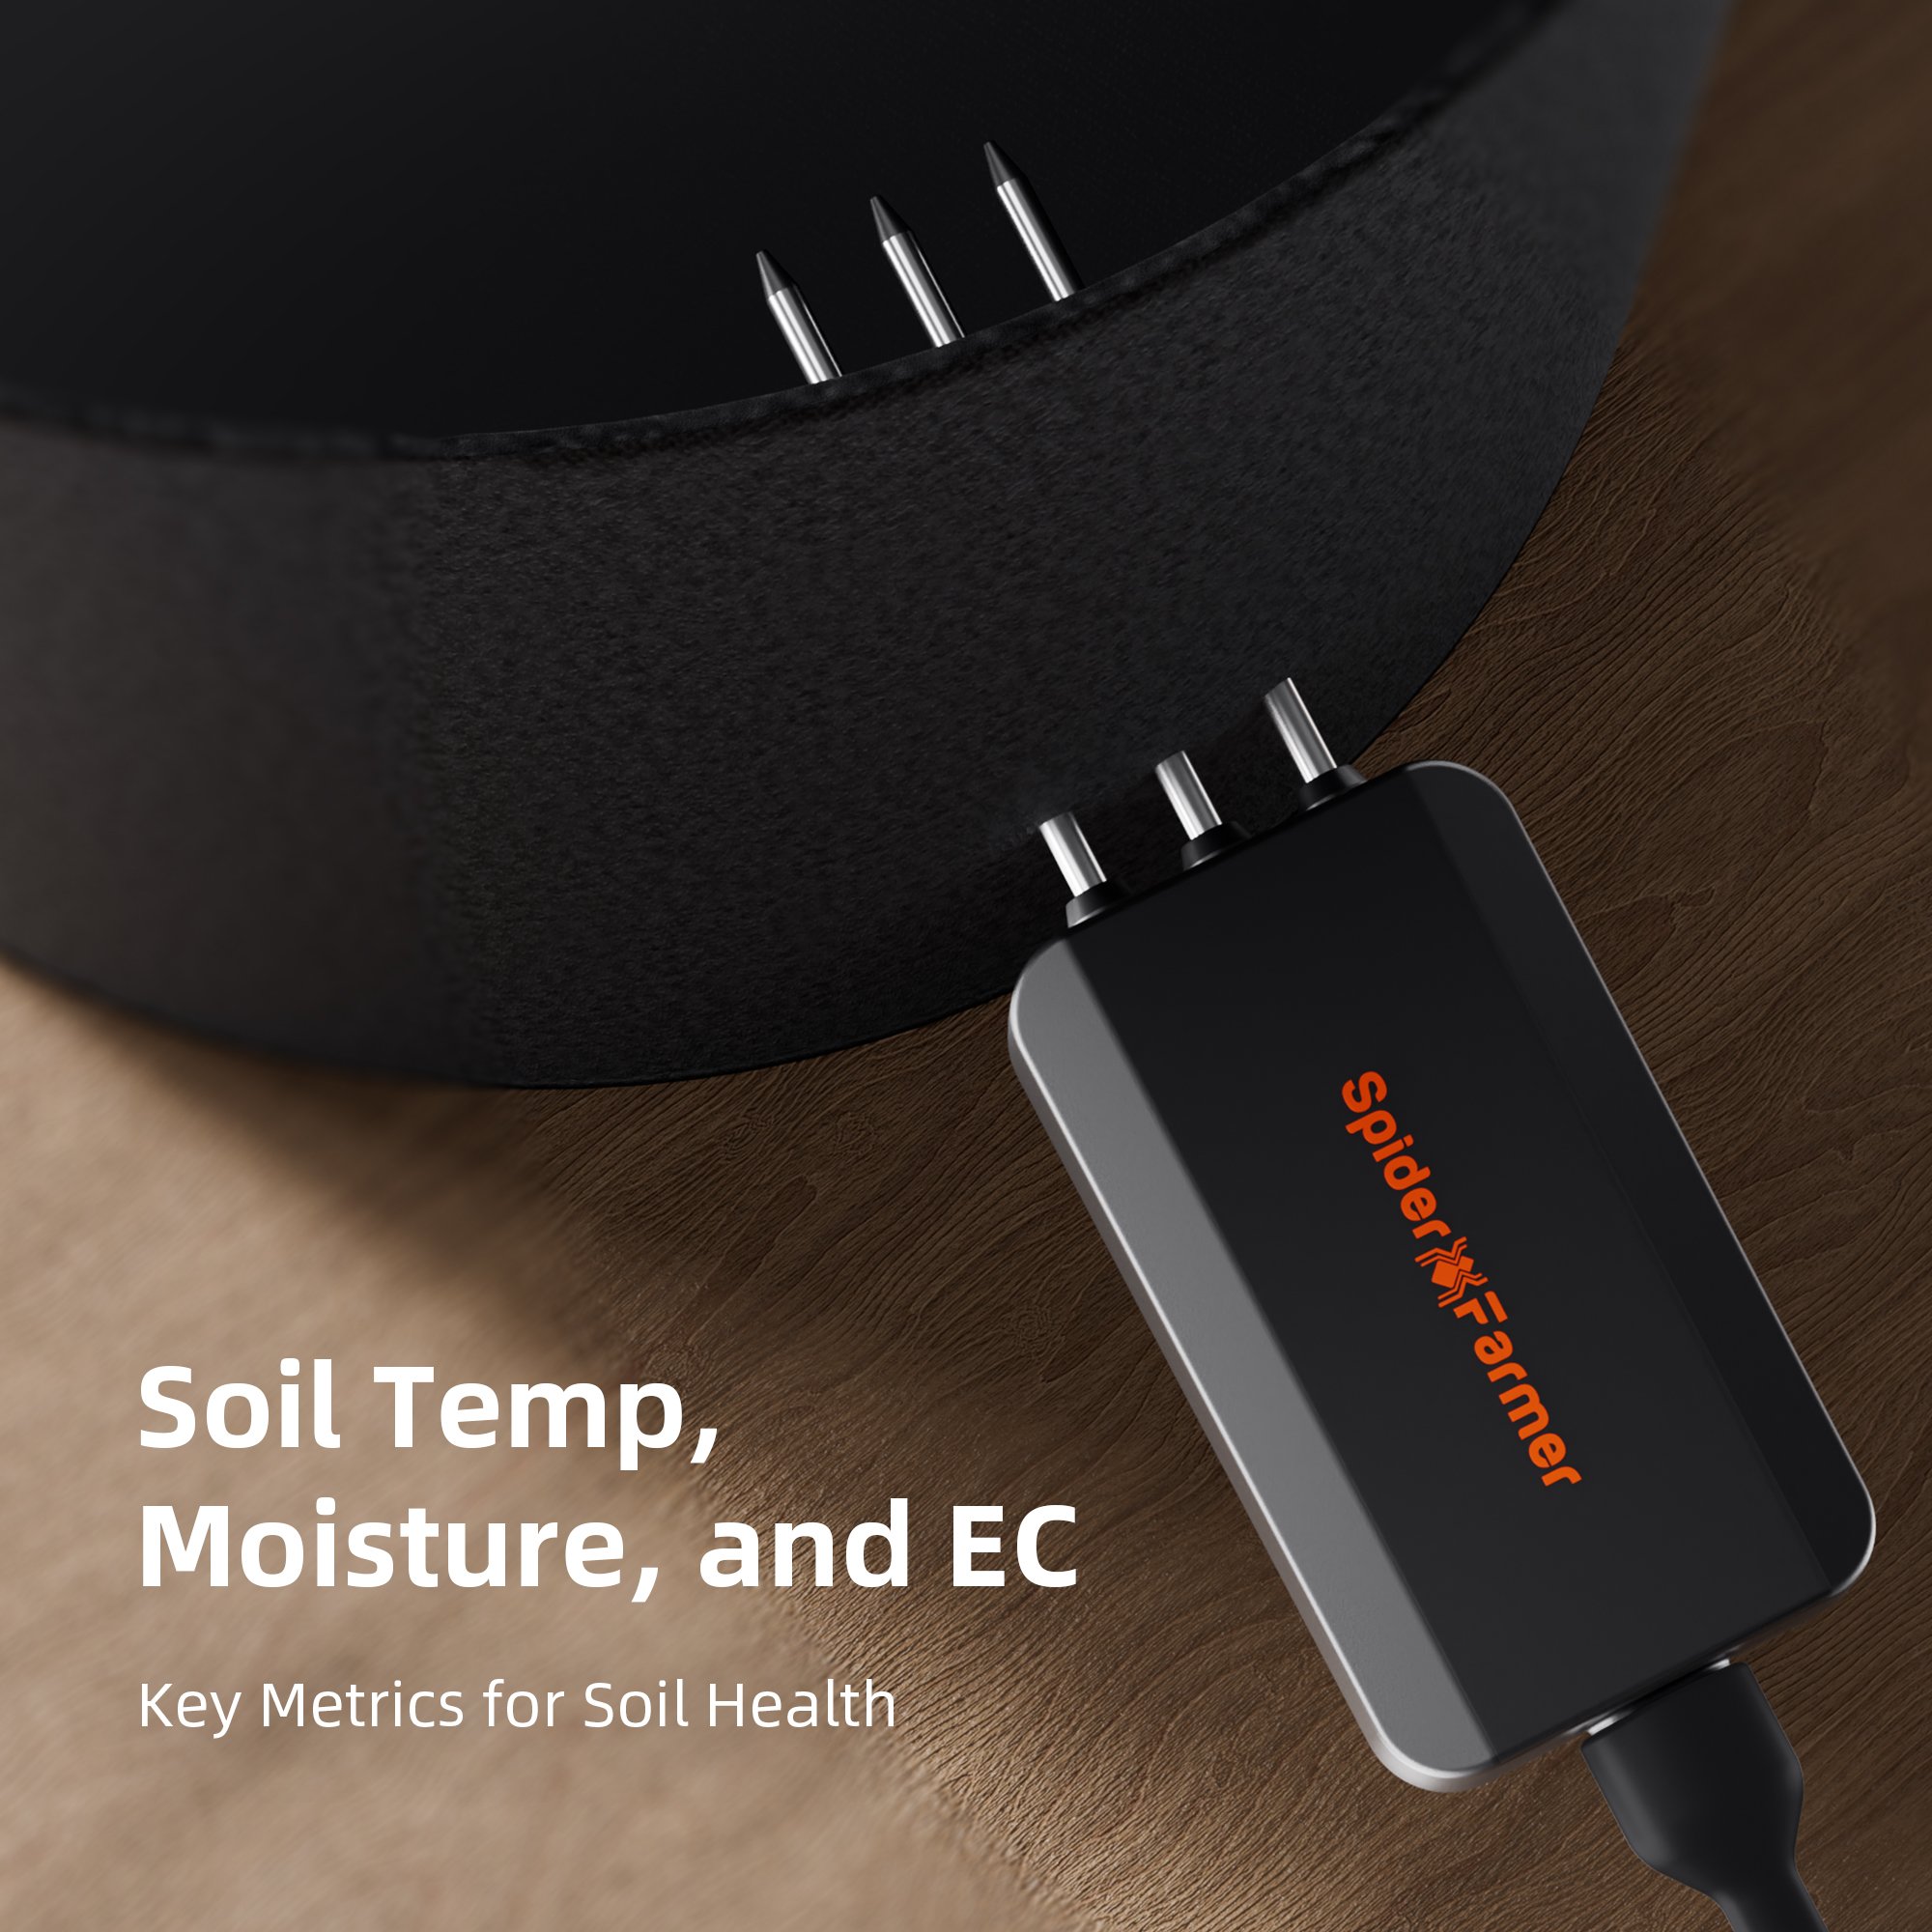
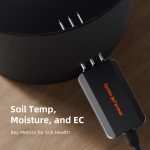
Ideal for soil growers, this display shows real-time soil temperature, moisture, and Electrical Conductivity (EC).
4.5 CO₂ Display:
(This kit doesn't include the sensor required to measure that data. Please purchase the GGS Sensor Pro Kit separately.)
4.6 PPFD Display:
(This kit doesn't include the sensor required to measure that data. Please purchase the GGS Sensor Pro Kit separately.)
4.7 Sensor Placement Recommendations
5. Preparations Before Configuring Device Operations
5.1 Environmental Conditions Settings
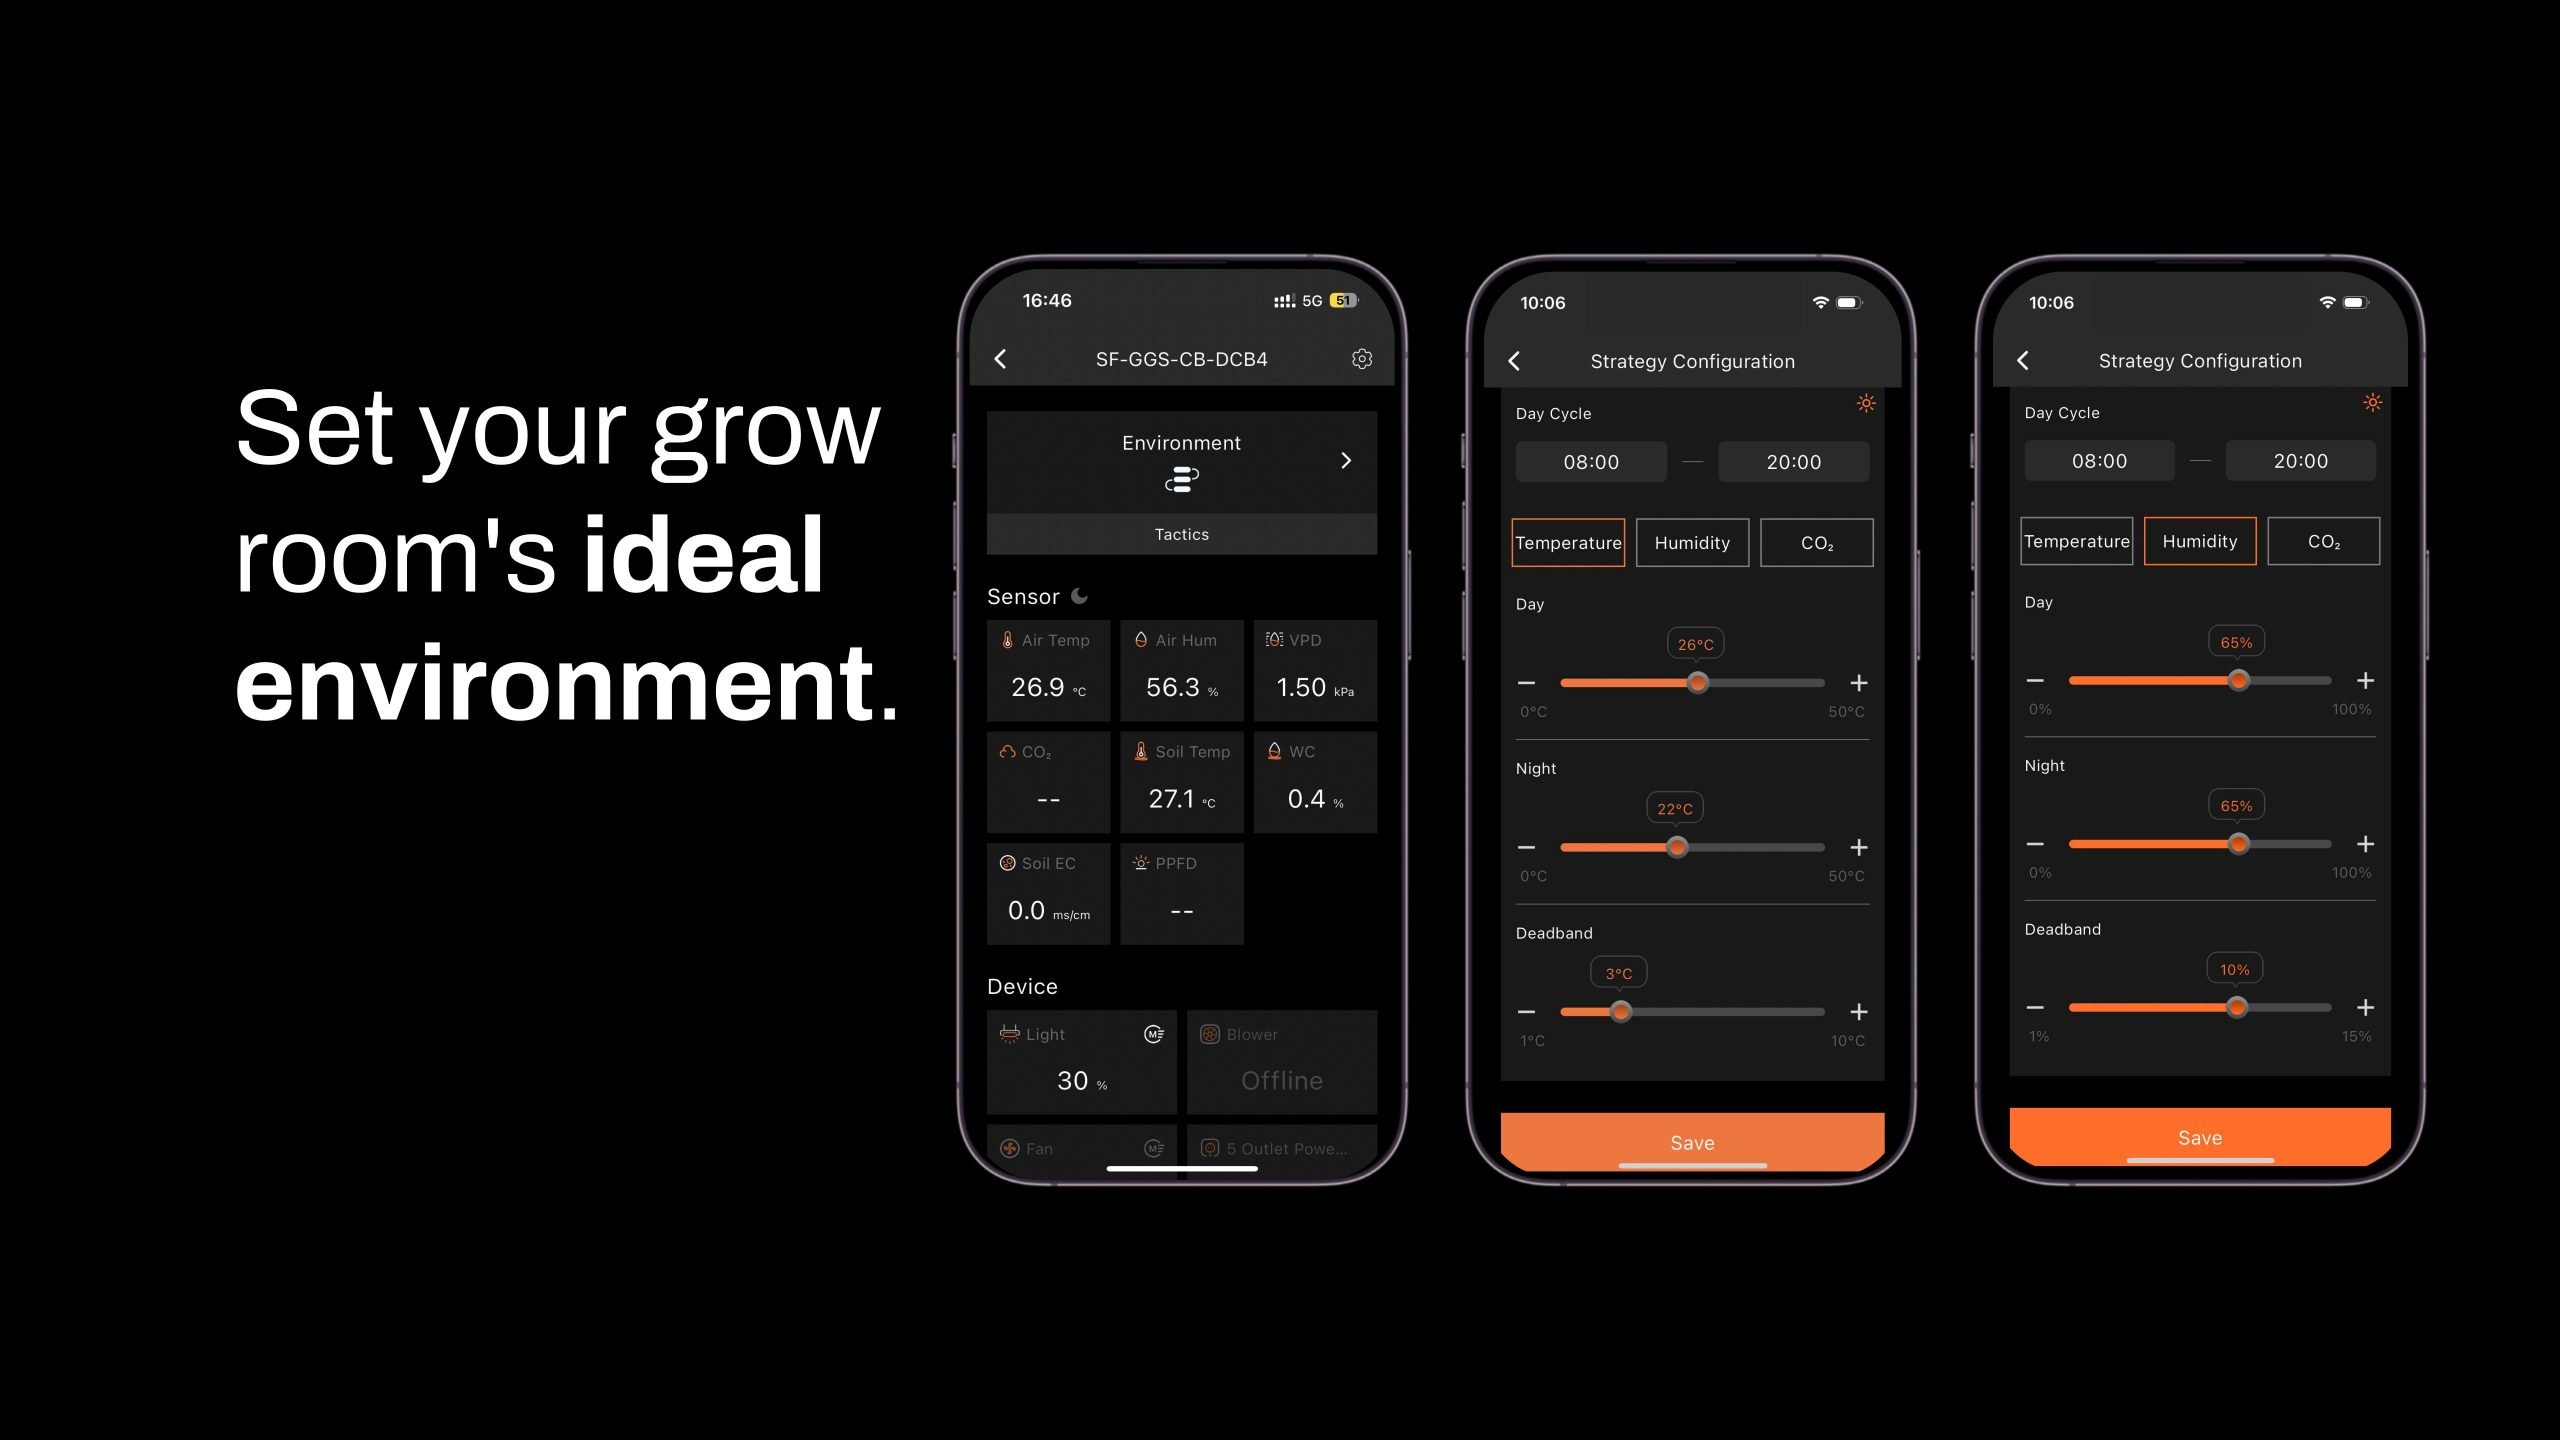
5.1.1 Day/Night Cycle Optimization: Define the time range for day and night periods. The day starts from the day start time and ends at the night start time, while night starts from the night start time and ends at the day start time. If both start times are set the same, the system defaults to 24 hours of day mode.
- 5.1.2 Environmental Conditions Settings: Set target values for temperature, humidity, and CO₂ levels for both day and night, along with the deadband range.
- 5.1.3 Deadband Control: Maintain stability. For example, if the daytime temperature is set to 70°F with a deadband of 3°F, there is an upper and lower threshold. Cooling will activate at 73°F and stop once it reaches 70°F, while heating will activate at 67°F and stop at 70°F.
5.2 Local Time Settings
- Set your local time on the controller. This is necessary when setting operating times, such as for lights.
5.3 Multi-Language Support
Our system offers multiple language options to ensure ease of use, including English, German, French, Spanish, Italian, and Chinese.
6. How to Control LED Grow Lights (G Series/ SE Series/ SF Series)
(Note: A GGS 2-in-1 Adapter is required to control LED grow lights through the GGS Power Strip. This adapter is included in the kit.)
6.1 Manually Adjust Brightness for Precise Light Control:
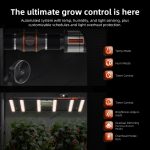
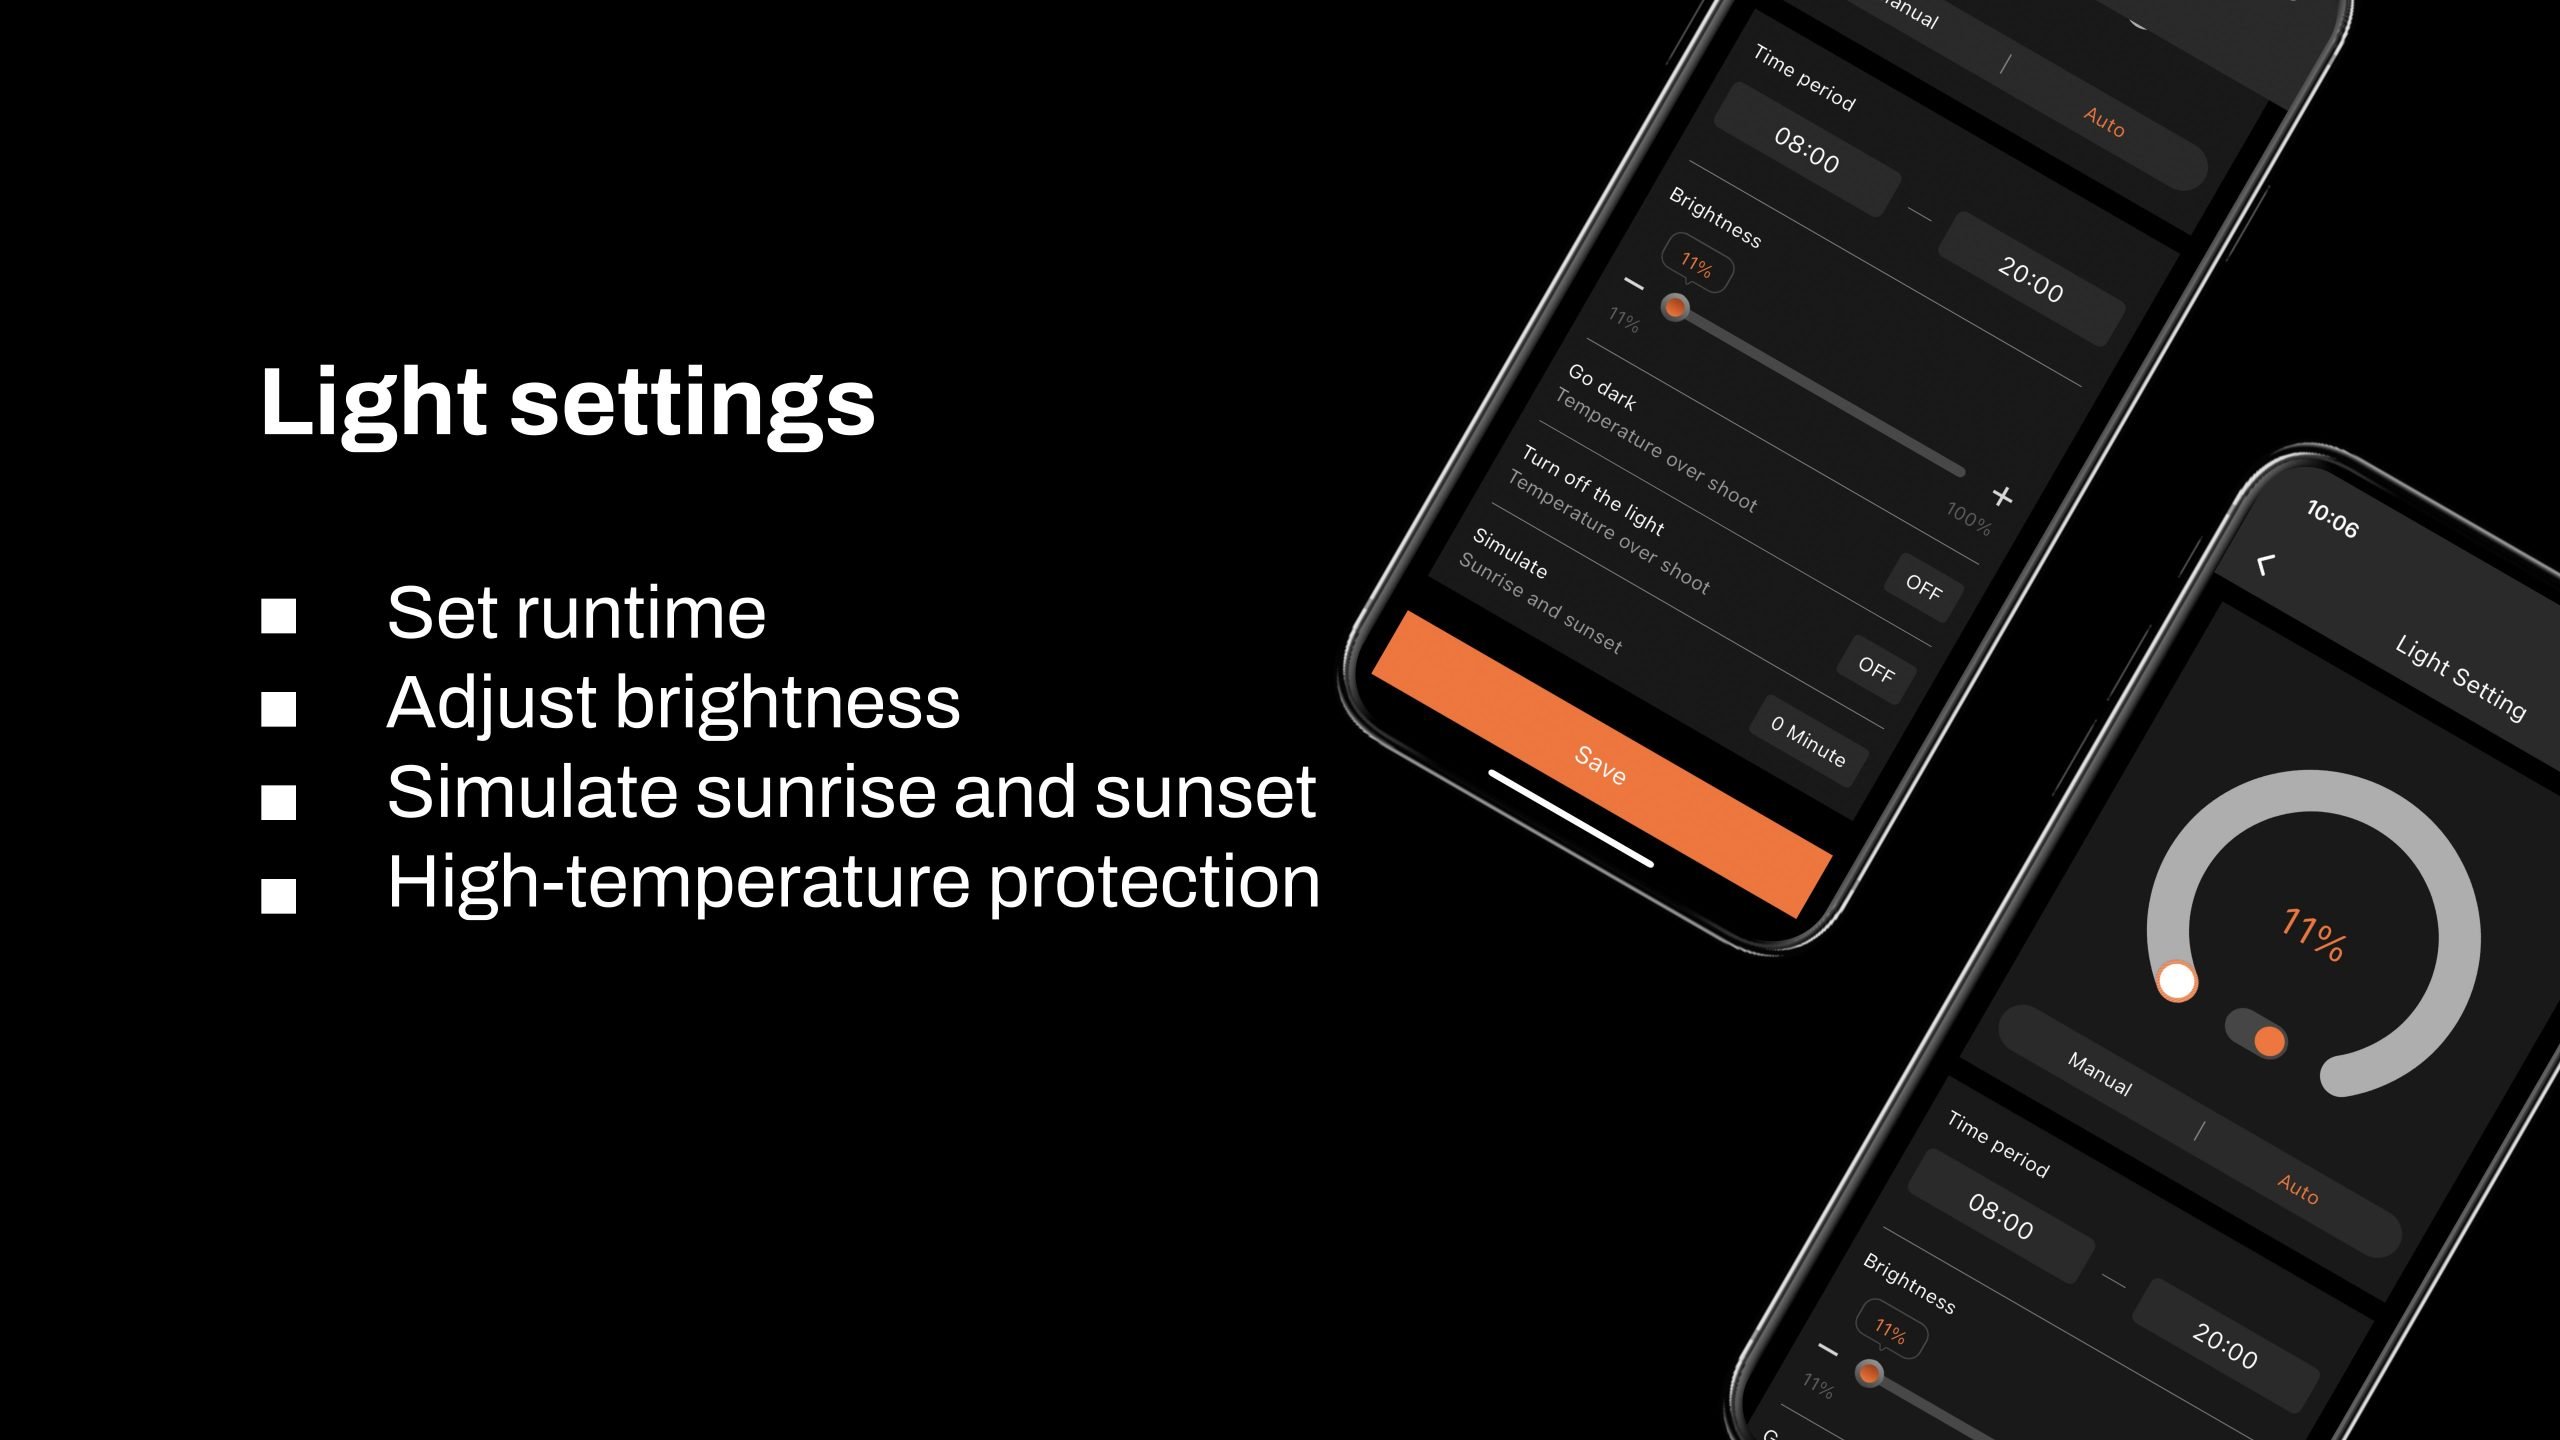
- Set the brightness anywhere from 10% to 100%, giving you full control over light intensity at any time. For quick shut-off, setting the brightness to 0% will turn the lights off. Any setting between 0% and 10% automatically operates at 10% brightness.
6.2 Automate Your Lighting Schedule:
- 6.2.1 Start and End Times: Easily set specific on and off times for your lights, so your plants get consistent light cycles without manual adjustments.
- 6.2.2 Brightness Levels: Define the exact brightness level for each cycle, ensuring your plants receive optimal light intensity.
6.3 High-Temperature Protection for Your Plants and Equipment:
- 6.3.1 Go Dark: Set a high-temperature threshold for dimming. When the ambient temperature reaches this threshold, the lights will automatically reduce brightness to 11% to prevent overheating.
- 6.3.2 Turn Off: Set a higher temperature threshold for complete shutdown. When this threshold is reached, the lights will automatically turn off to protect your plants and equipment.
6.4 Sunrise/Sunset Simulation:
- Activate this feature to simulate natural light changes, with the brightness gradually increasing at sunrise and gradually decreasing at sunset.
Example: If you set the light schedule from 8:00 AM to 8:00 PM with brightness at 100% and a 30-minute sunrise/sunset setting, the lights will gradually increase from 0% to 100% brightness between 8:00 AM and 8:30 AM. In the evening, starting at 7:30 PM, the brightness will gradually decrease from 100% until the lights turn off completely at 8:00 PM.
7. How to control inline fans, clip fans, and other equipment
Key Steps in the Process:
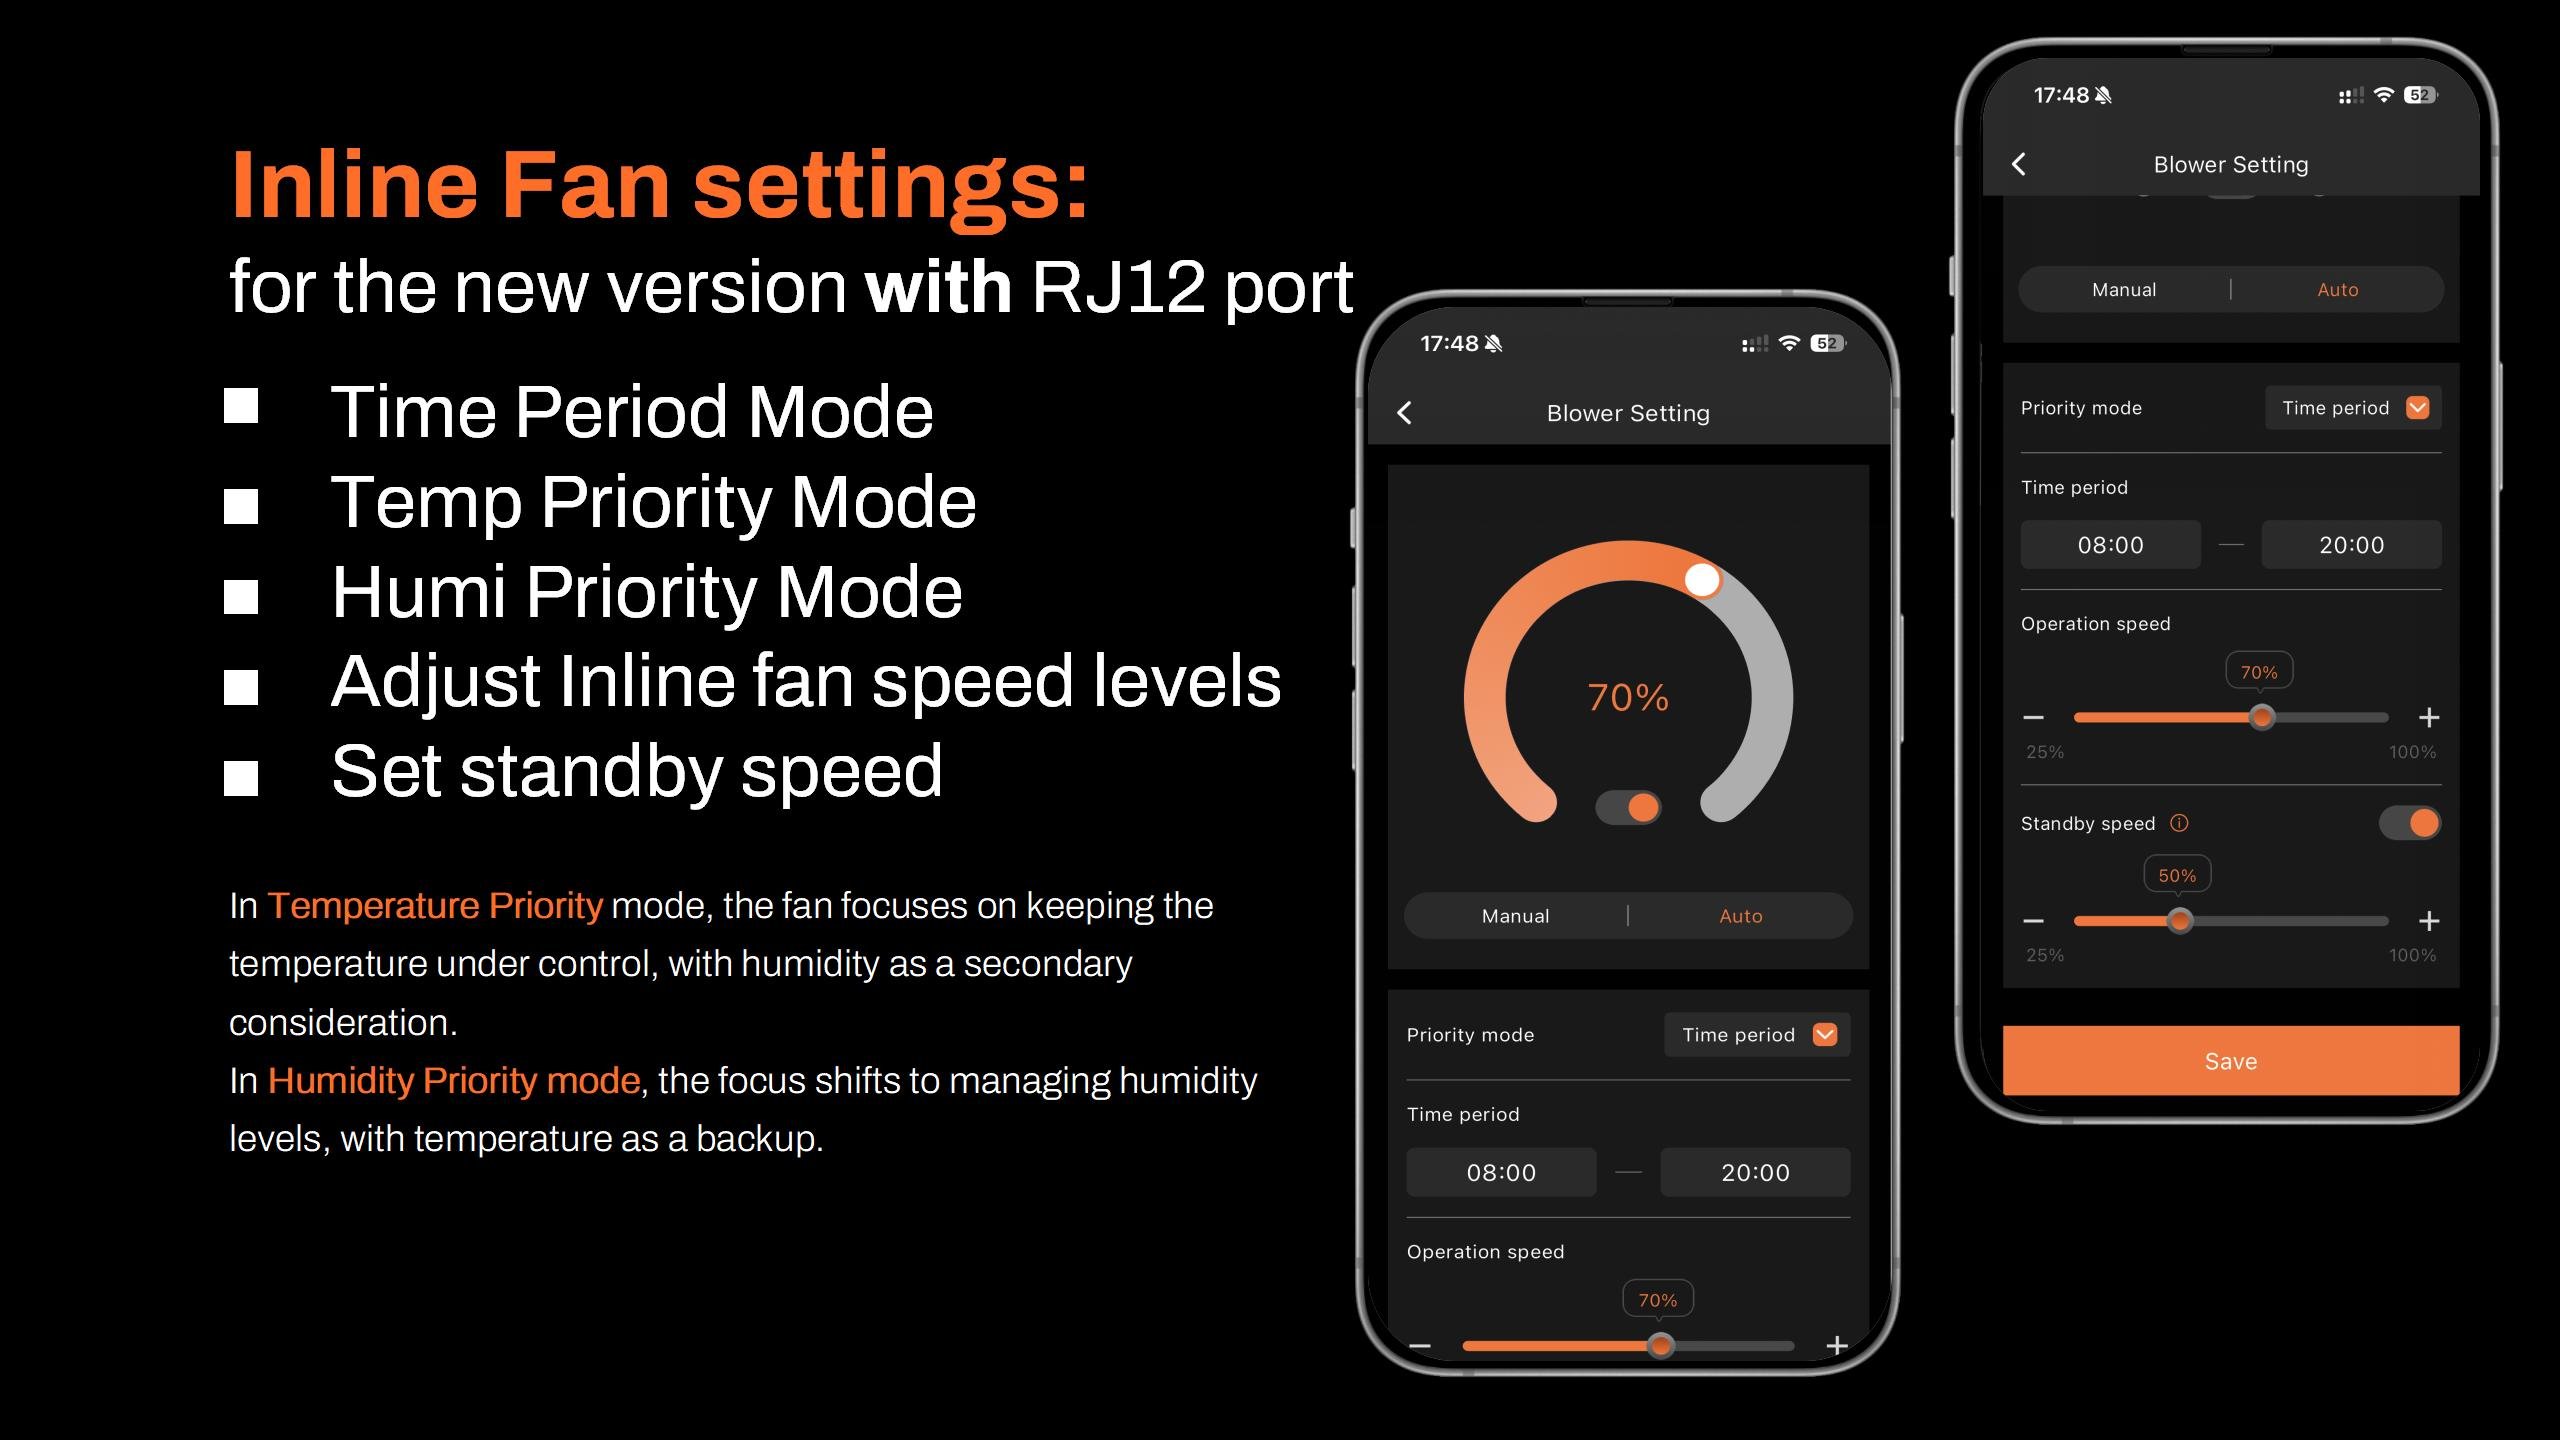
- If your Inline Fan or Clip Fan does not have an RJ12 port (non-latest version), the GGS series can be compatible with these Clip Fans and Inline Fans without an RJ12 port. However, only the GGS Power Strip can be used. You can plug them into the GGS Power Strip and control them separately through the outlet section in the app. (At this time, the 'Fan (Clip Fan)' and 'Blower (Inline Fan)' options under the 'Device' section will be unavailable.)
- If your Clip Fan or Inline Fan has an RJ12 port, it will be compatible with both the Spider Farmer GGS controller and the GGS Power Strip. You can manage your Clip Fan and Inline Fan through the 'Fan (Clip Fan)' and 'Blower (Inline Fan)' options in the 'Device' section of the controller.
- How to check if your Clip Fan or Inline Fan has an RJ12 port? If you purchased the “Experience the Latest Features - Spider Farmer GGs Controller with Next-Gen Clip Fan & Inline Fan Kits,” both the Clip Fan and Inline Fan in the kit come with an RJ12 port. If you’ve purchased a Clip Fan from us before, simply check the body of the fan for an RJ12 port. If you’re buying the Clip Fan from our website, make sure to check the product description and images on the product page to confirm if it includes an RJ12 port. Currently, except for the kit mentioned above, all individually sold Inline Fans or Inline Fan kits do not come with an RJ12 port.
- About using the GGS AC5 Power Strip or GGS AC10 Power Strip in combination with the GGS Controller:
- Why Use the GGS AC5 Power Strip Along with the Controller?
- For Those Who Prefer Traditional Control: The controller has physical buttons and knobs, making it easy for customers who prefer hands-on control without needing to rely on a smartphone. You can operate lights and the power strip just like traditional equipment, ensuring simple and reliable use.
- Multi-User Control: The controller allows multiple users to operate the setup without each person needing their own smartphone. In a household setup, for example, anyone can quickly operate the controller, making it convenient and efficient.
- Local Control: When the network is unstable, there’s a delay, or a phone isn’t convenient to use, the controller offers instant, local control. This option ensures smooth operation without relying on external connections.
7.1 Manual Mode vs. Auto Mode
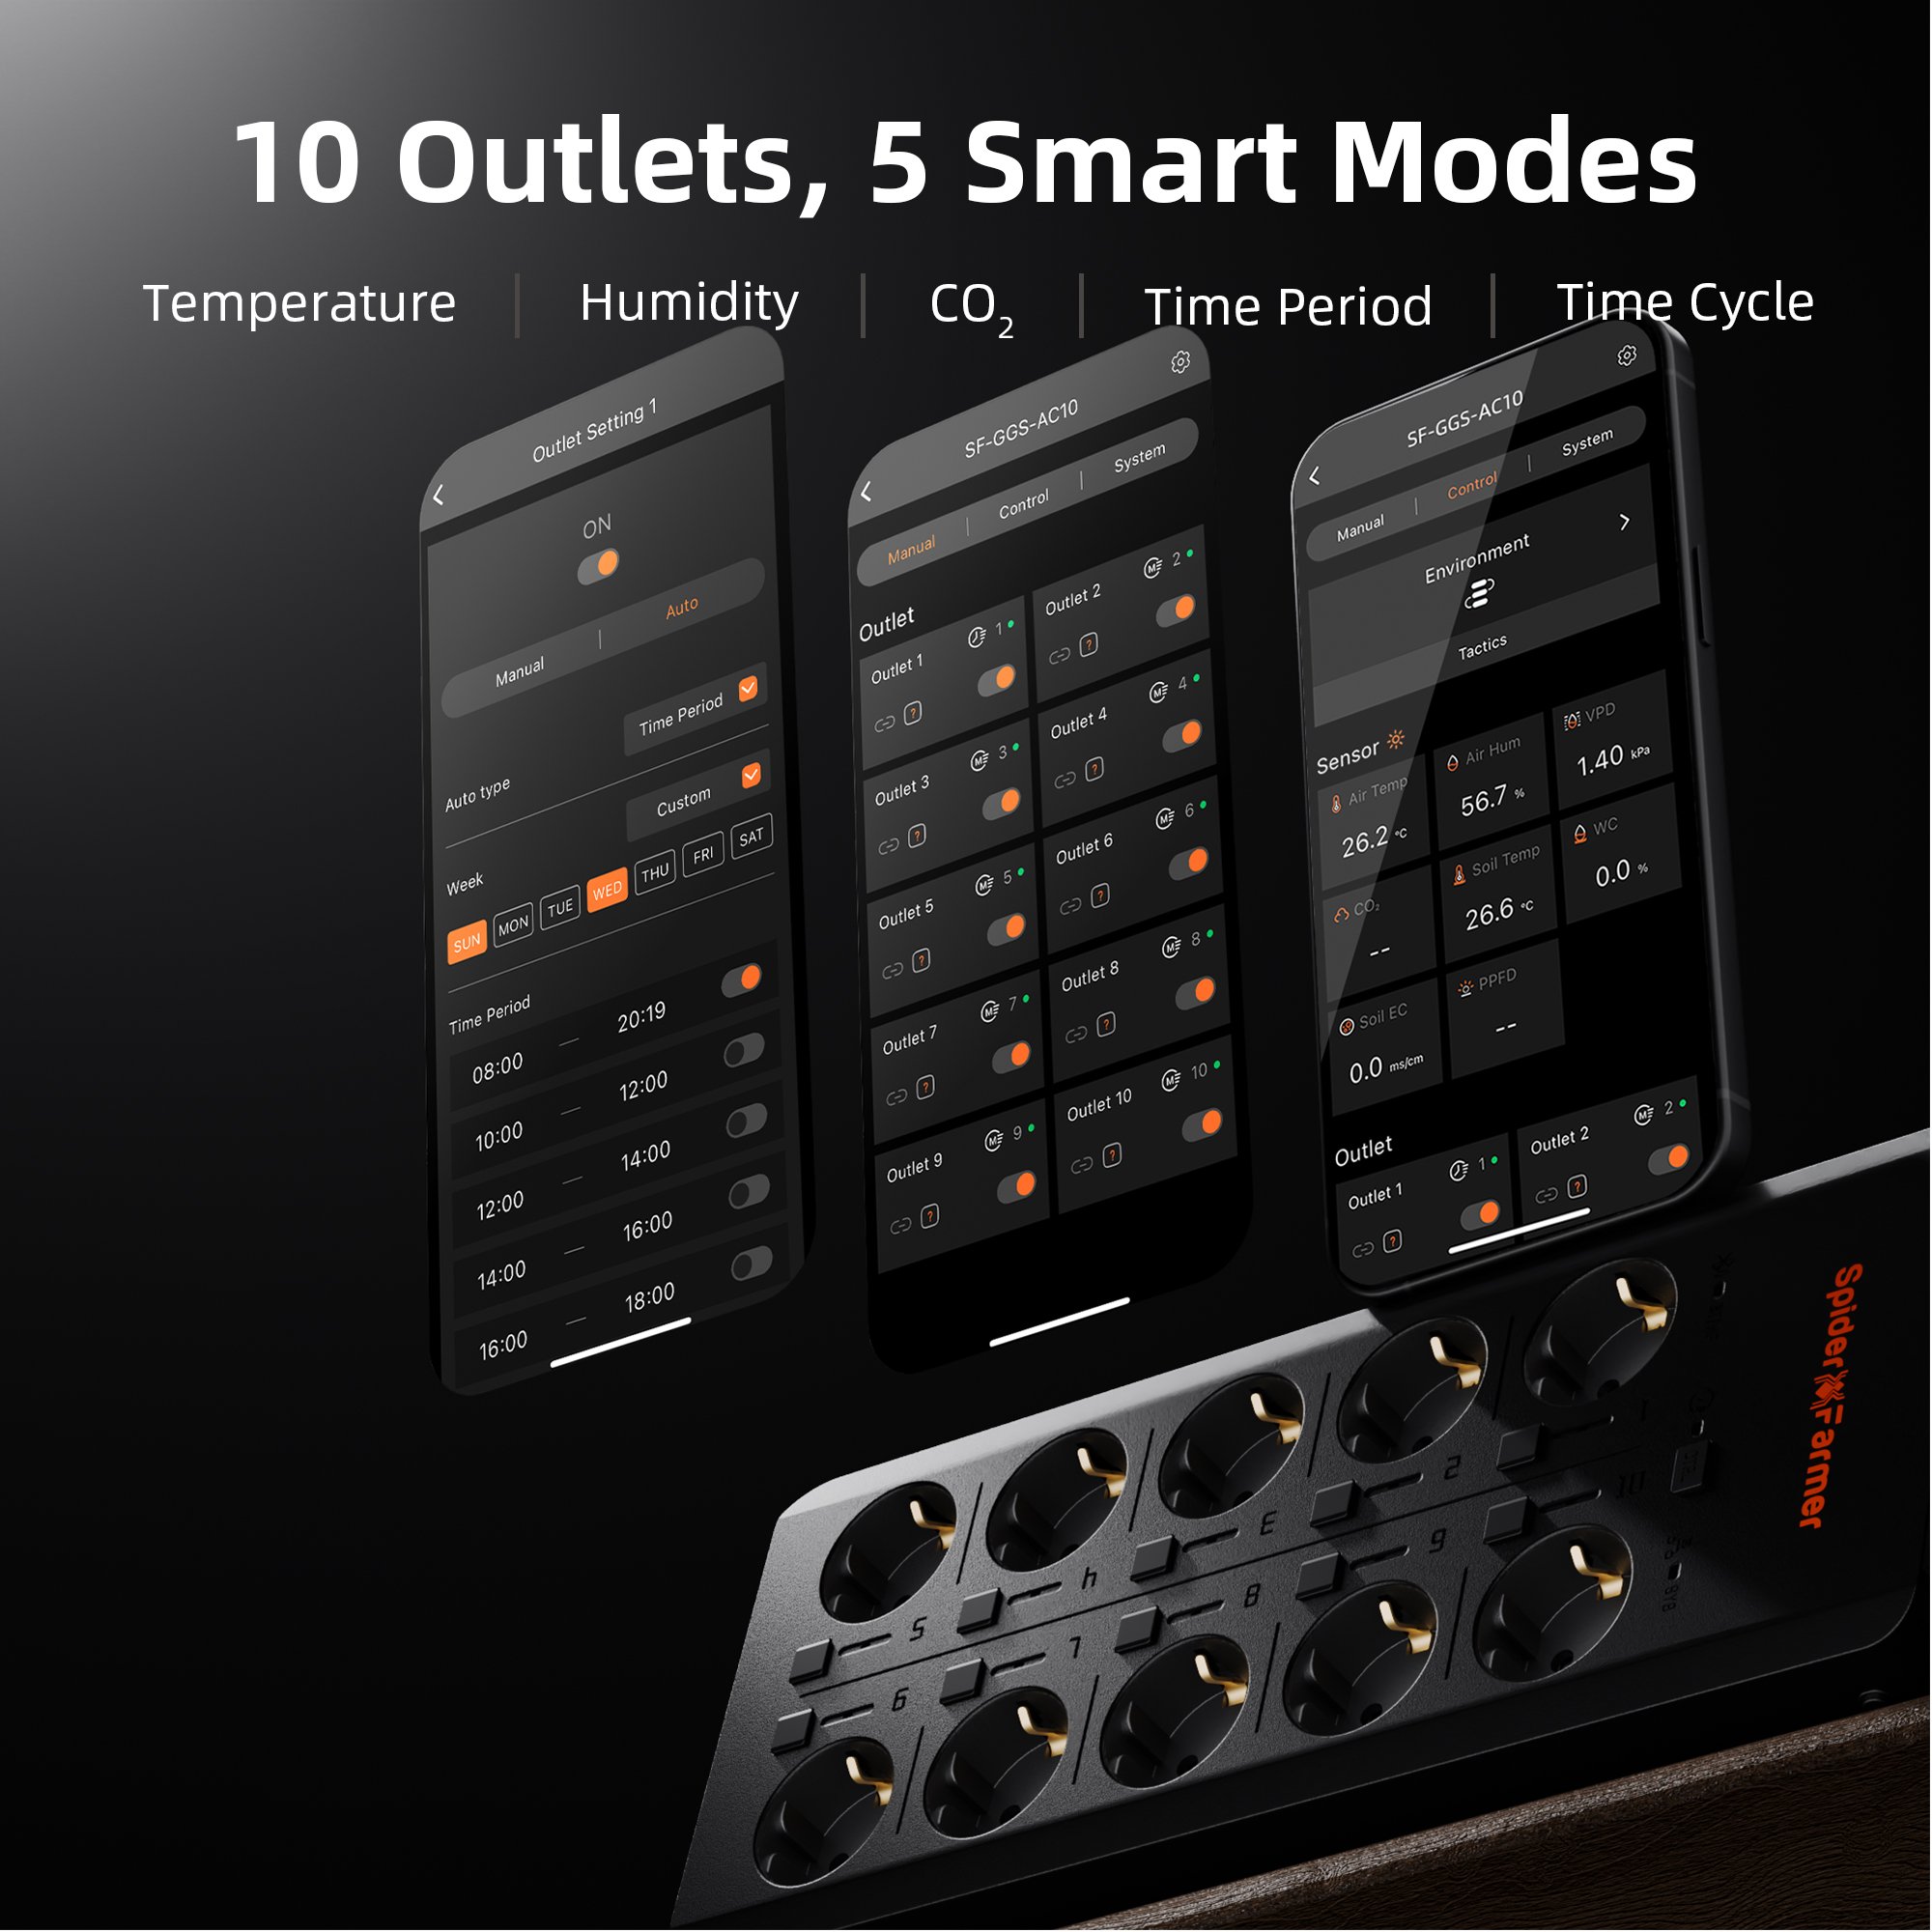
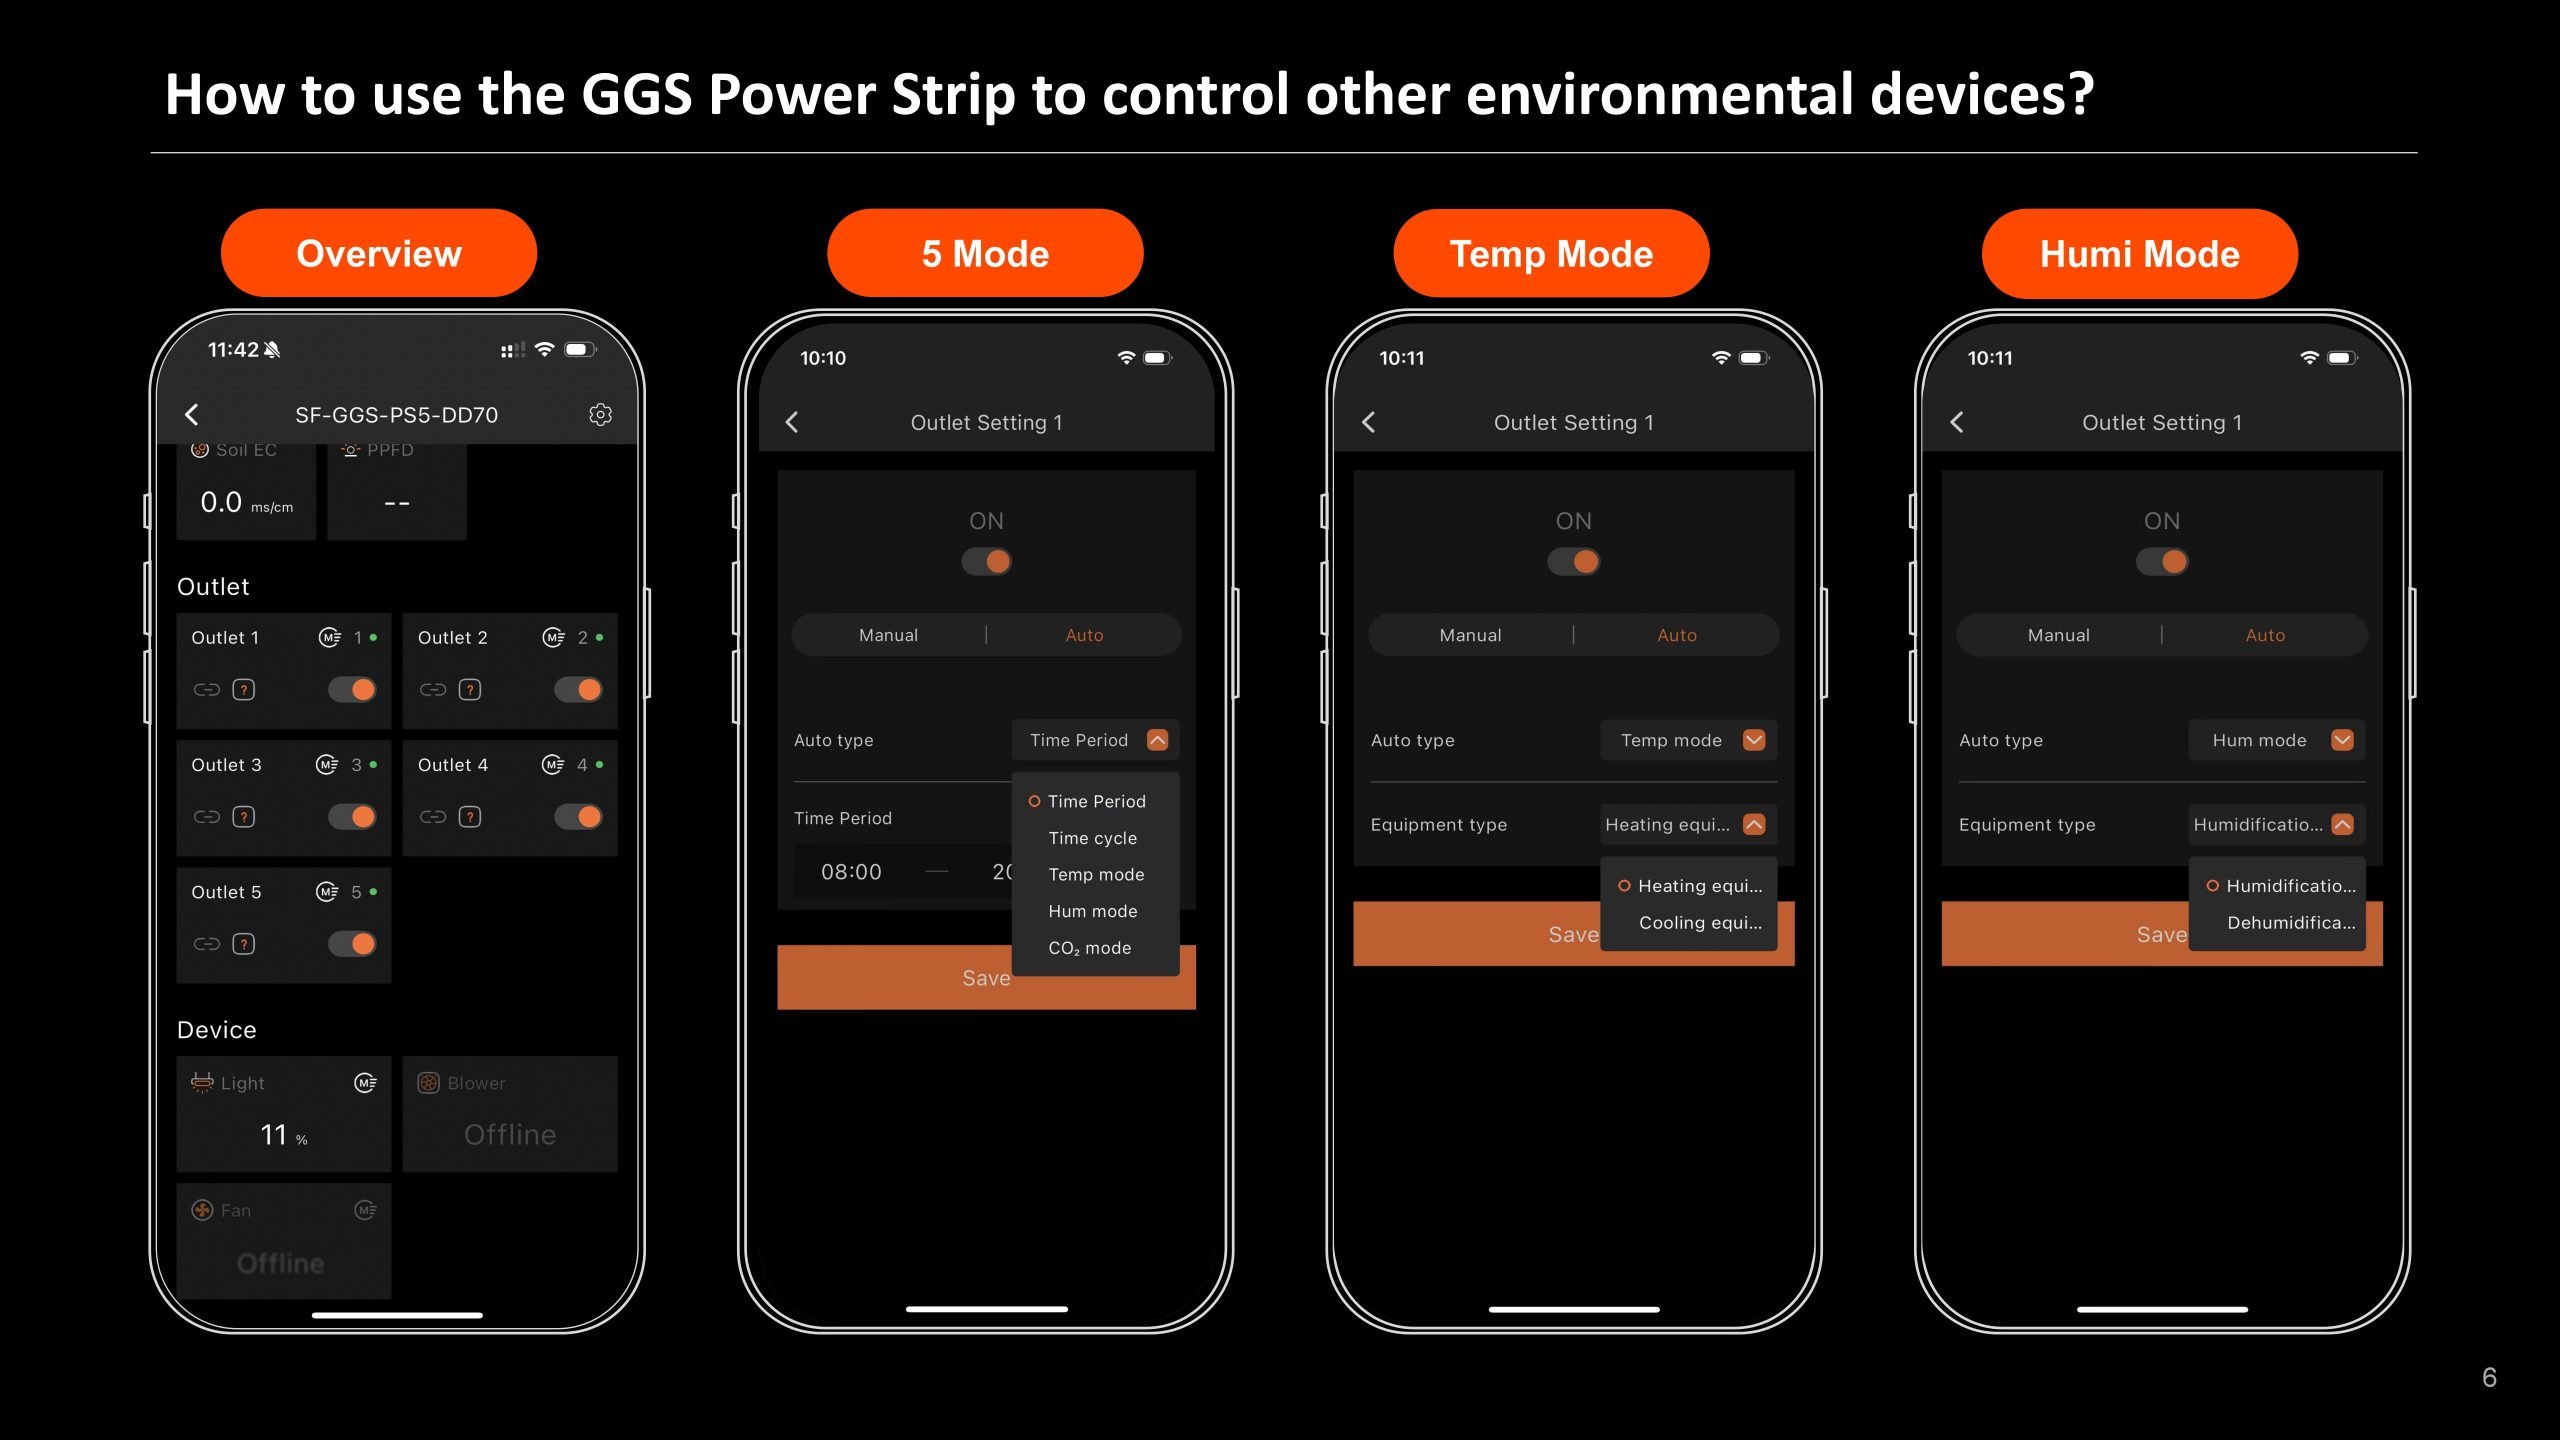
- Manual Mode: In this mode, you can manually turn each outlet on or off in real-time, giving you instant control over your devices.
- Auto Mode: In Auto Mode, you can set up automated controls with time periods, time cycles, temperature control, humidity control, and CO2 control for each outlet.
7.2 Auto Mode Explained
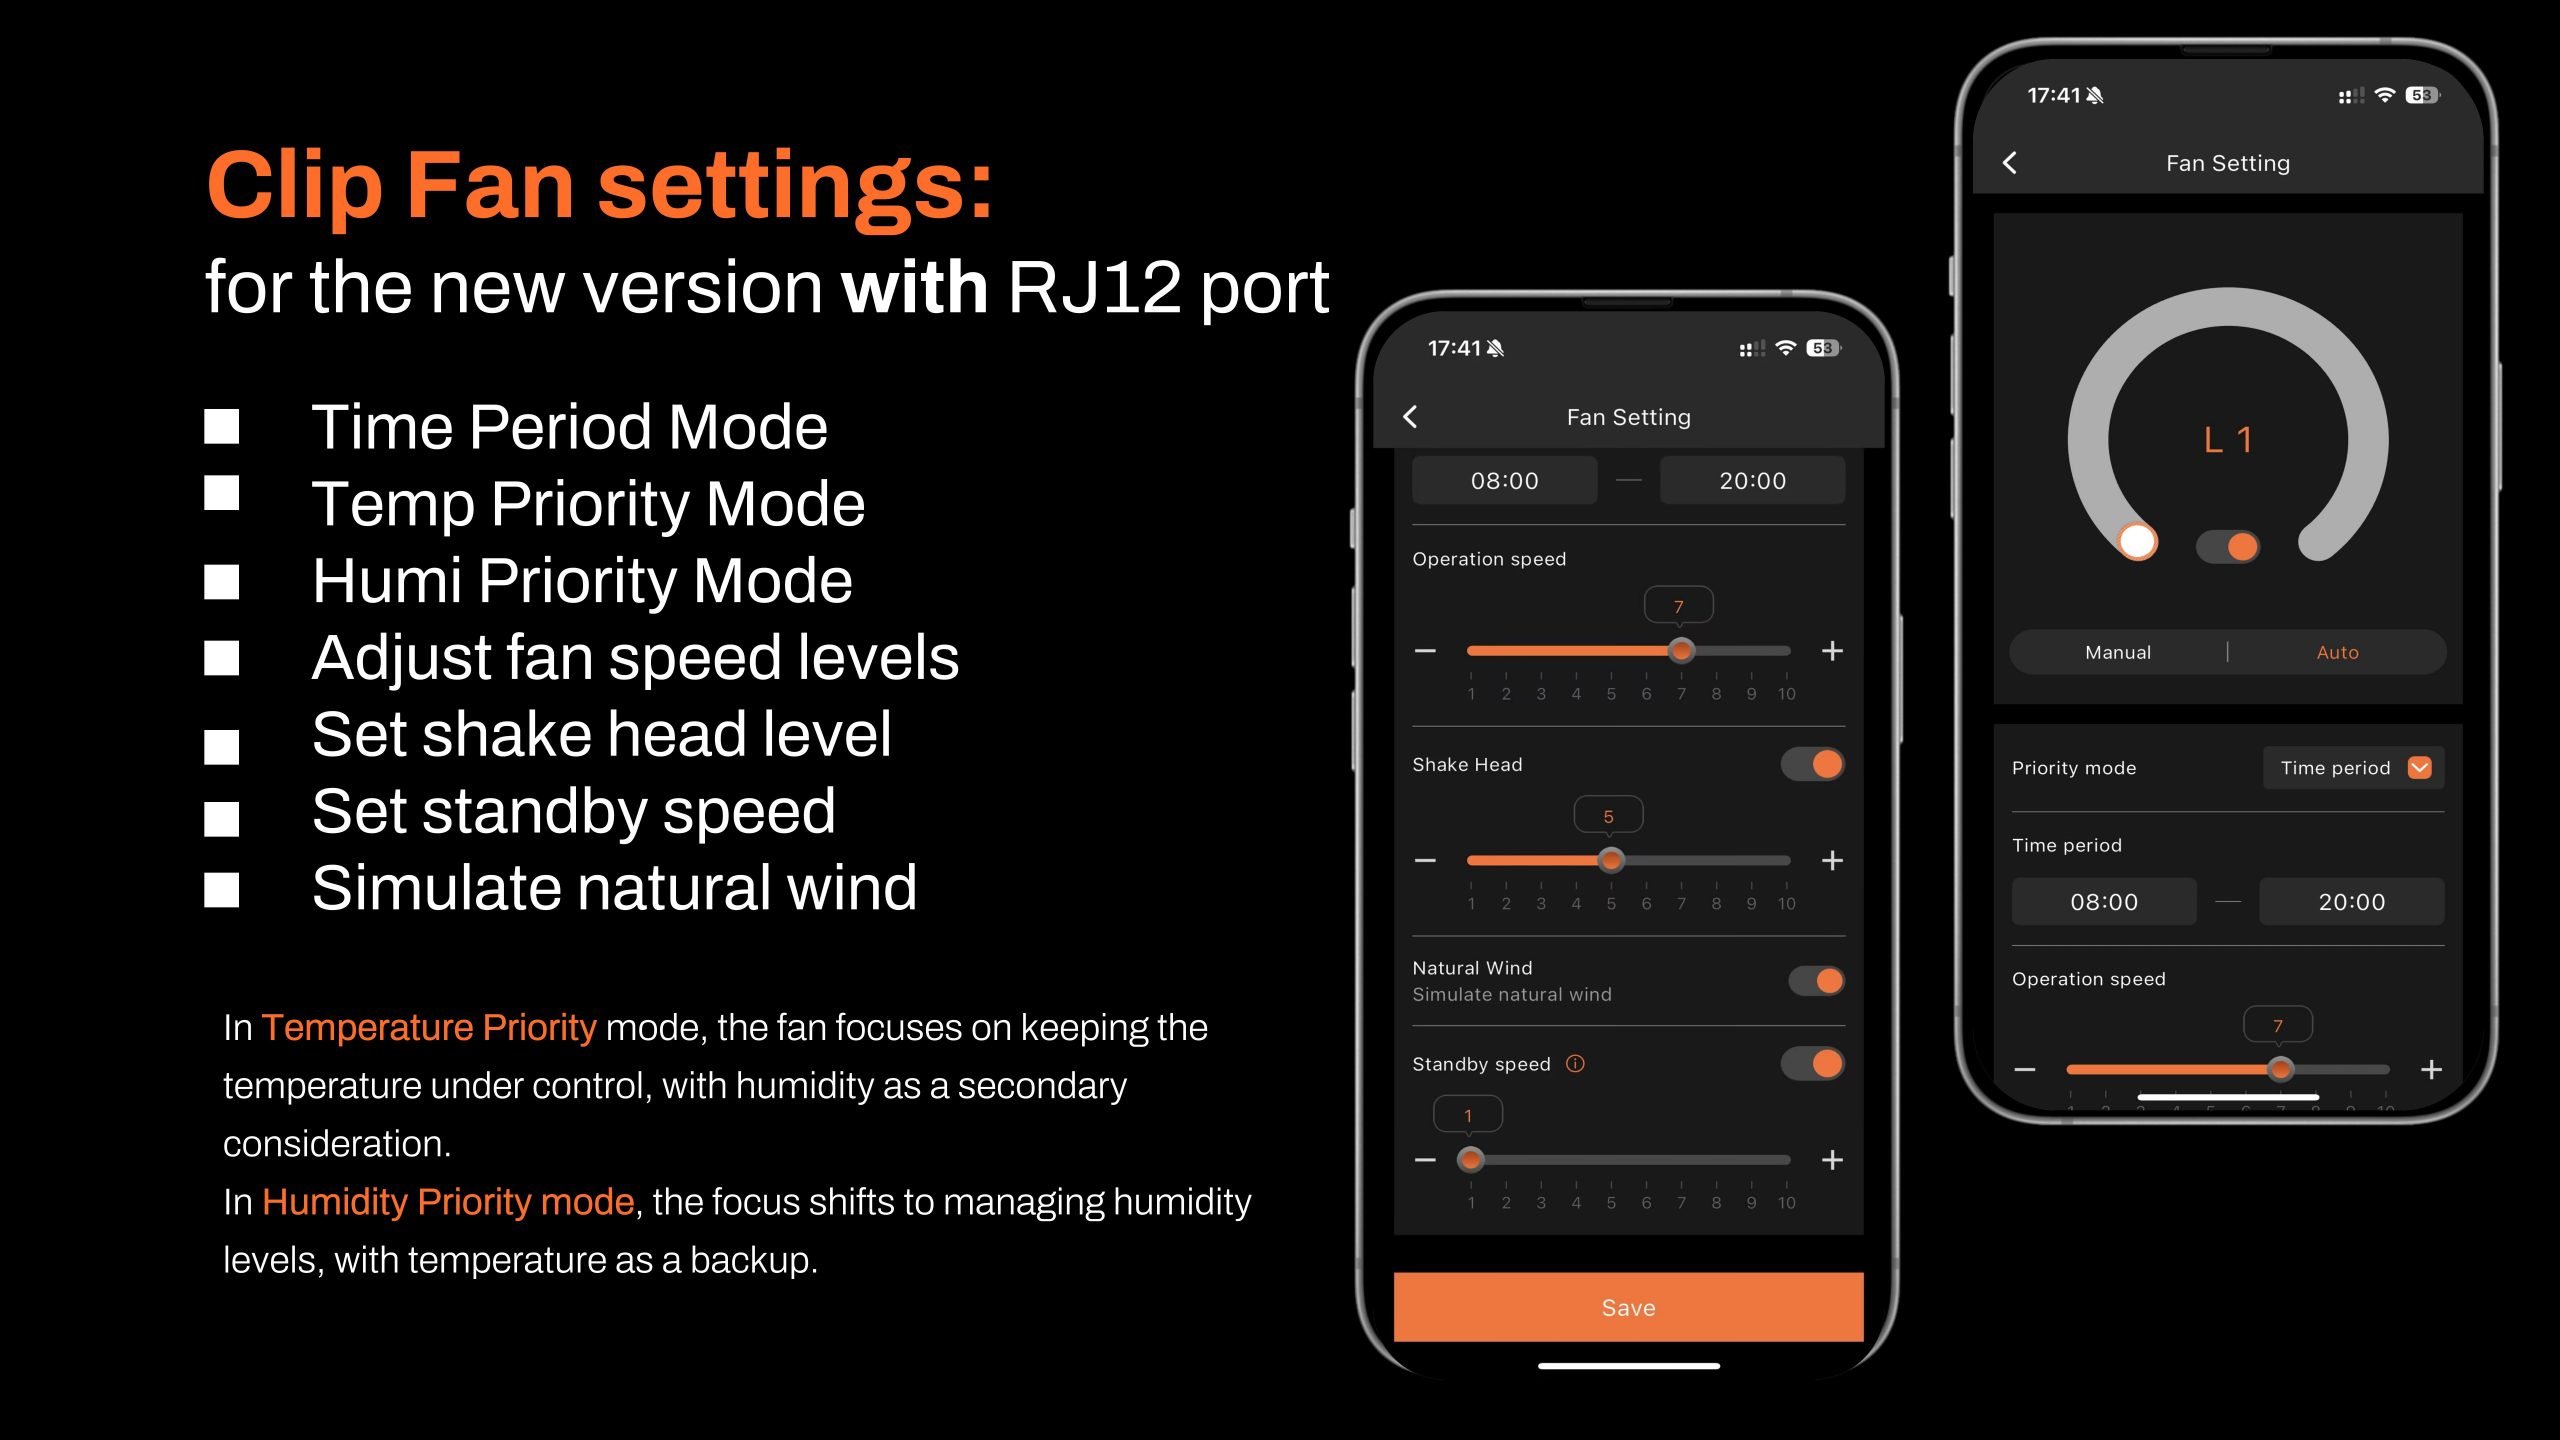
- Time Period Mode:Set specific on/off schedules for each outlet. Choose exact times for each day of the week or create recurring daily schedules. This allows you to provide consistent light, air circulation, or other resources precisely when your plants need them.
Time Cycle Mode: Set power cycles to control when your devices turn on and off throughout the day. For example, you could set a fan to run for 1 hour, turn off for another hour, and repeat the cycle as needed. This is ideal for managing airflow, lighting intervals, or other timed needs in your grow room.
Temperature Mode:Control devices based on temperature. For example, if you plug a Clip Fan into an outlet set to Temperature Mode and specify it as a cooling device, the fan will automatically turn on when the temperature exceeds your target—keeping the environment stable without manual adjustments.
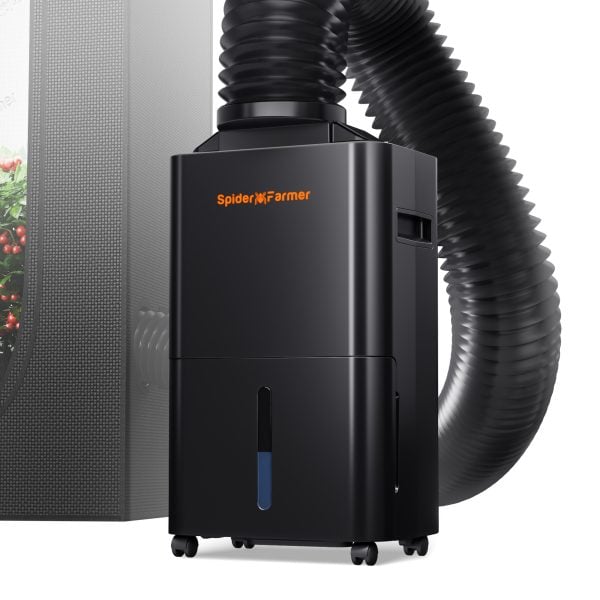
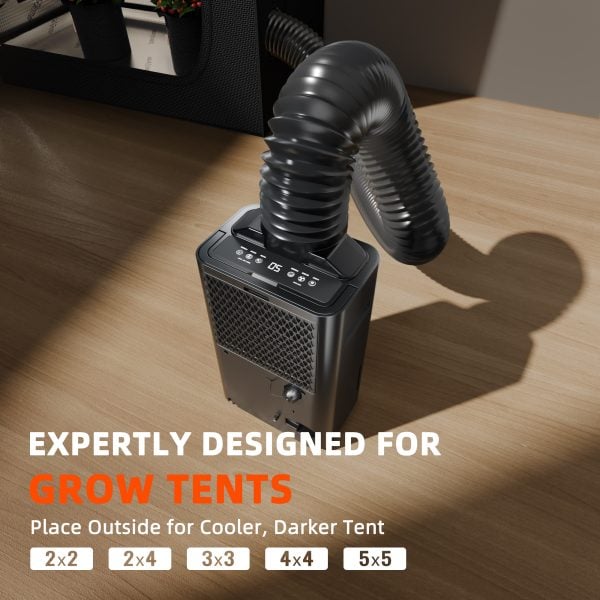
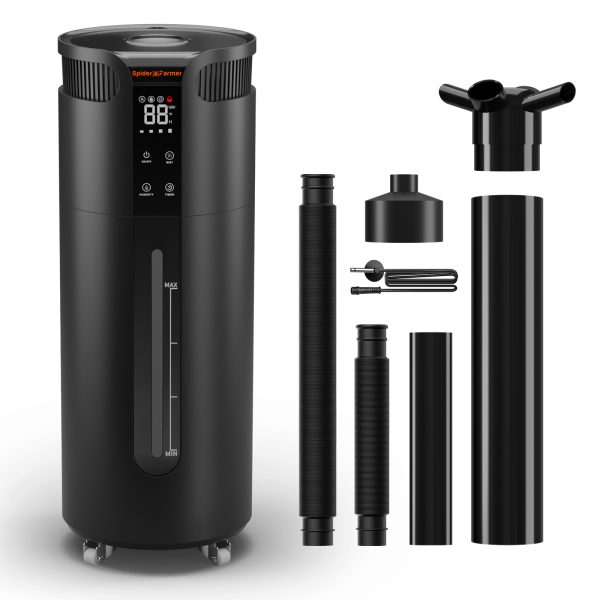
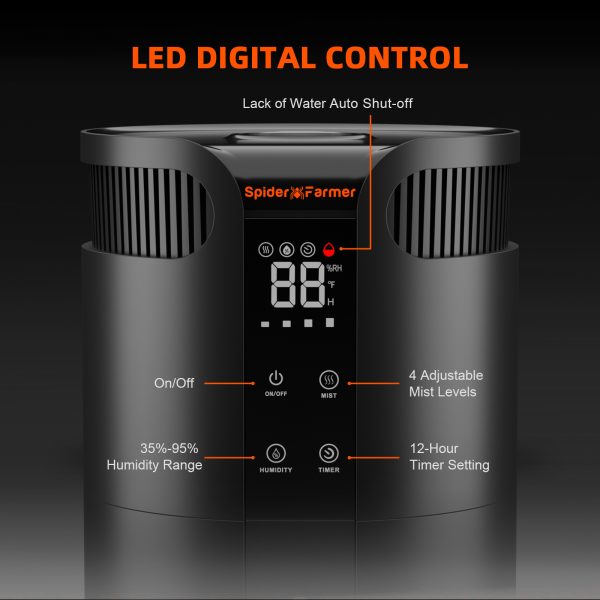
Humidity Mode:Easily manage humidity levels. If you connect a humidifier, set the outlet to Humidity Mode, and specify it as a humidifying device, the outlet will power on to increase humidity when levels drop below your desired range. This way, you can maintain optimal humidity for your plants without constant monitoring.
CO₂ Mode:Manage CO₂ levels by connecting a CO₂ device. Set the outlet to CO₂ Mode and specify whether it should add or vent CO₂. The outlet will activate based on your target CO₂ levels, giving you precise control over your grow room environment.
7.3 Important Note for Inline Fans with Digital Temp/Humidity Controller
- When using an Inline Fan with a digital temperature and humidity controller, do not use the fan’s built-in sensor. Instead, use the temperature, humidity, and light sensors that come with the GGS AC10 Power Strip Kit to control your device automatically.











shumitzra –
This is what SF should be doing and if this is it why fabricate and sell expensive heaters, vents, humi/dehumi etc with digital controlers?? this is a mistake we only need gadgets with off and on.
Just a tip MarsHydro dudes and dudettes a lot of us (big slice of your target) dont buy your heaters humi/dehumi etc becouse of it
Grower love
Ali Furkan (verified owner) –
Klasse Teil. Massig Anschlüsse und viele Möglichkeiten, wenn auch (momentan noch) nicht alle verfügbar sind. Die Installation geht schnell, die Anleitung dazu ist verständlich. Der Lieferumfang ist üppig. Einziges Manko ist die Anzahl der beigelegten kurzen Kabel zum Verbinden der Splitter. Es sind drei Splitter beigelegt, aber nur zwei kurze Kabel. Wenn da noch ein weiteres beigelegt werden würde, wäre der Umfang komplett. Die Verarbeitung sieht, bis auf die Splitter, sehr gut aus. Bei den Splittern sieht man in der Buchse die Kabel frei liegen. Sie sind auch generell minderwertig verarbeitet. Keine Ahnung, ob man auch herkömmliche Splitter verwenden kann, sind ja schließlich Telefonkabel.
Aber alles in allem super. Alle Geräte wie Luftbefeuchter, Ablauf, Zuluft, und Ventilatoren lassen sich problemlos in allen möglichen Belangen einstellen. Die App funktioniert auch sehr einfach. Sehr gut durchdacht für intuitie Bedienung. Nur an eine Möglichkeit zur Umbenennung der einzelnen AC Dosen wurde nicht gedacht. Bitte nachrüsten.