


")


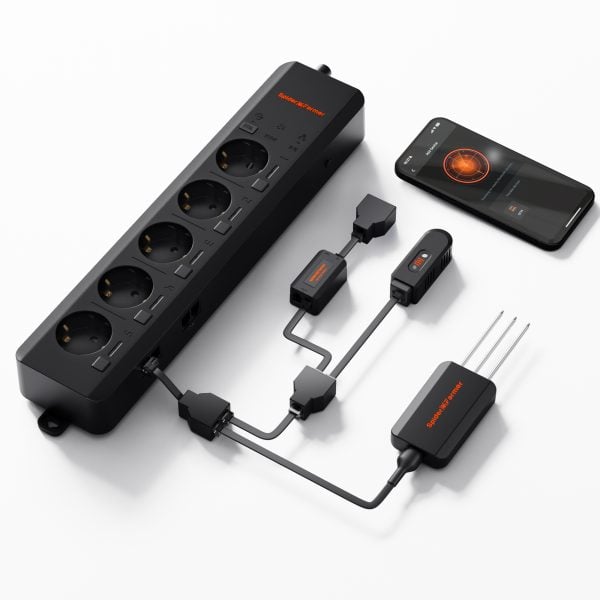
Spider Farmer App Functions and Settings
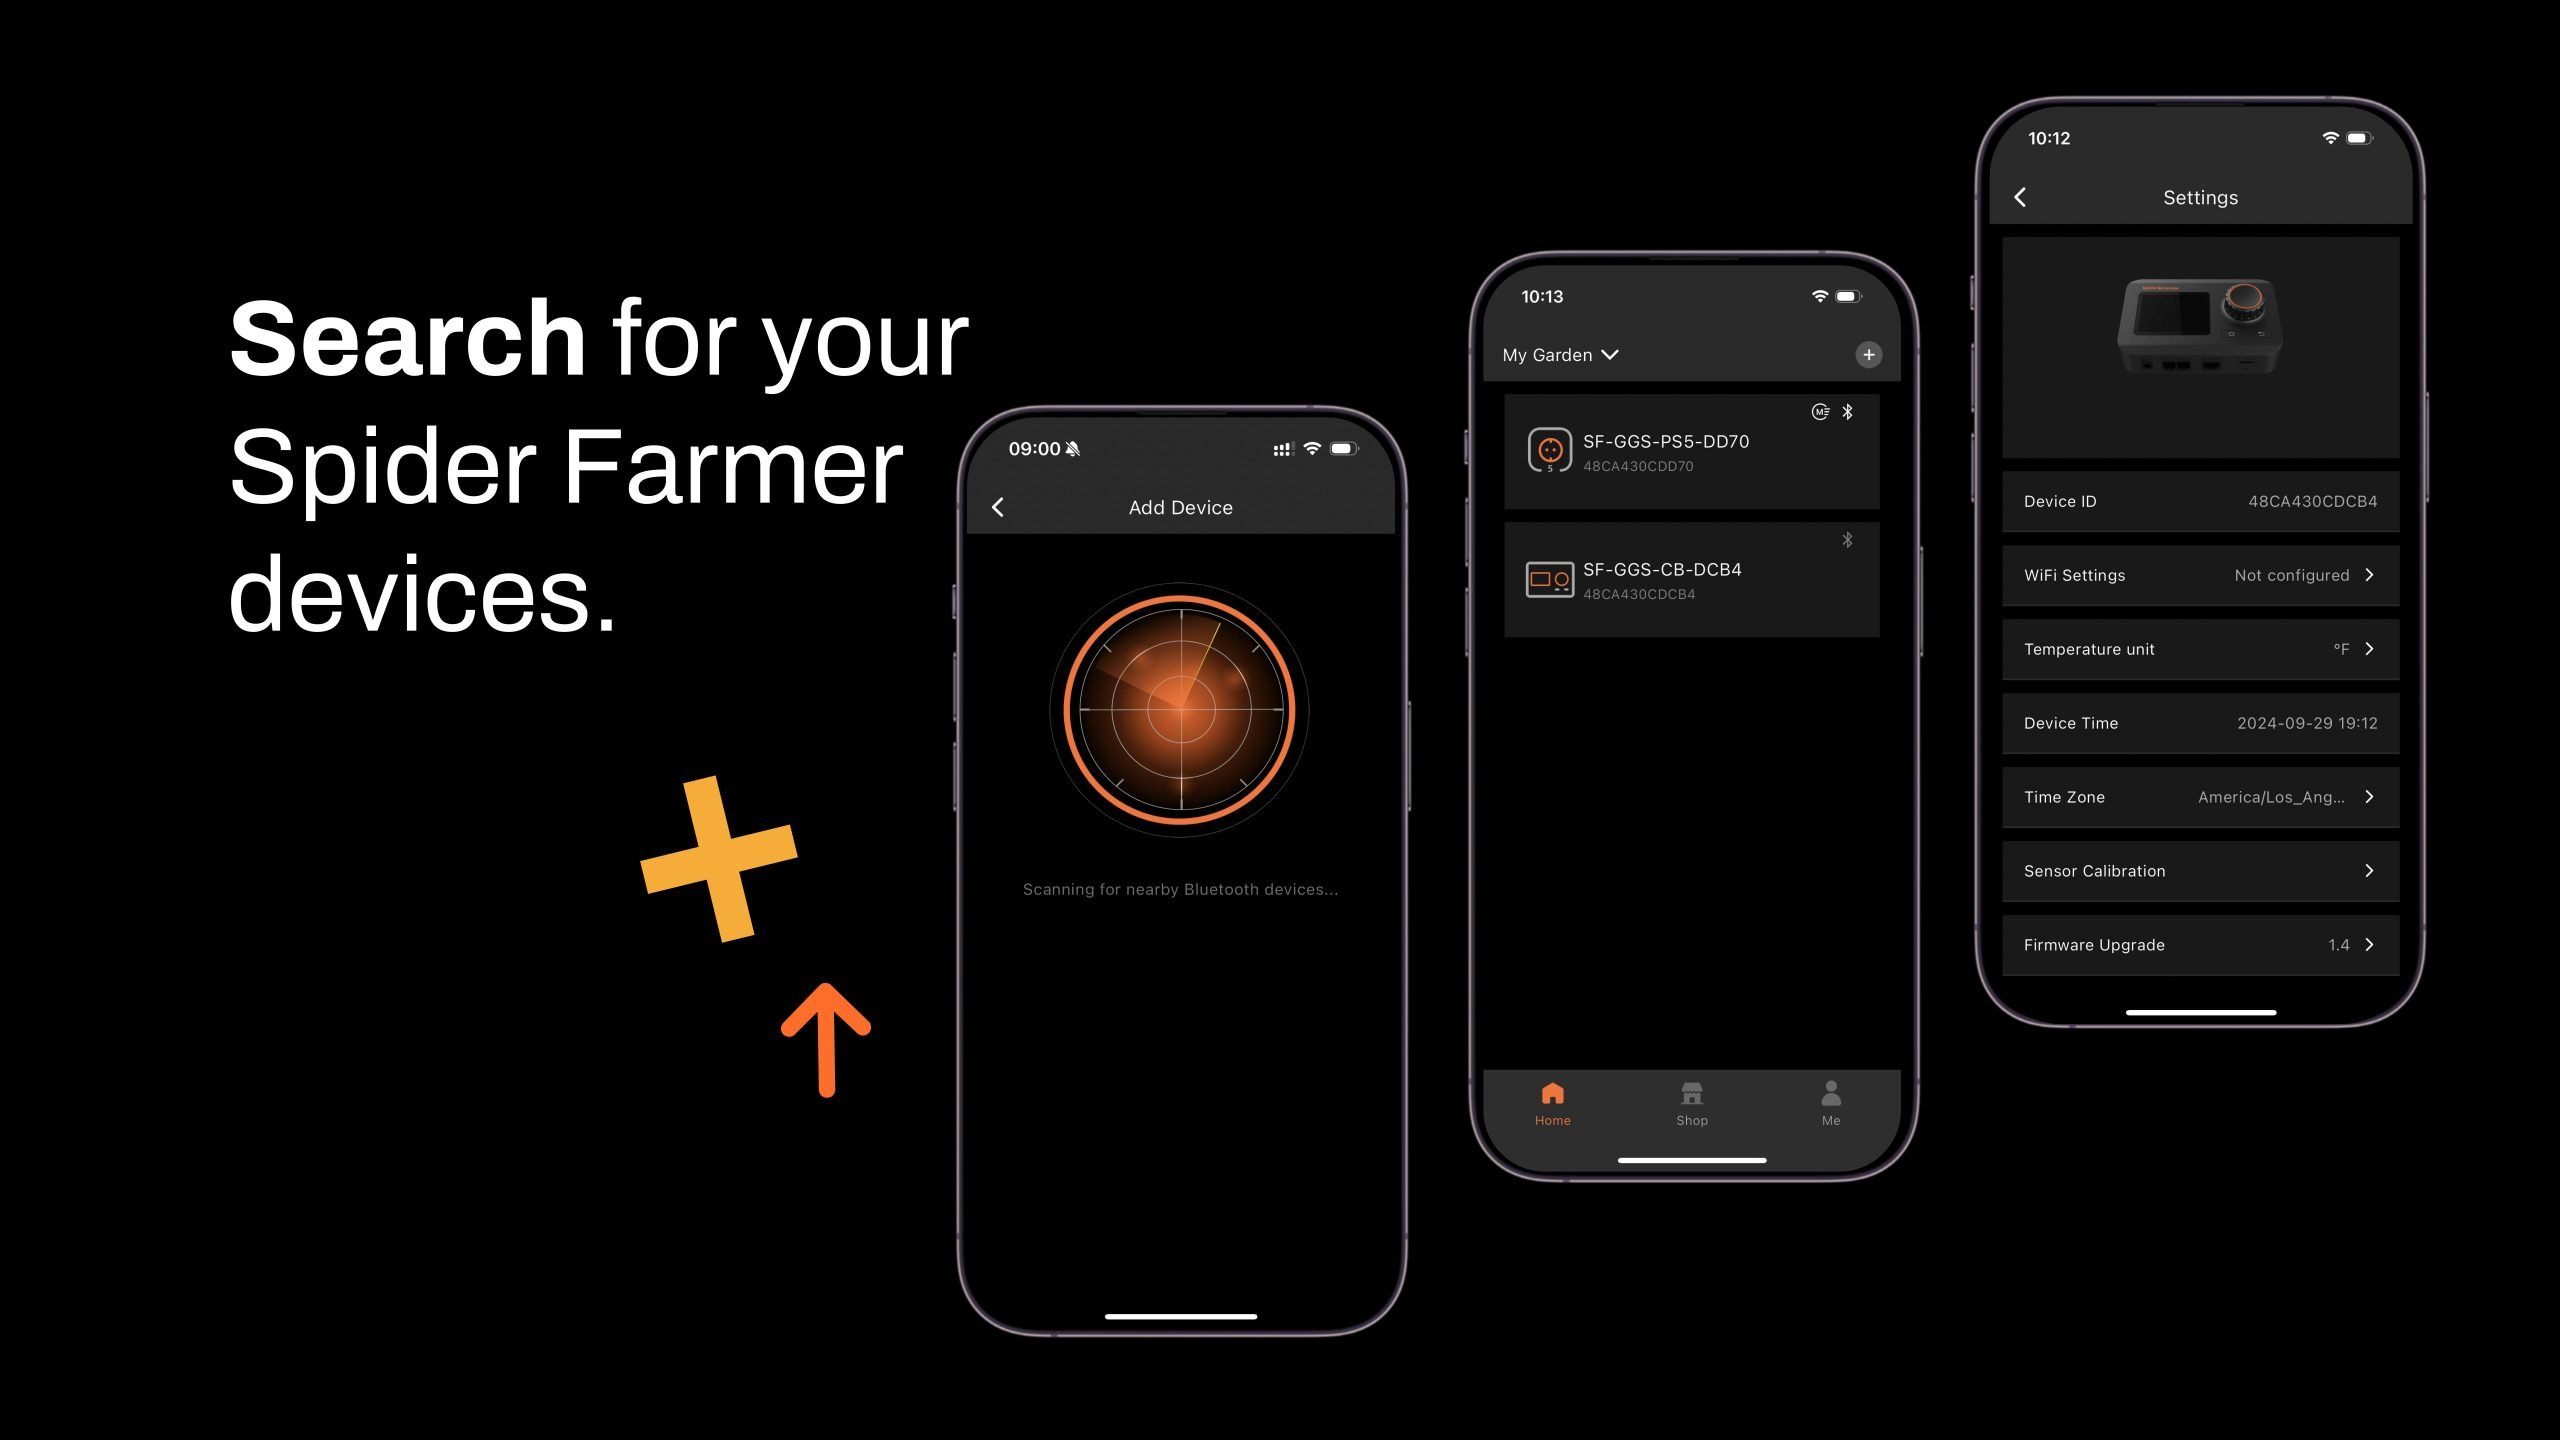
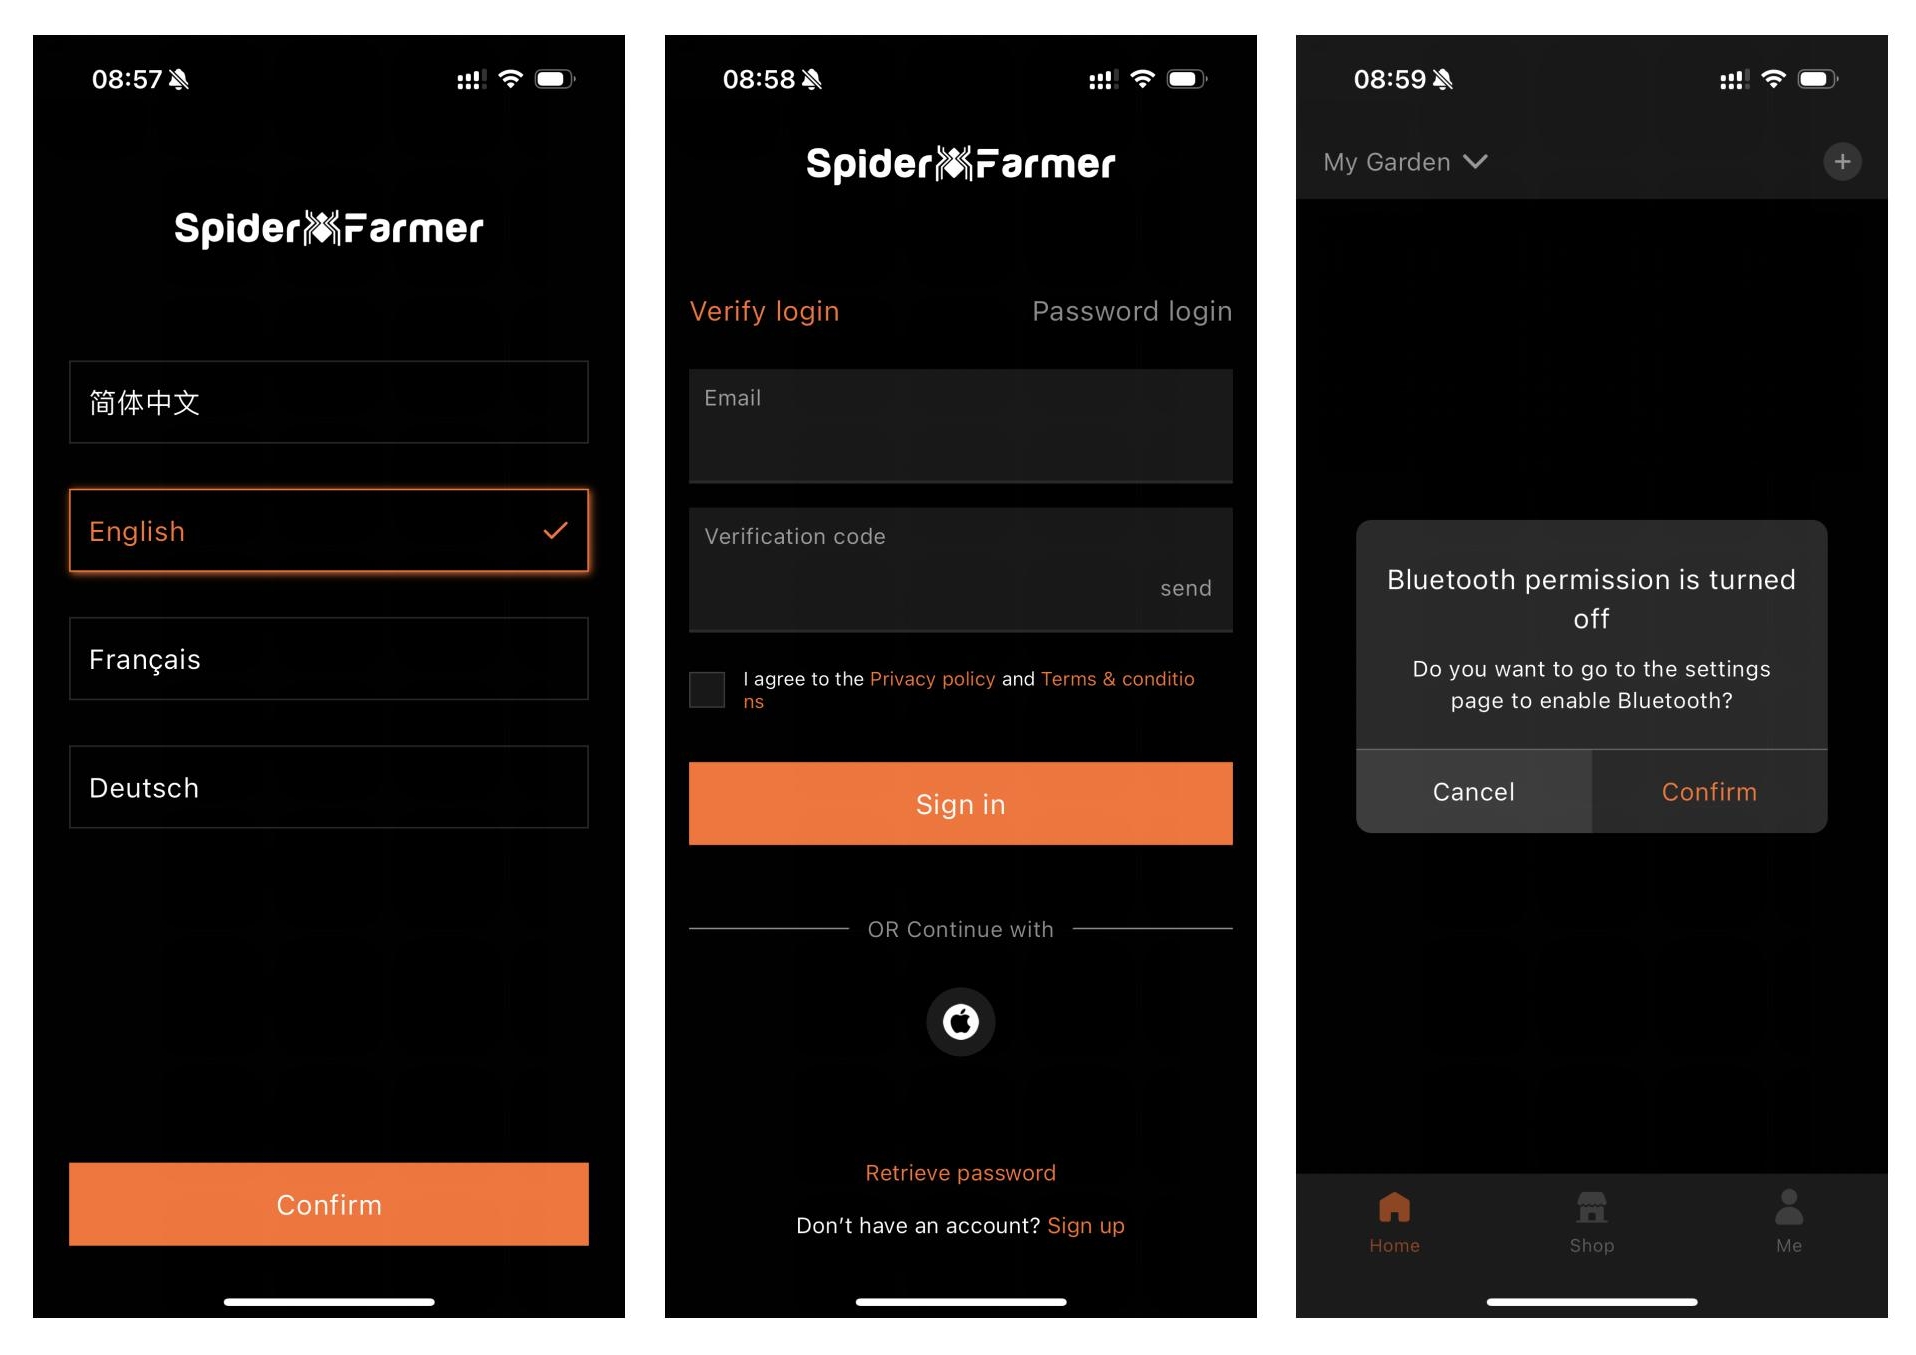
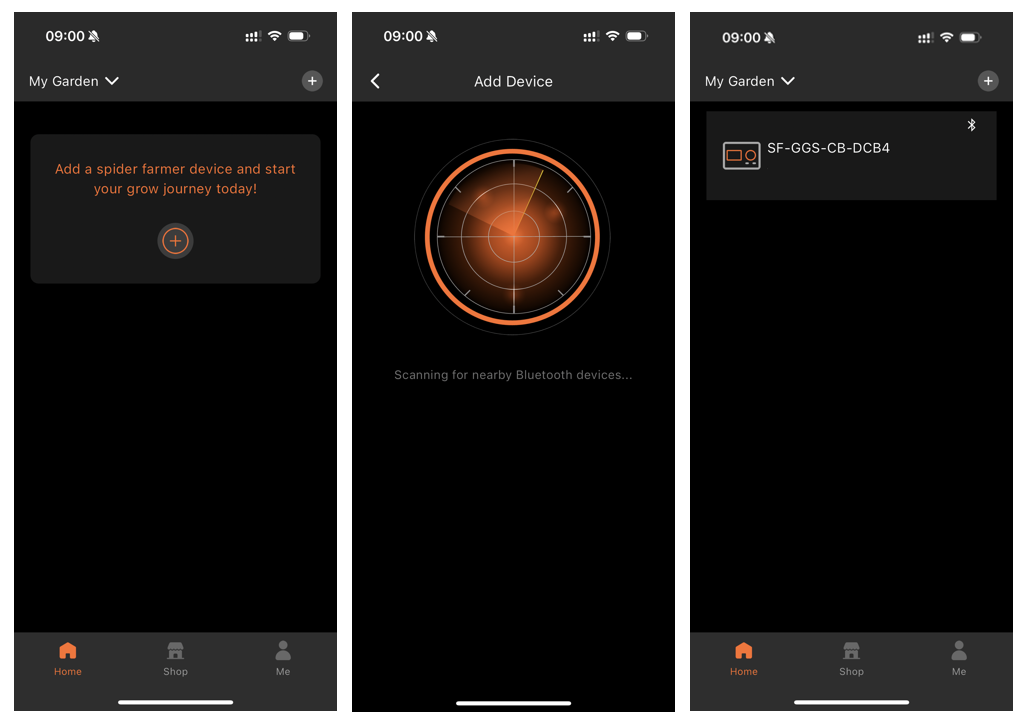
1. Download the Spider Farmer App
Search for 'Spider Farmer' on Google Play or the App Store, and download the app.

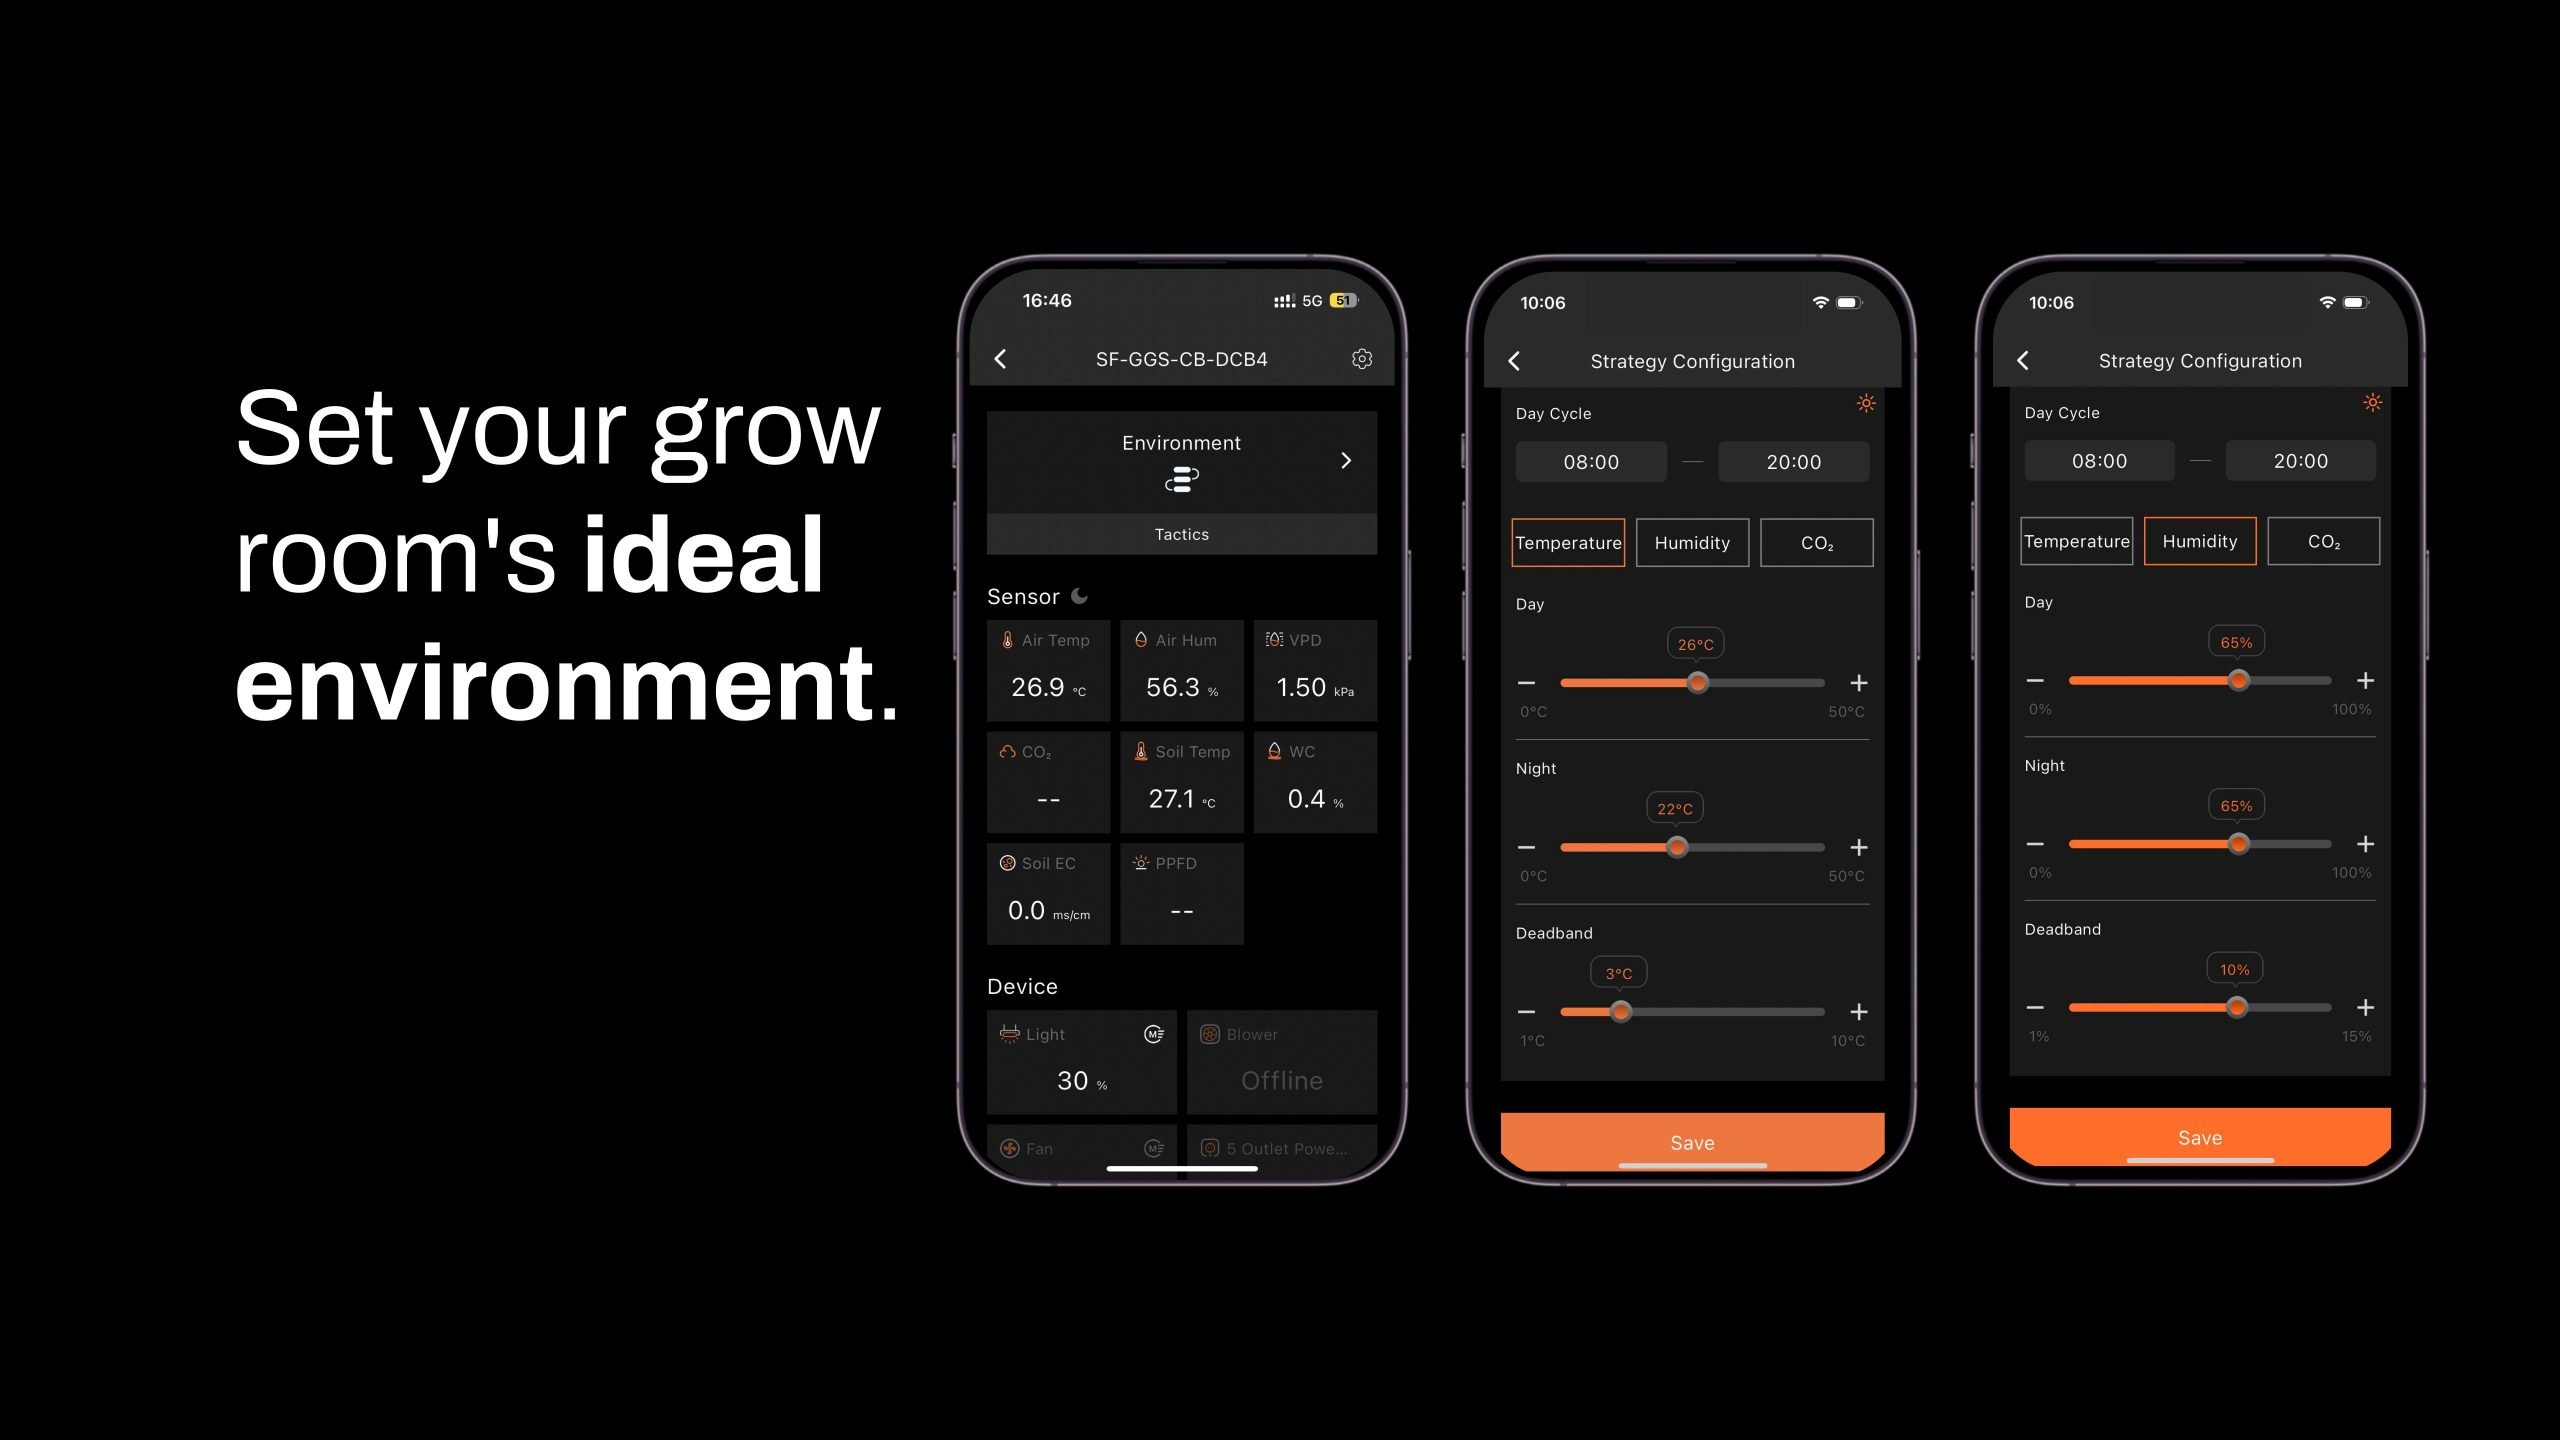
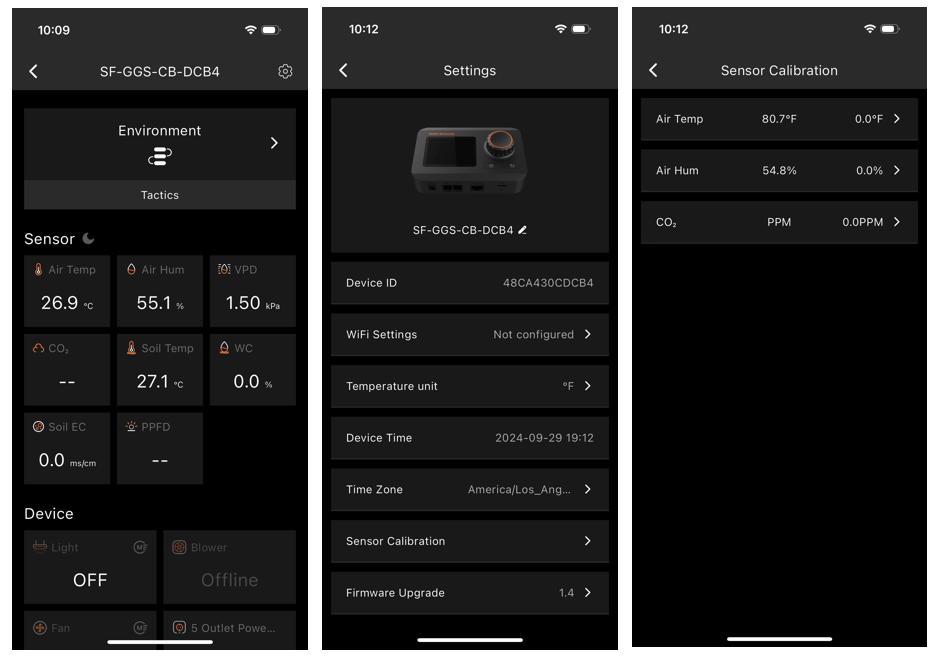
4. What Data Can You View on the Spider Farmer App?
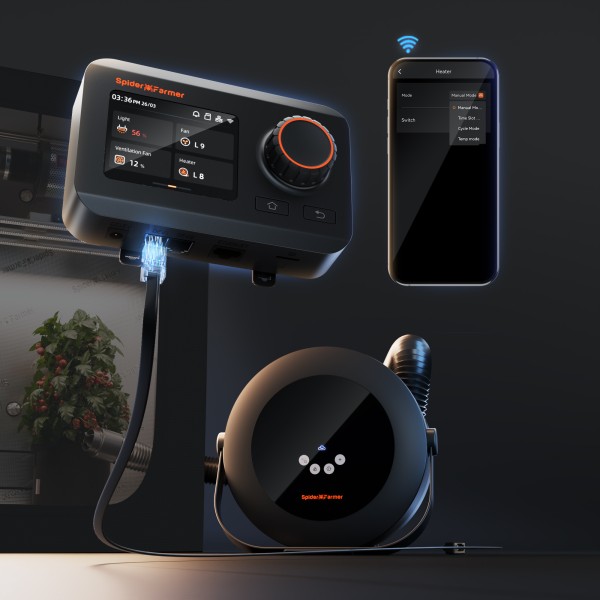
4.1 Time Display:
Quickly check the current date and time in your grow room with ease.
4.2 Day/Night Icon:
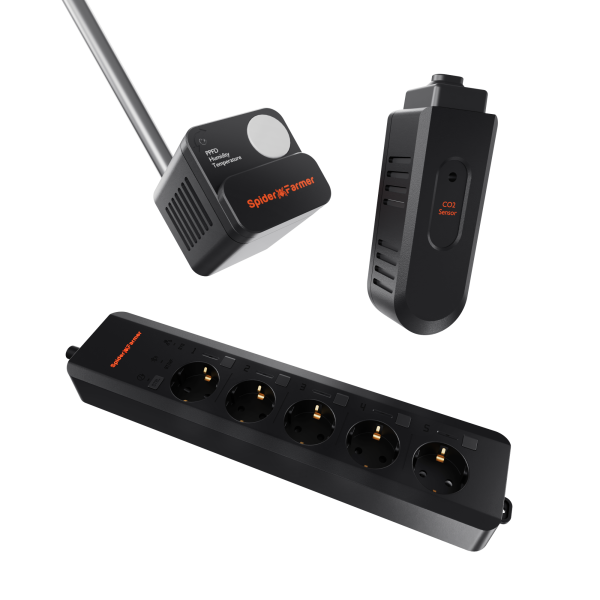
See at a glance if your grow tent is in its light or dark cycle. A sun icon appears when light is detected, and a moon icon shows during dark periods. This feature allows you to monitor light conditions without opening the tent. (Requires the temperature, humidity, and light sensor included in this GGS AC5 Power Strip kit)
4.3 VPD and Temperature/Humidity Display:
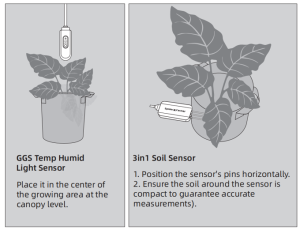
Get precise readings for temperature, humidity, and Vapor Pressure Deficit (VPD). (Requires the temperature, humidity, and light sensor included in this GGS AC5 Power Strip kit; Tip: Place the sensor at canopy level in the center of your growing area for the most accurate readings.)
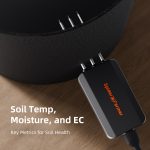
4.4 Soil Data Display:
Ideal for soil growers, this display shows real-time soil temperature, moisture, and Electrical Conductivity (EC).
4.5 CO₂ Display:
(This kit doesn't include the sensor required to measure that data. Please purchase the GGS Sensor Pro Kit separately.)
With an optional CO₂ sensor, you can directly monitor CO₂ levels, enabling you to optimize CO₂ concentration for faster growth. (Note: This sensor is sold separately and is not yet available in Europe—stay tuned.)
4.6 PPFD Display:
(This kit doesn't include the sensor required to measure that data. Please purchase the GGS Sensor Pro Kit separately.)
4.7 Sensor Placement Recommendations


Neal (verified owner) –
Very Cool and nice Gadget for my Growbox
aradinorbert –
This strip kit is awesome, and one of the most practical birthday presents I’ve every received!
It’s very easy to set up, but for now at least you do have to manually enter your Wi-Fi network and password once, which let’s be honest is also not rocket science.
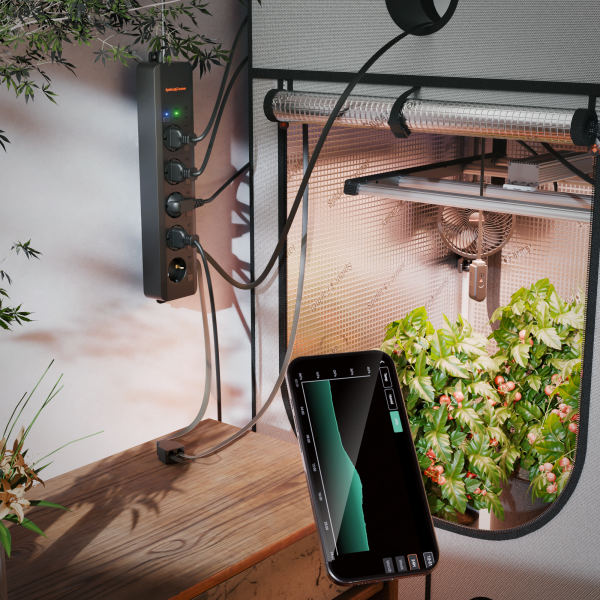
You can individually set timers for every socket to help automatize your grow tent, which for someone like me who has to be away from home for days is a real relief.
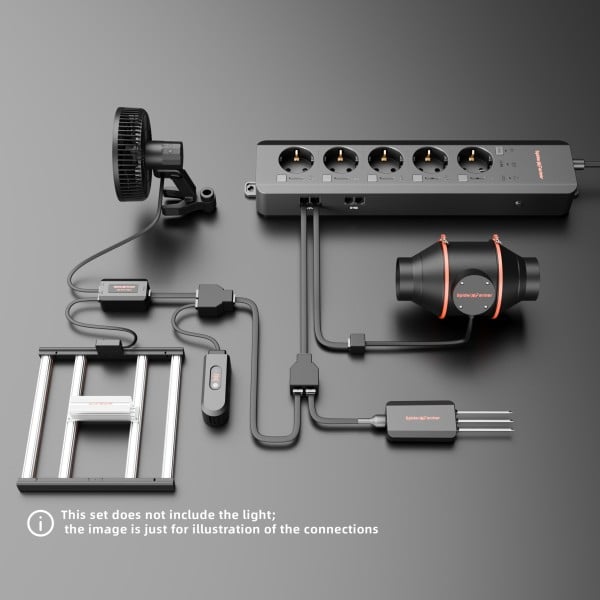
There are more than enough long RC cables in the kit so leading them out of the tent to the Power Strip is no issue at all.
It doesn’t matter if you use it for your grow setup, or your other appliances that you want to set timers for, or remote control This power strip is a very useful device.
Just like the other reviewers I can only recommend it.
Mario (verified owner) –
This is a game changer!
Jerry (verified owner) –
This is a game changer for sure gonna buy for the rest of the tents
goldy.goldscheid (verified owner) –
Ich bin sehr zufrieden mit der Controllleiste. Super von unterwegs aus steuerbar und passt super zu meinem Grrow Set .
Cyberpunk (verified owner) –
I love this Power Strip Kits . I can control my tent if I am far . For example my dehumidifier,air condition are wifi . With this I can track if I have problem with heat, cold or humidity and fixed online without even need to be in the room . Amazing product for people who want to control everything from the phone .
Lars –
Love this amazing 🫶🏻🙏🏻
Lars –
Ich würde es lieben so ein geiles Produkt 😍
Lars –
Das ist einfach die Innovation des growings ich freue mich Seite Monaten auf dieses Produkt ich würde es sofort kaufen wenn ich Geld hätte 😍🤩
Marcel van almsick –
Ich habe die smarte Steckdose im Betrieb und diese erleichtert mir die Arbeit enorm . Ich kann alle meine Verbraucher darüber steuern und kann somit alles komplett programmieren! Das System läuft seit dem Update auch wirklich perfekt und ohne jegliche Ausfälle.
Wirklich eine Empfehlung wert diese steckdosenleiste. Verarbeitung und Qualität überzeugen ohne Einschränkungen
Mateo –
Can’t wait to take full control of my grow with the AC5! Remote monitoring, smart automation, and total peace of mind GUYS.
Anonymous (verified owner) –
this is the best piece of grow equipment i have ever spent money on. automate your vpd, co2 and more for only 100bucks. thats a steal.