


Microgreens are categorized into different plant families, such as Amaranthaceae (amaranth, beet, spinach), Apiaceae (carrot, celery, dill), and Brassicaceae (broccoli, cabbage, radish). They are known for their high concentration of vitamins, minerals, antioxidants, and other bioactive compounds, making them a nutrient-dense addition to any diet. Research indicates that microgreens can contain 4 to 40 times the nutrient levels of their mature counterparts.
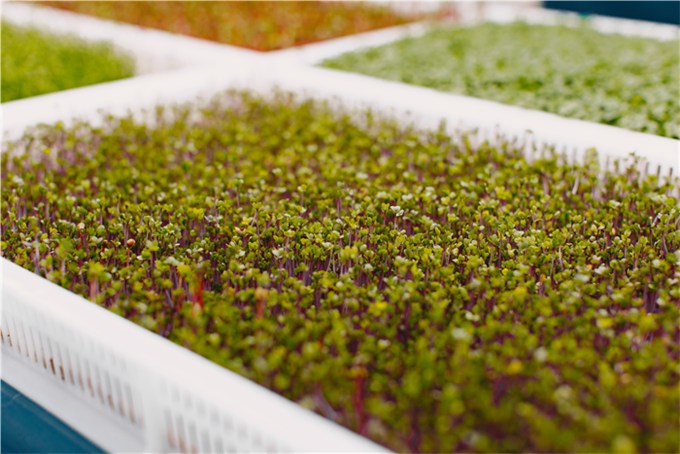
What Are Microgreens
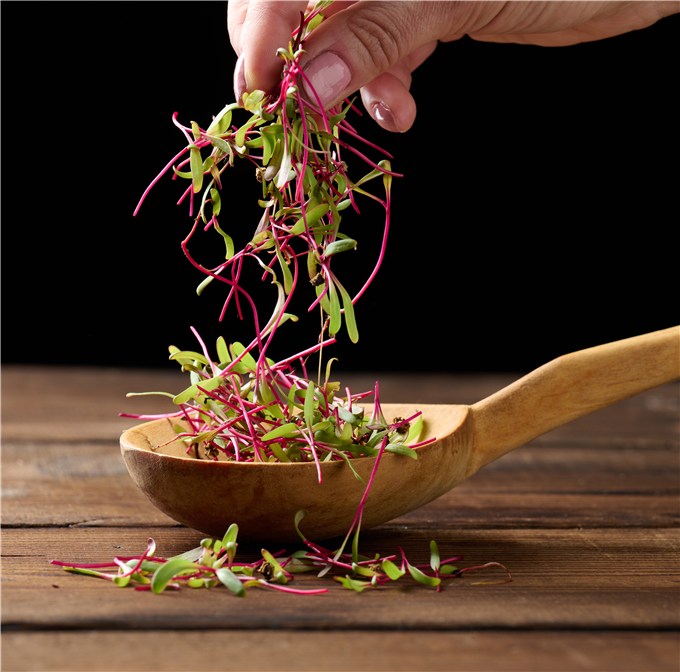
Yes, microgreens are good for you. These greens are not only nutritious but also versatile in culinary applications. They can be added to salads, sandwiches, smoothies, or used as garnishes for soups and main dishes. Additionally, microgreens are easy to grow at home, requiring minimal space and resources, making them an accessible option for urban gardeners. Their quick growth cycle and ability to be grown year-round indoors further add to their appeal.
What to Do with Microgreens?
Microgreens make a perfect addition to salads, providing a fresh and vibrant taste. You can also use them as a garnish for soups, sandwiches, and main dishes to enhance their visual appeal and add a touch of freshness.
What to Do with Microgreens?
Microgreens can be blended into smoothies or juices for an extra dose of vitamins and minerals. They can even be sprinkled on top of pizzas or added to omelettes and stir-fries. Given their delicate nature, it’s best to add them towards the end of cooking to preserve their nutrients and flavor. Whether you’re looking to elevate a simple dish or add a nutritious boost to your meals, microgreens are a fantastic and easy-to-use ingredient.
Disadvantages of Microgreens
While microgreens offer numerous benefits, there are a few potential disadvantages to consider. One concern is their relatively high cost compared to mature vegetables, which can make them less accessible for regular consumption. Additionally, their short shelf life means they need to be consumed quickly to avoid spoilage. There is also a risk of contamination if they are not grown in hygienic conditions, as they can harbor harmful bacteria like E. coli and Salmonella. Lastly, some people may find their intense flavors overpowering, limiting their appeal in certain dishes.
You can grow microgreens from a wide variety of seeds, including those of vegetables, herbs, and even some grains. While there are microgreen seeds, which can be bought from online retailers and specialty seed suppliers, you can technically use any type of seed to grow microgreens.
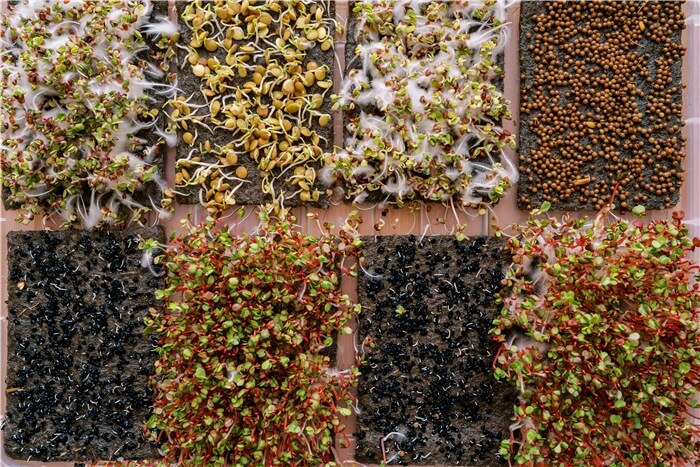
Can You Grow Microgreens from Any Seed?
However, it’s important to note that some seeds are more commonly used and may be more suited for microgreen production. For example, arugula, beet, broccoli, cabbage, cilantro, kale, and radish are popular choices for growing microgreens. Additionally, it’s recommended to use organic and untreated seeds to avoid potential issues with pesticides.
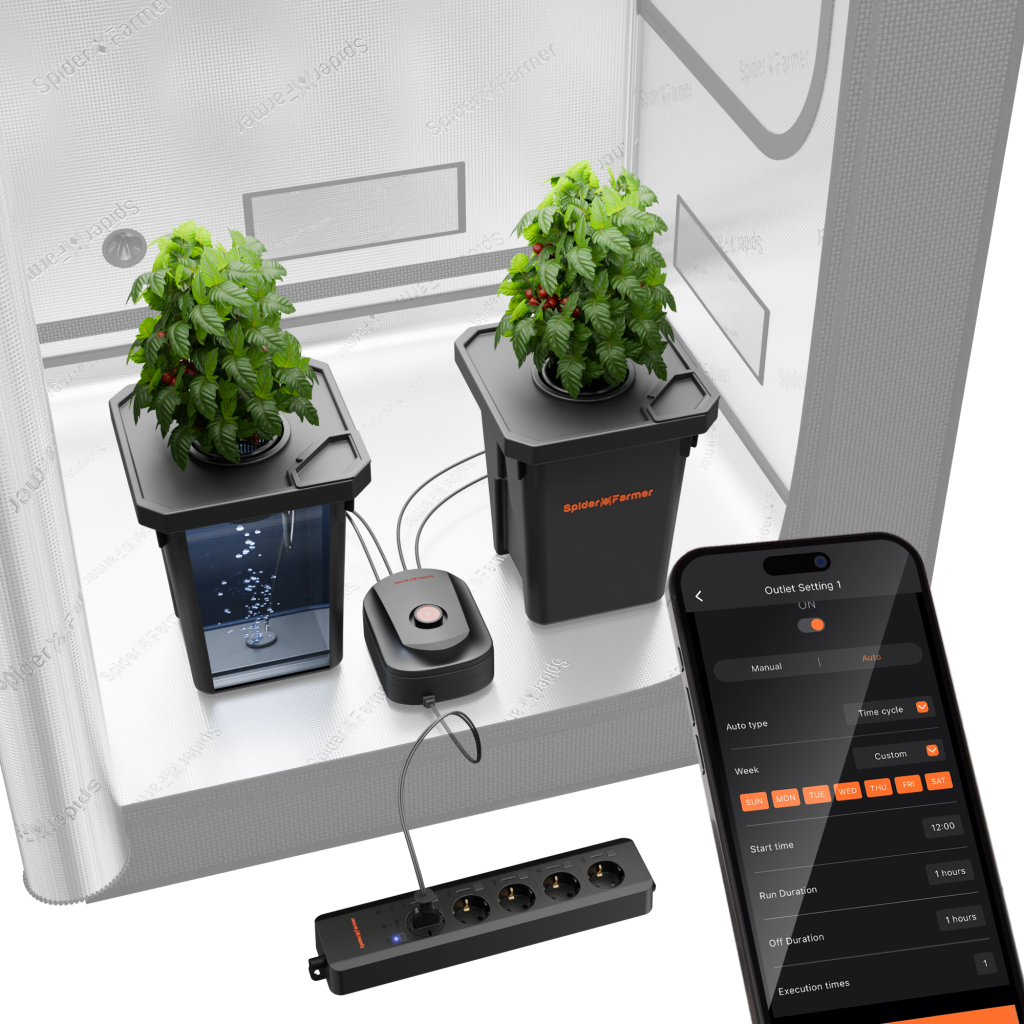

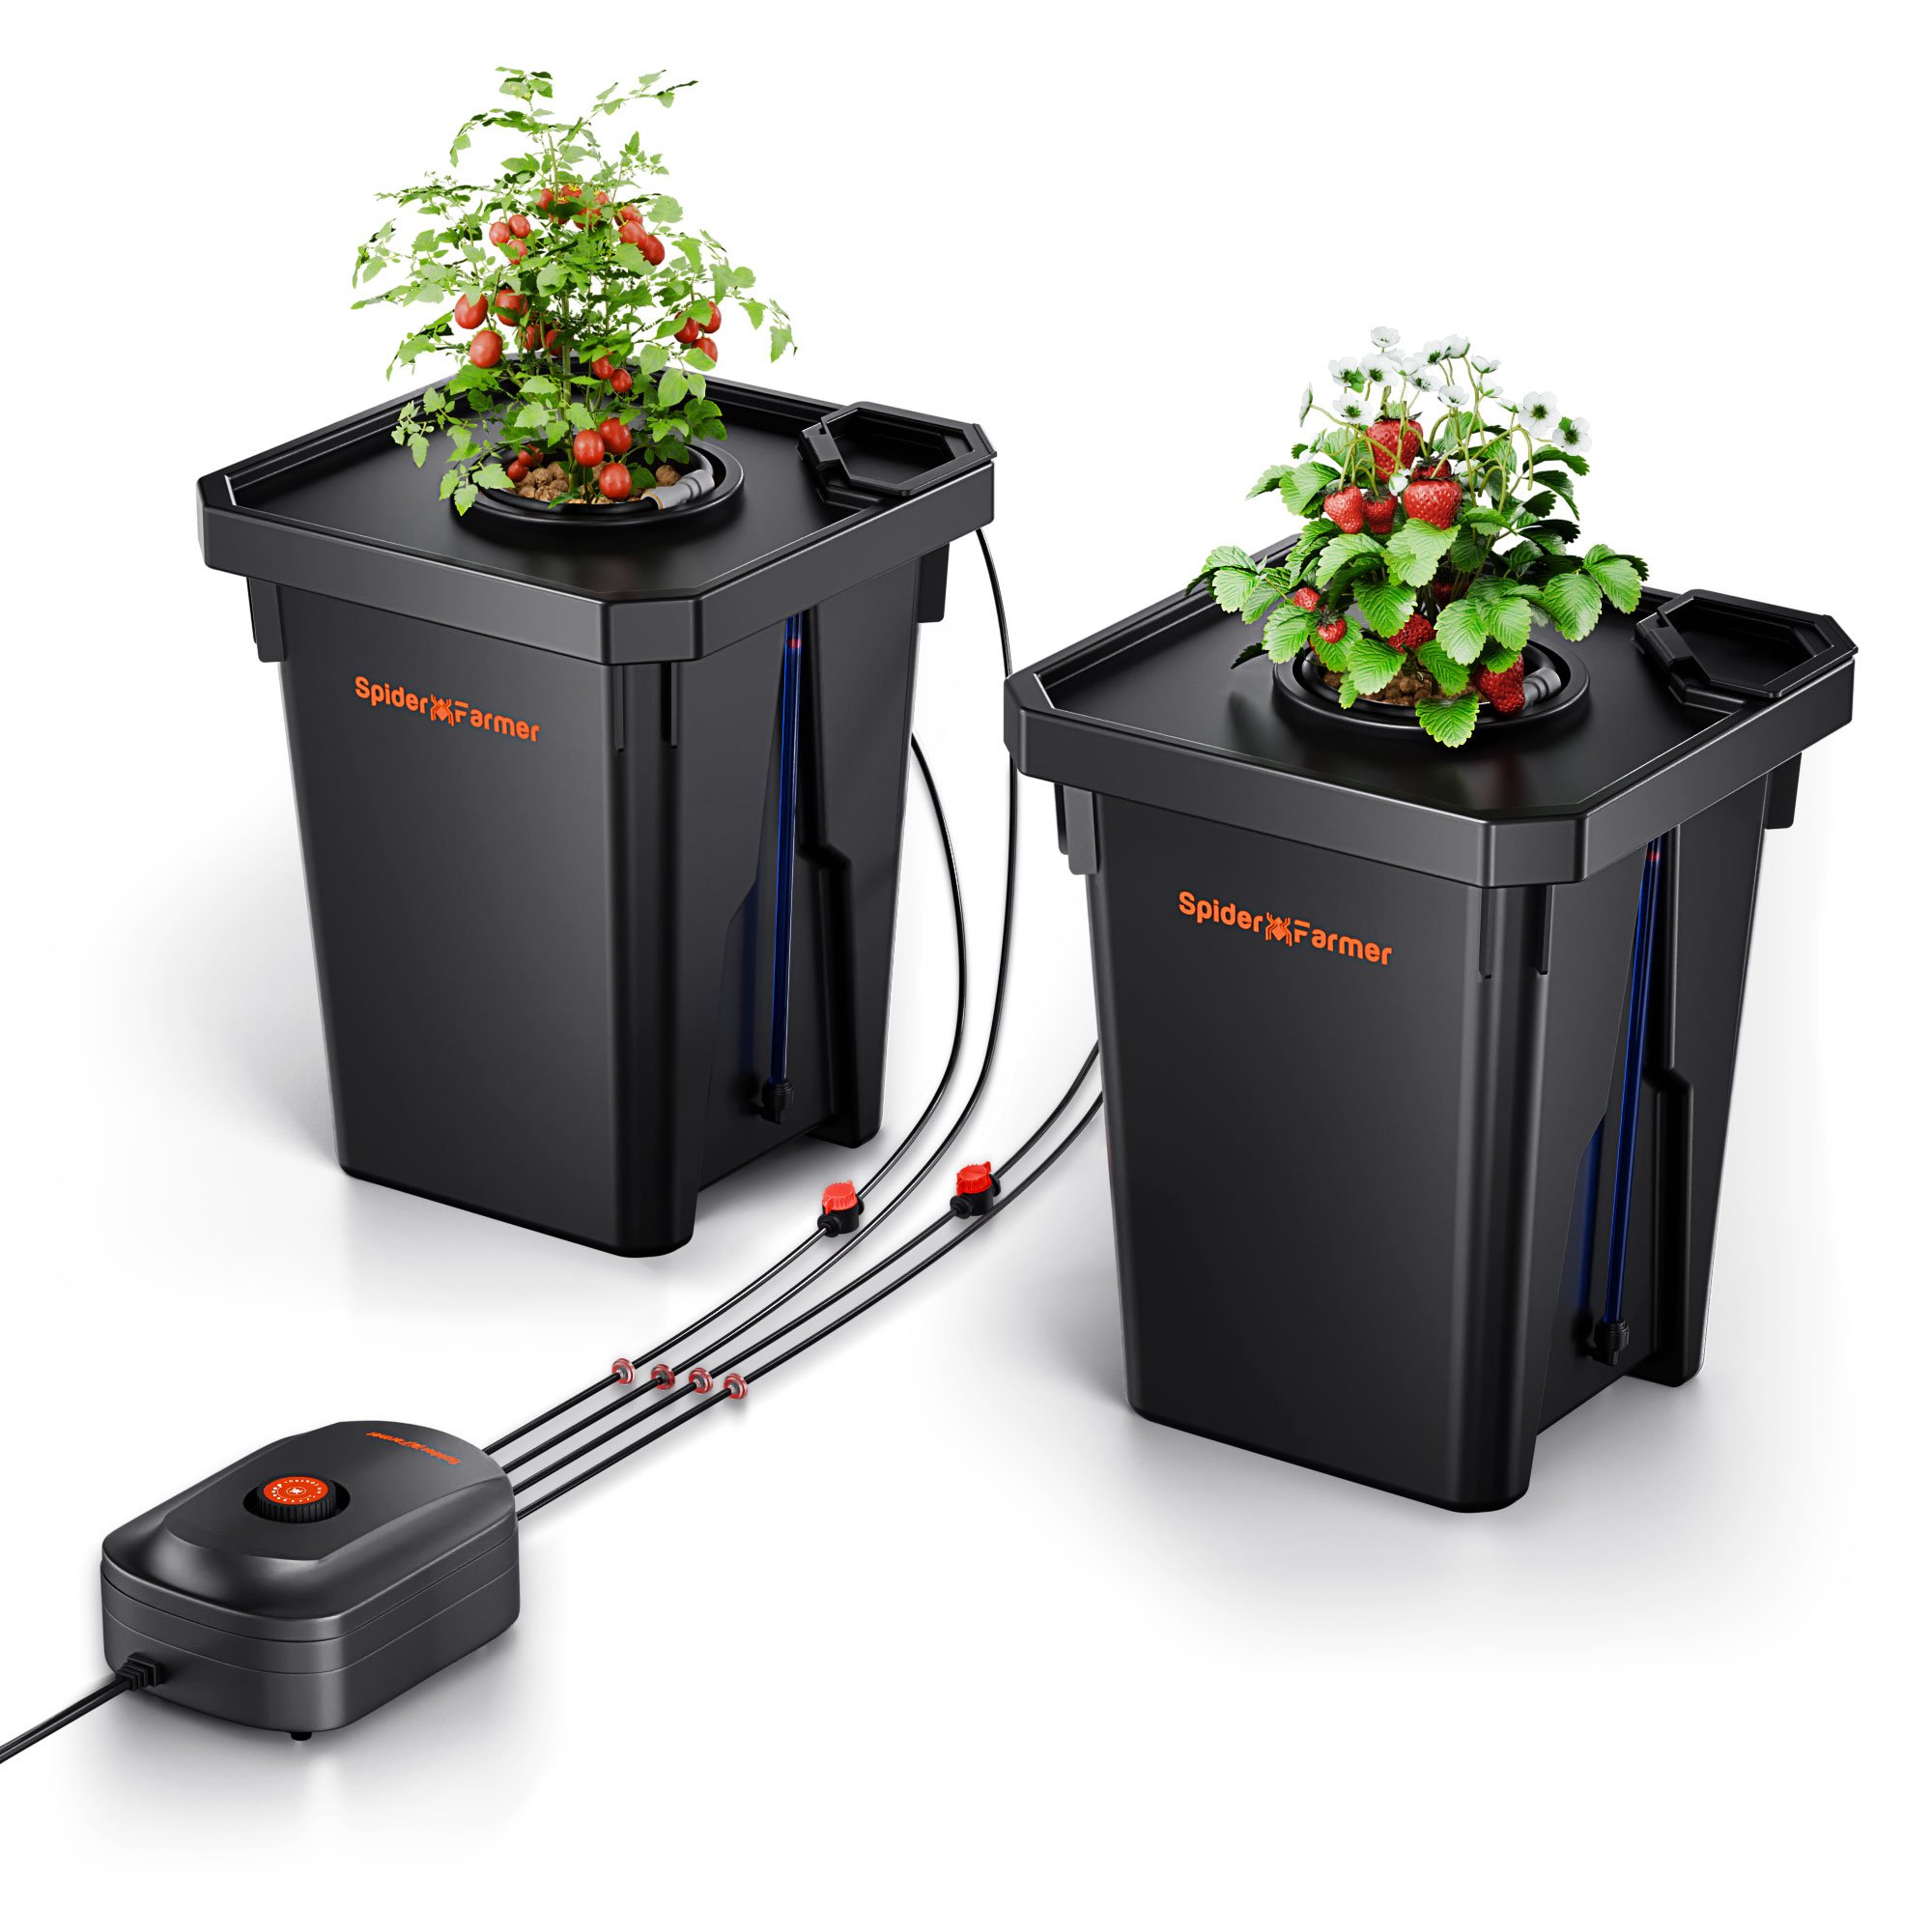
Spider Farmer DWC Hydroponic Growing System with Top Drip Kit, 7-Gallon Deep Water Culture, 2-Bucket Setup, and GGS AC5 Power Strip Kit for Smart Watering Control
In stock
Original price was: 192,99 €.177,99 €Current price is: 177,99 €.

Spider Farmer DWC Hydroponic Growing System with Top Drip Kit, 7-Gallon Deep Water Culture, 4-Bucket Setup, and GGS AC10 Power Strip Kit for Smart Watering Control
Out of stock
Original price was: 309,99 €.266,99 €Current price is: 266,99 €.
Spider Farmer DWC Hydroponic Growing System with Top Drip Kit, 7-Gallon Deep Water Culture, 4-Bucket Setup, and GGS AC5 Power Strip Kit for Smart Watering Control
Out of stock
Original price was: 279,99 €.239,99 €Current price is: 239,99 €.-10位排插欧规-1024x1024.png)

Spider Farmer DWC Hydroponics Grow System 2 Buckets + GGS AC10 Power Strip Kits
In stock
Original price was: 222,99 €.205,99 €Current price is: 205,99 €.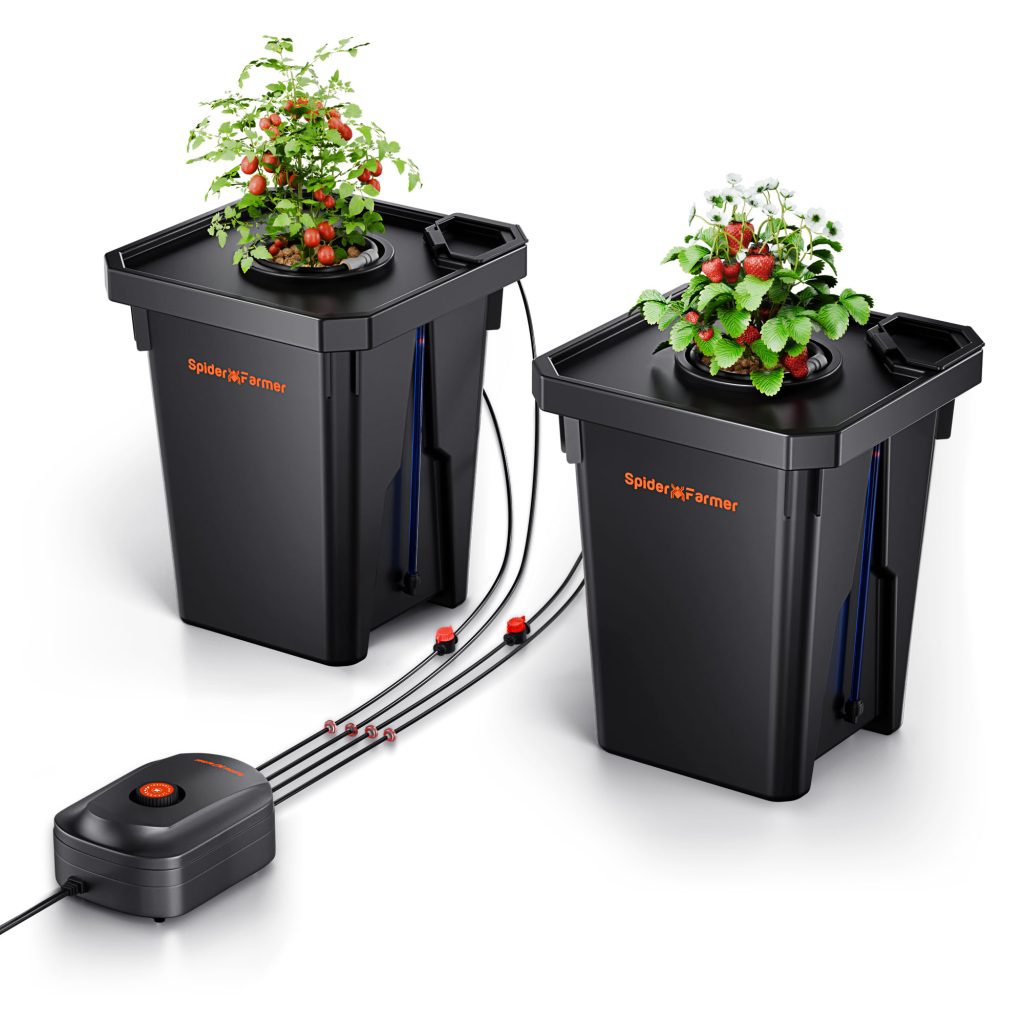

Spider Farmer DWC Hydroponics Grow System with Top Drip Kit 7 Gallon Deep Water Culture 2 Buckets
In stock
Original price was: 109,99 €.92,99 €Current price is: 92,99 €.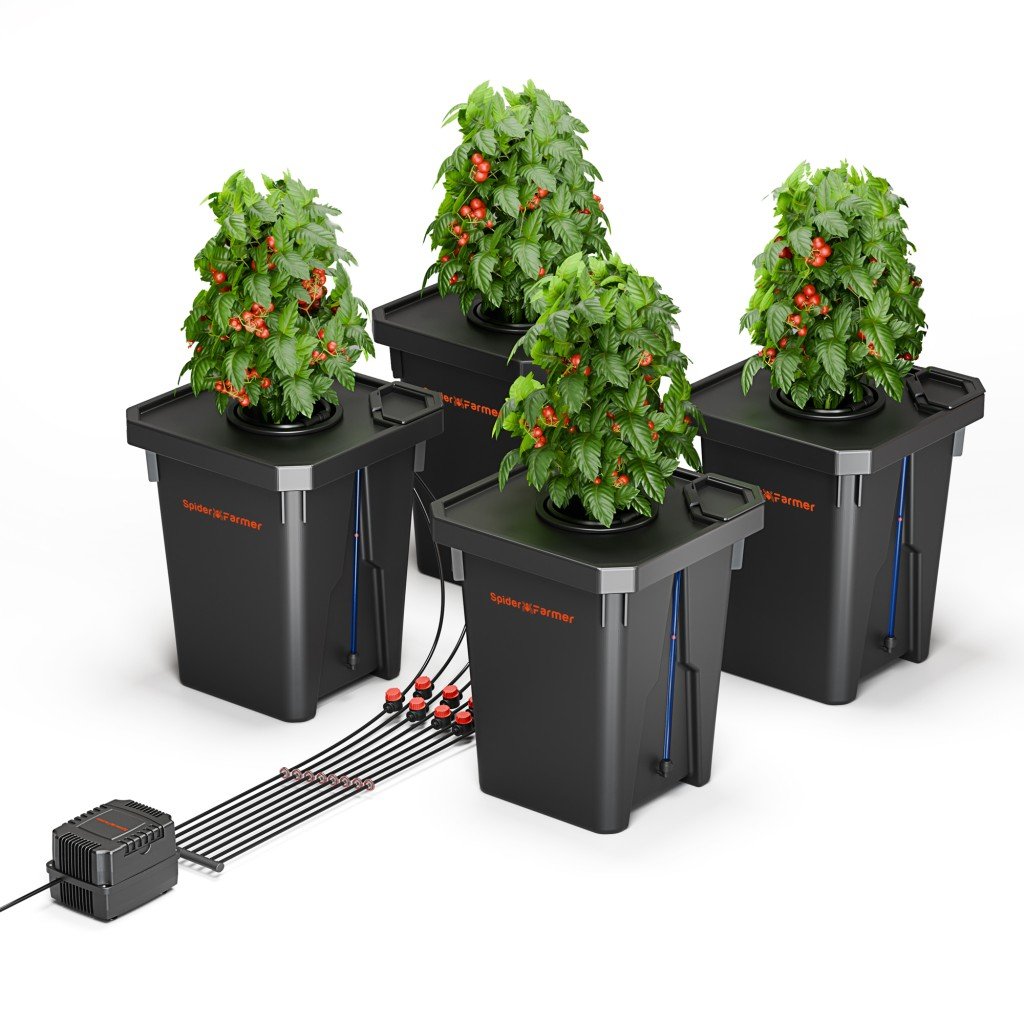
Besides, you can grow microgreens in containers. The best containers for growing microgreens offer proper drainage, aeration, and are made from food-safe materials. Here are some top choices:
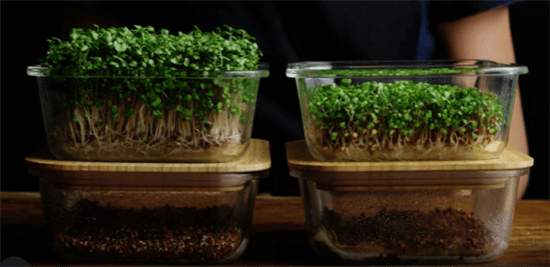
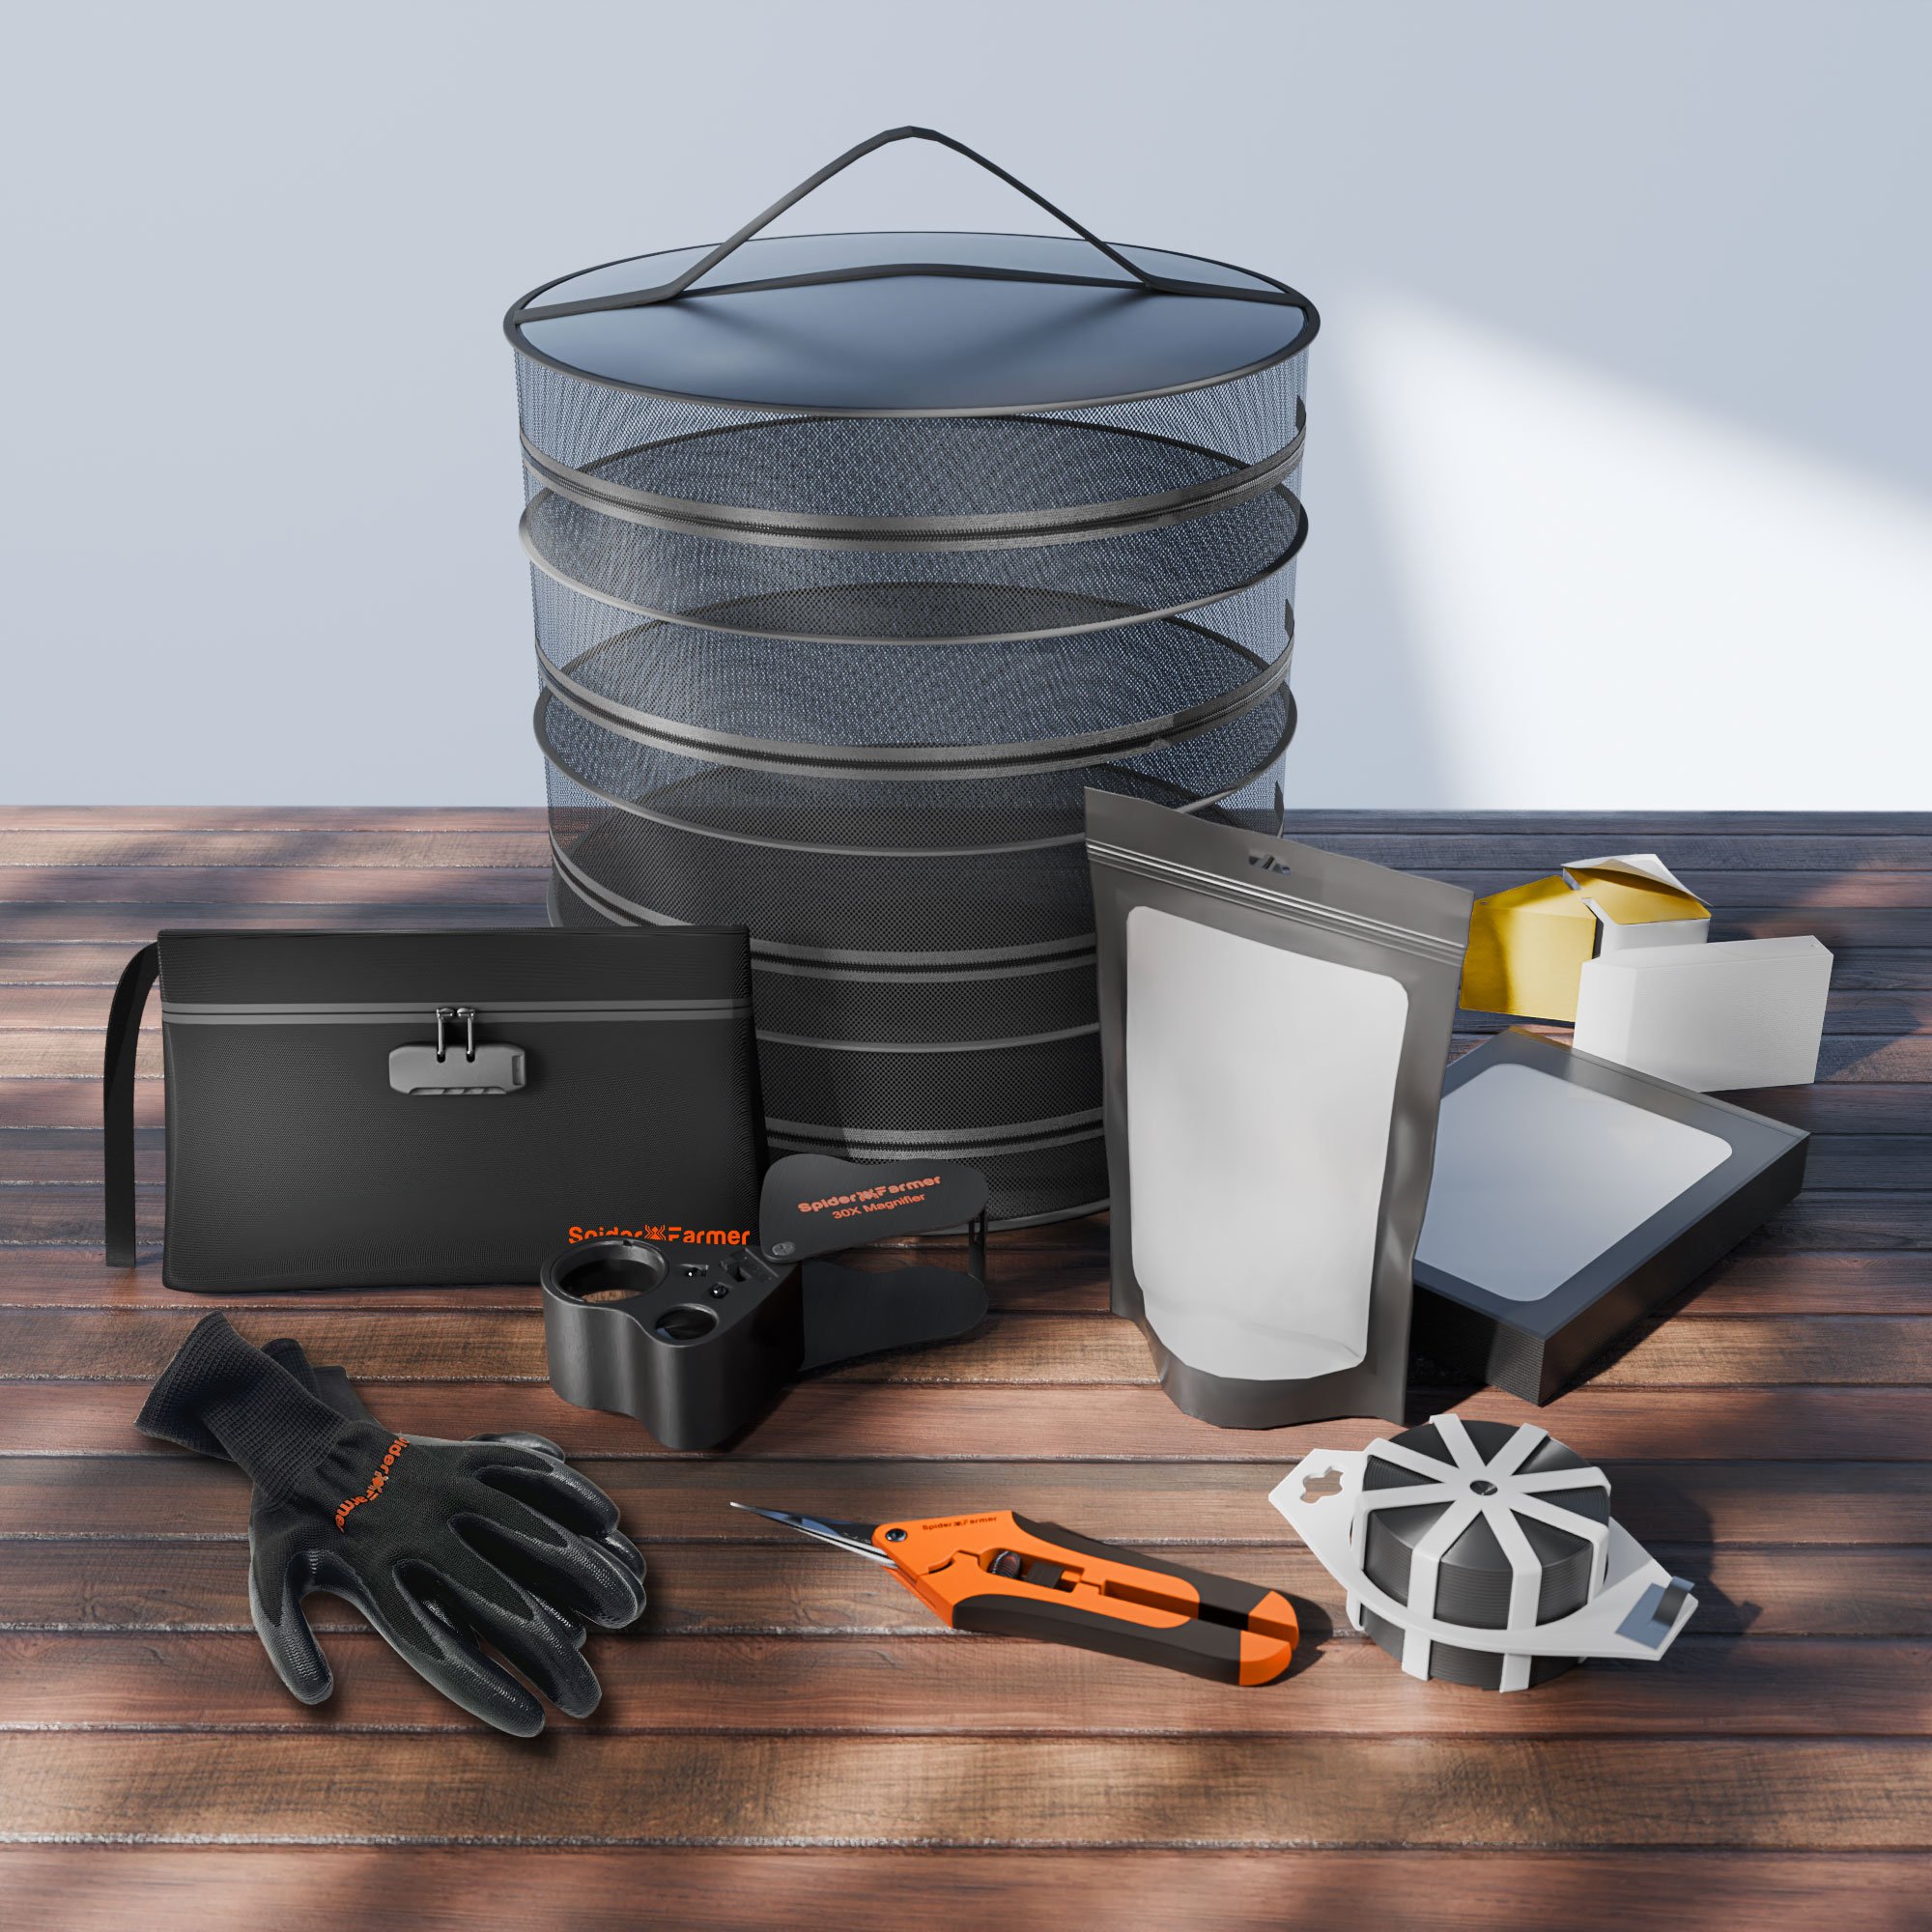
Microgreens Kits
- Glass Containers: Glass jars or containers are non-toxic, easy to clean, and can be reused indefinitely. They are a stylish and sustainable option for growing microgreens.
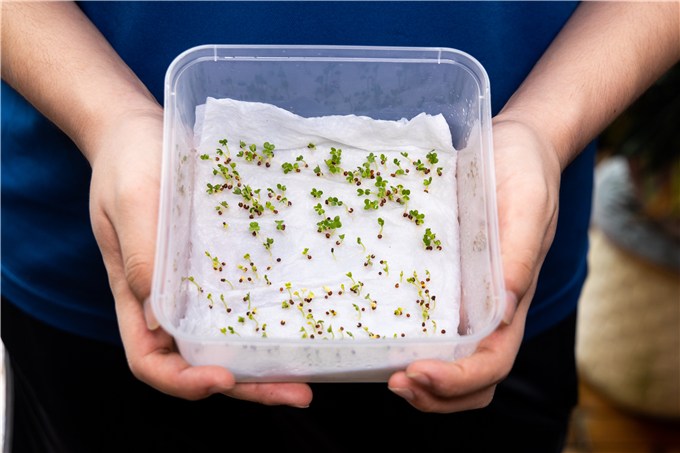
- Repurposed Containers: You can also use repurposed containers like clear plastic salad boxes, milk jugs, or even cake trays. These should be clean and have proper drainage holes.
- Biodegradable Containers: For those looking for eco-friendly options, biodegradable trays made from materials like coconut coir or peat moss are a good choice. They decompose naturally and reduce waste.
- Heavy-Duty Plastic Trays: These are durable, reusable, and provide good drainage. They are commonly used for growing microgreens due to their affordability and availability. The 1020 trays are particularly popular, with a depth of 2.5 inches, which is ideal for microgreens.
It’s simple to grow microgreens at home. Upon choosing seeds like radish, broccoli, kale, and peas, take the steps to grow microgreens indoors.
1. Prepare Microgreens Growing Containers
Let’s start with shallow trays or containers with drainage holes. These holes allow excess water to escape and prevent mold growth. If you are using a tray, make sure it has a depth of around 2-3 inches for the roots to grow. You can also repurpose household items such as plastic containers or wooden boxes, as long as they have good drainage.
2. Add Soil or Grow Medium
For the growing medium, you can either use soil or go soil-free. A good-quality potting mix that drains well is recommended for beginners. Alternatively, you can use coconut coir or a peat-based mix, which are light, free-draining, and retain moisture well.
3. Sow the Seeds
Spread the seeds evenly over the soil or growing medium. Lightly press the seeds down into the soil with a flat object to ensure good seed-to-soil contact. Do not overcrowd the seeds to allow for proper germination and growth.
Sow the Microgreens Seeds
4. Watering
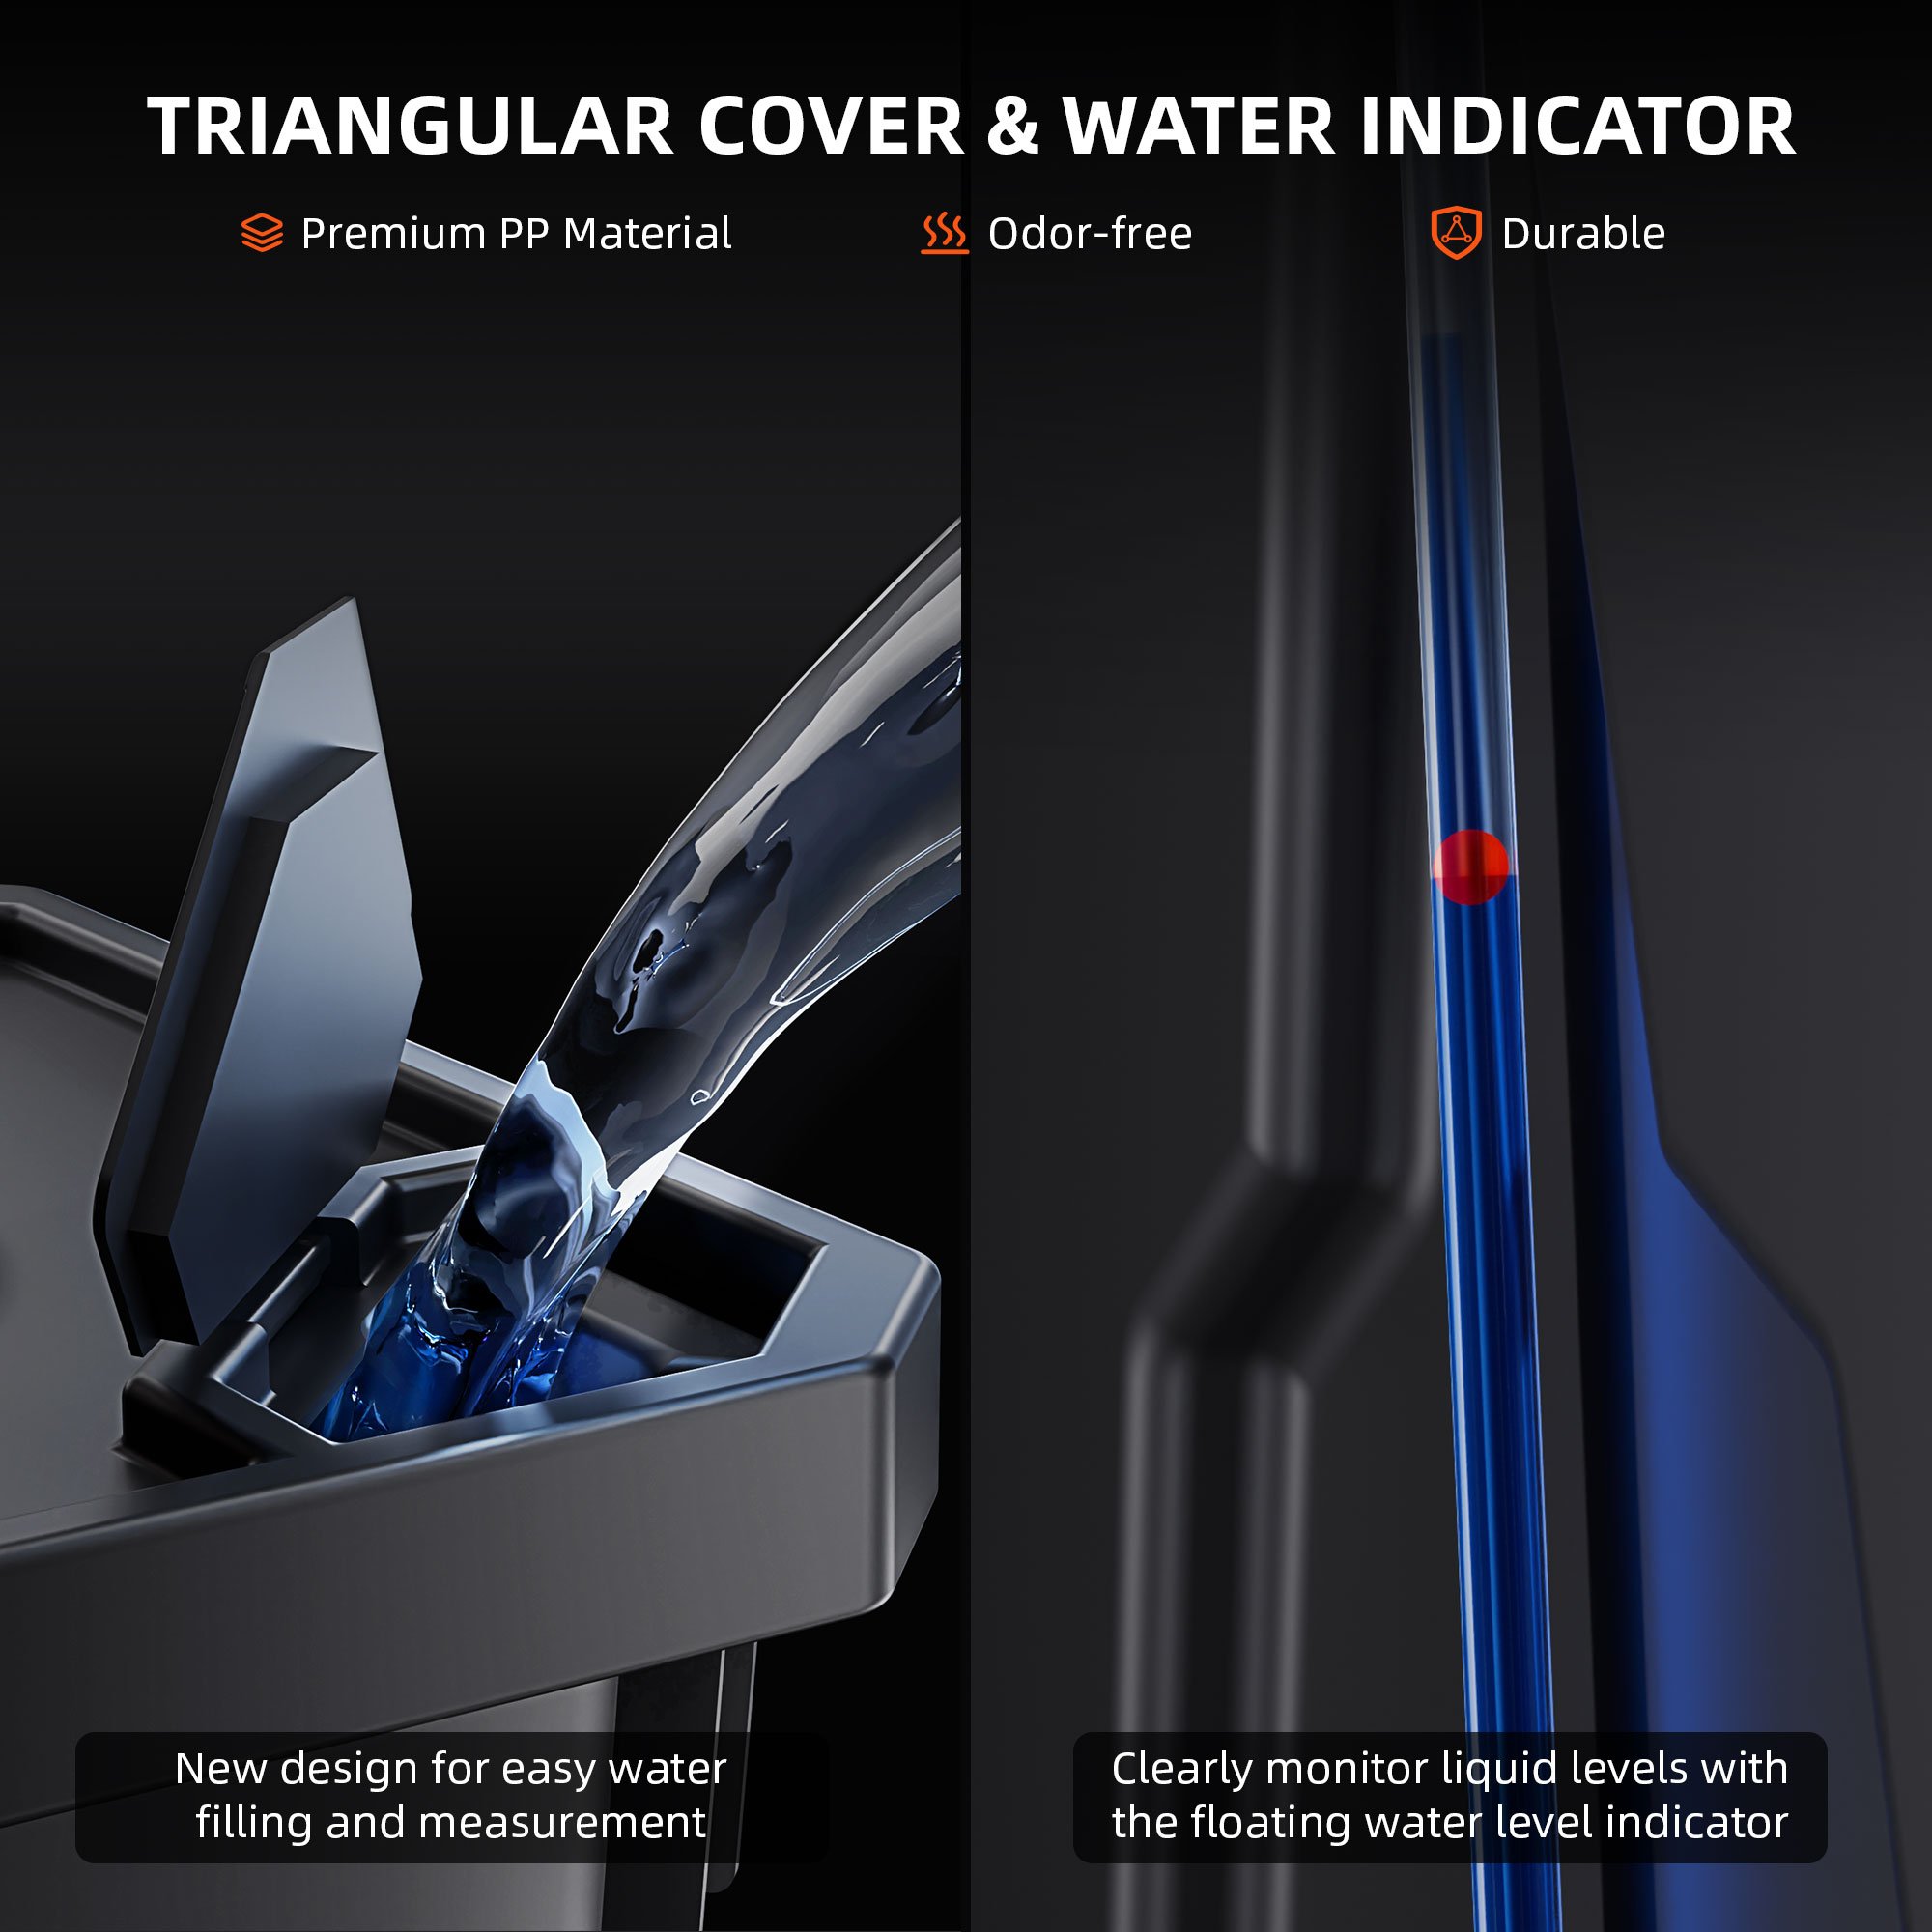
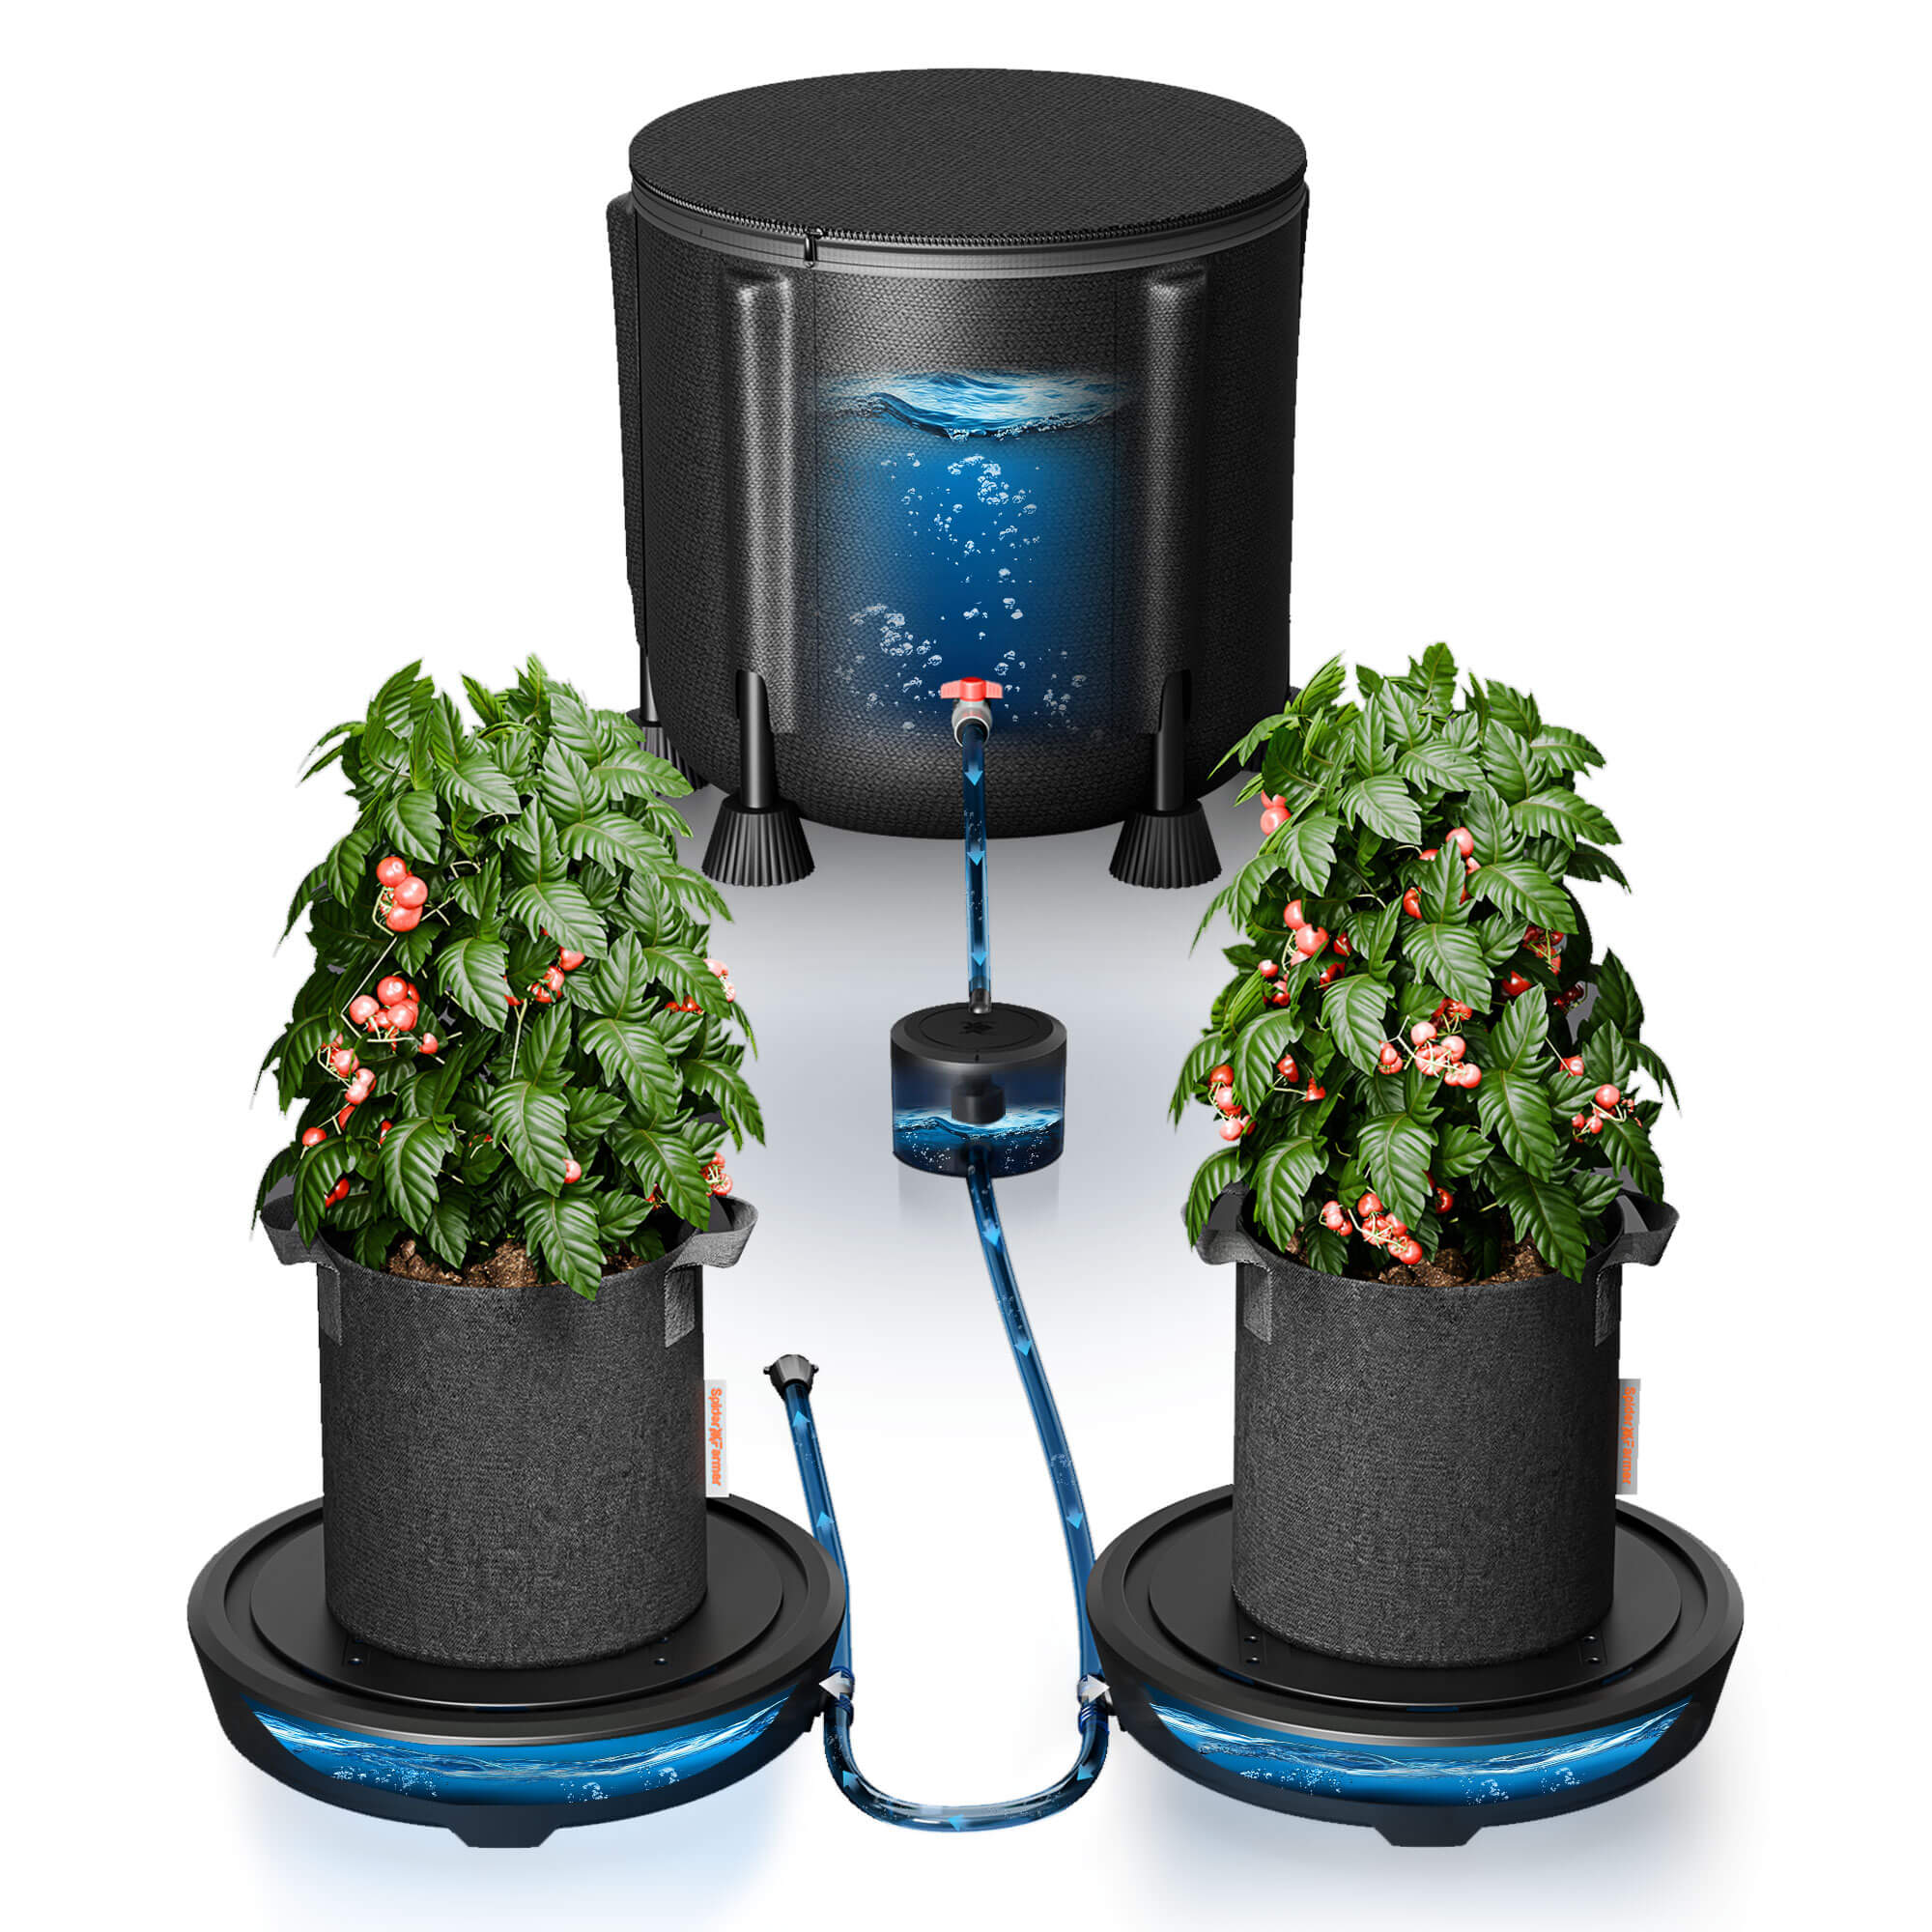
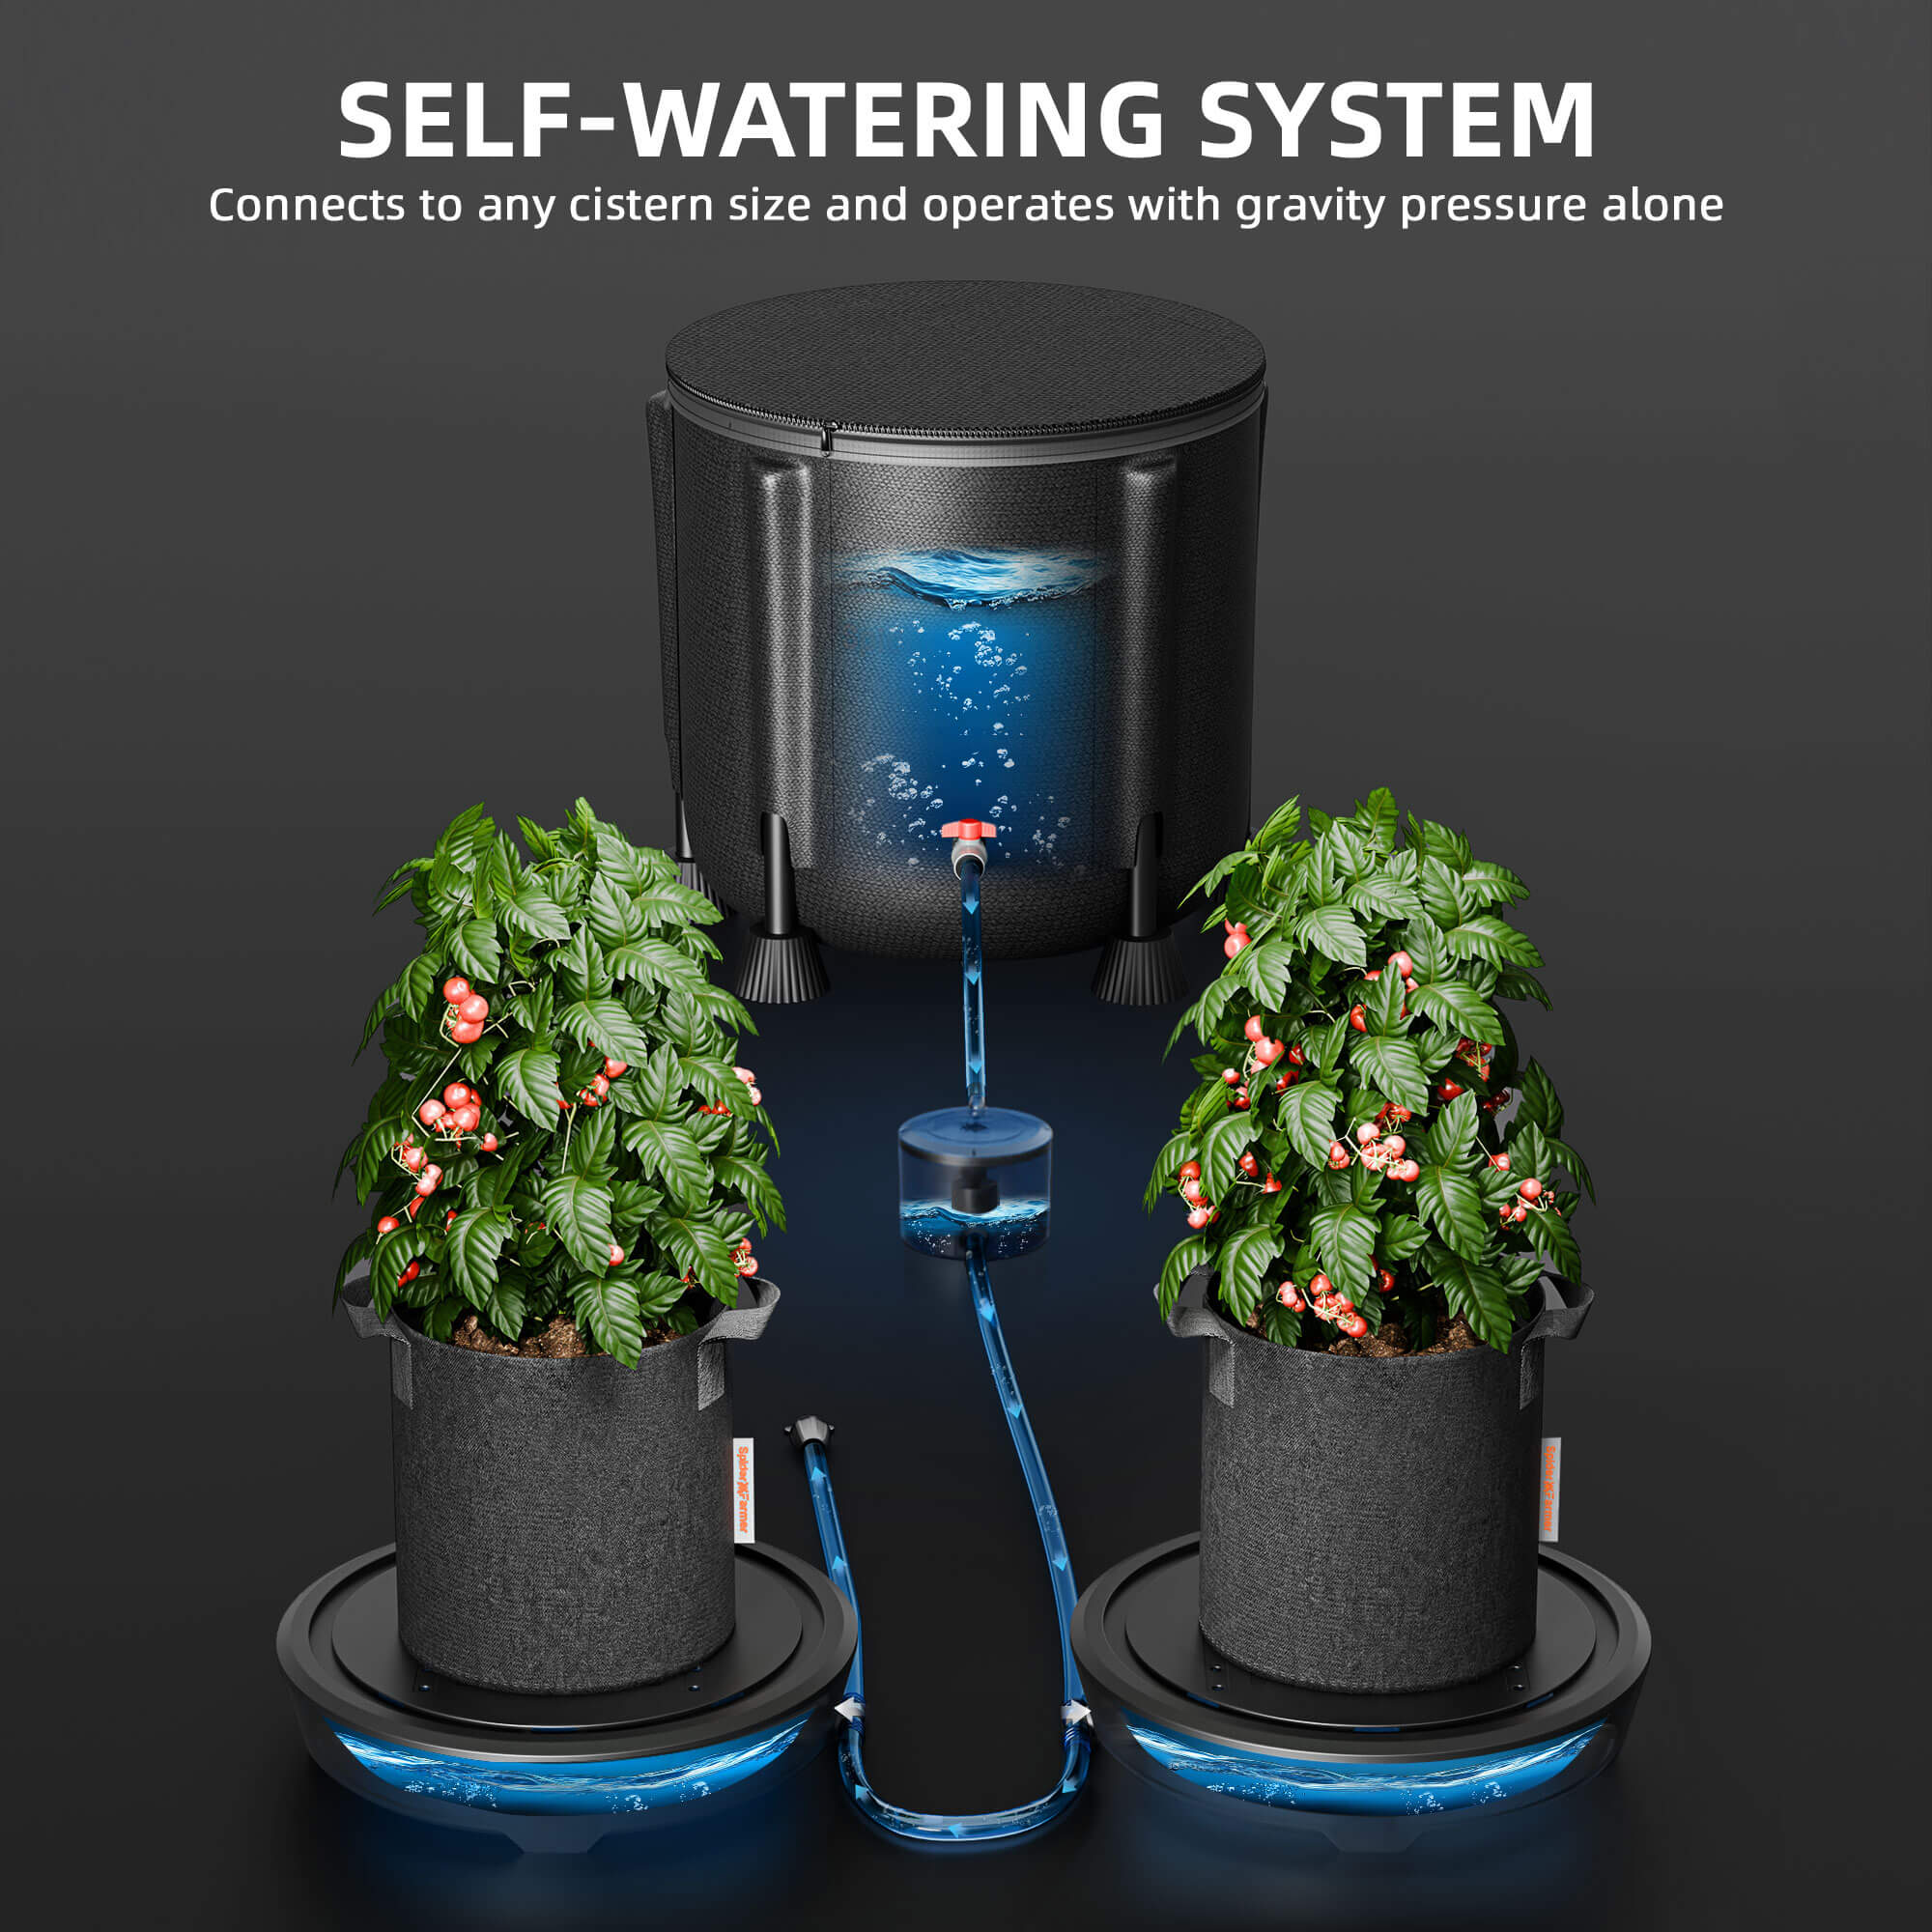
One of the secrets to growing microgreens is watering. Keep the soil consistently moist but not soggy. Use a spray bottle or a self-watering system to ensure the soil never dries out completely.
5. Provide Proper Light
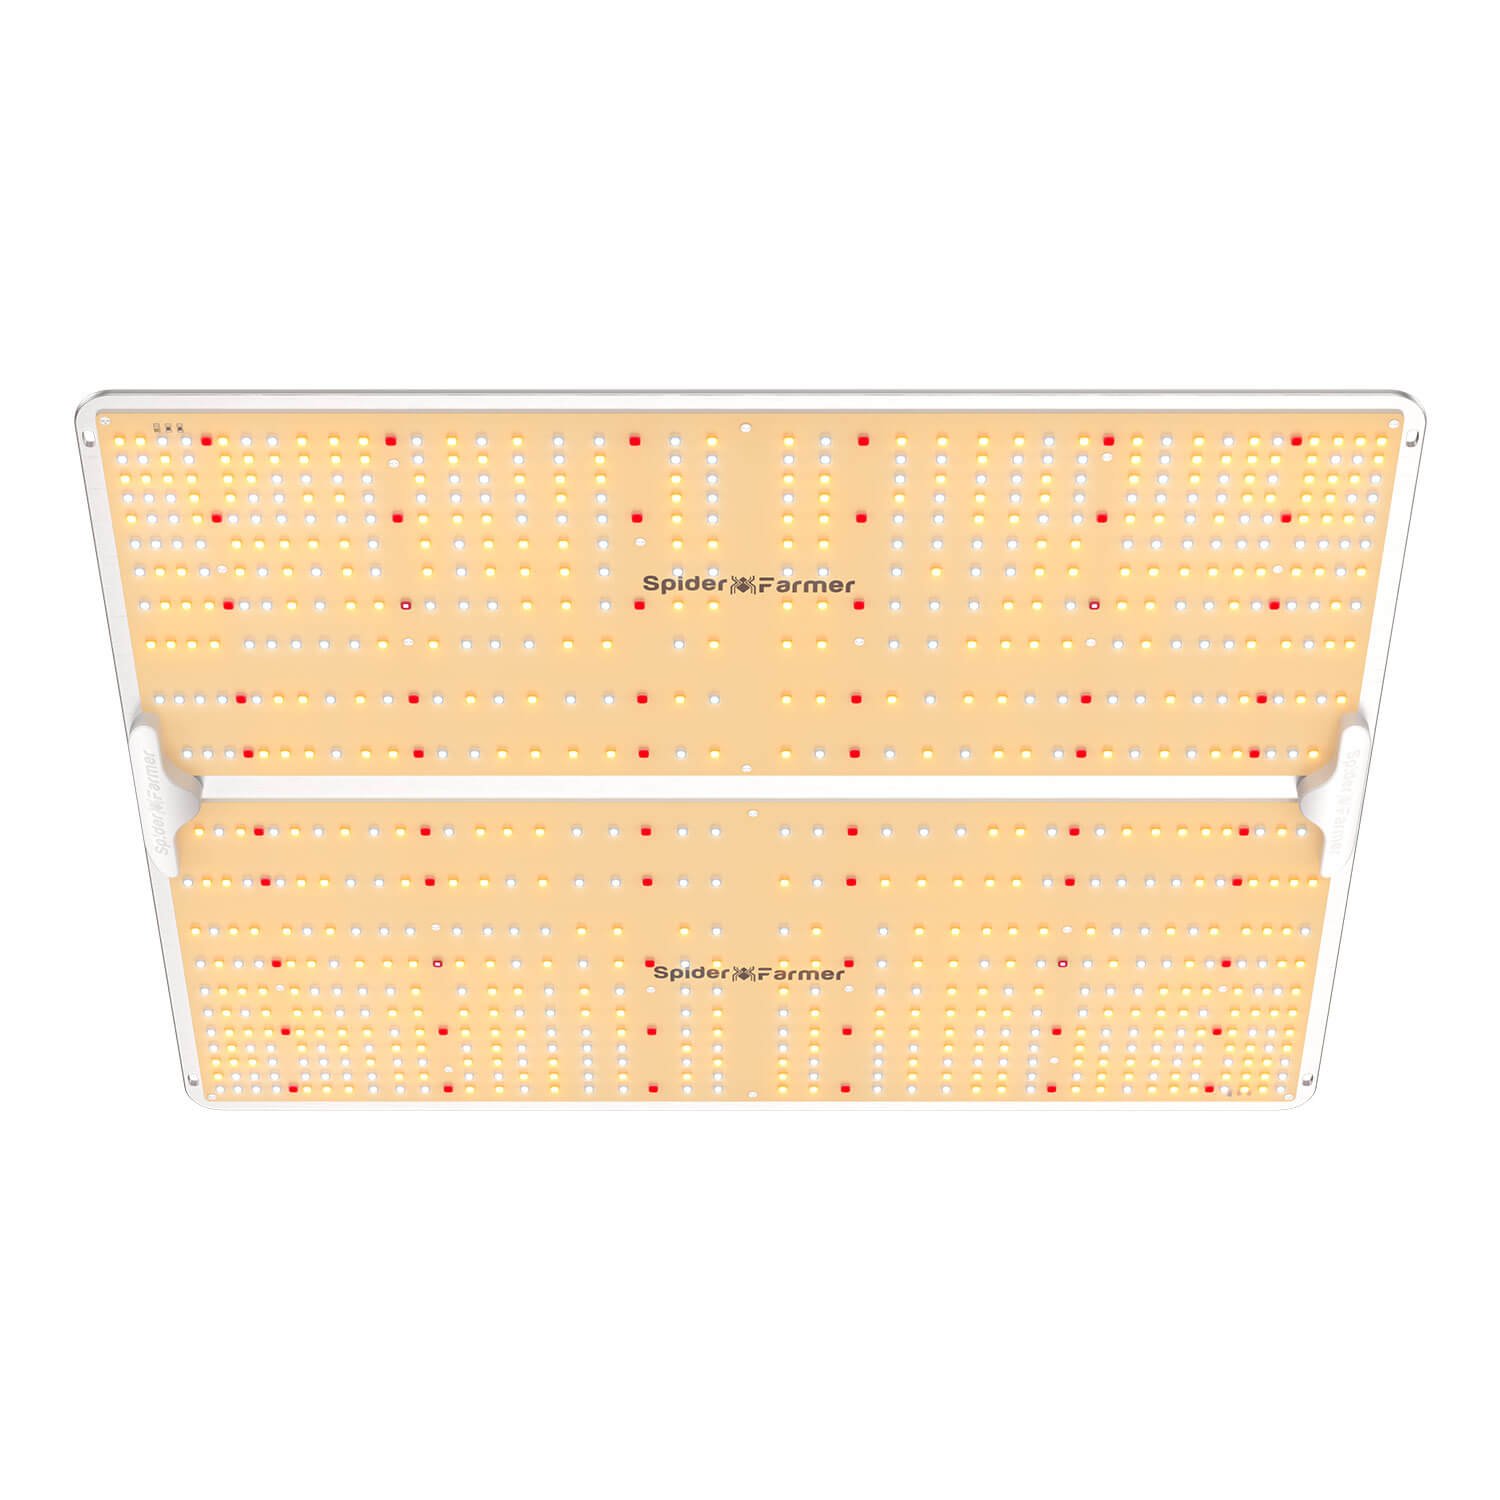
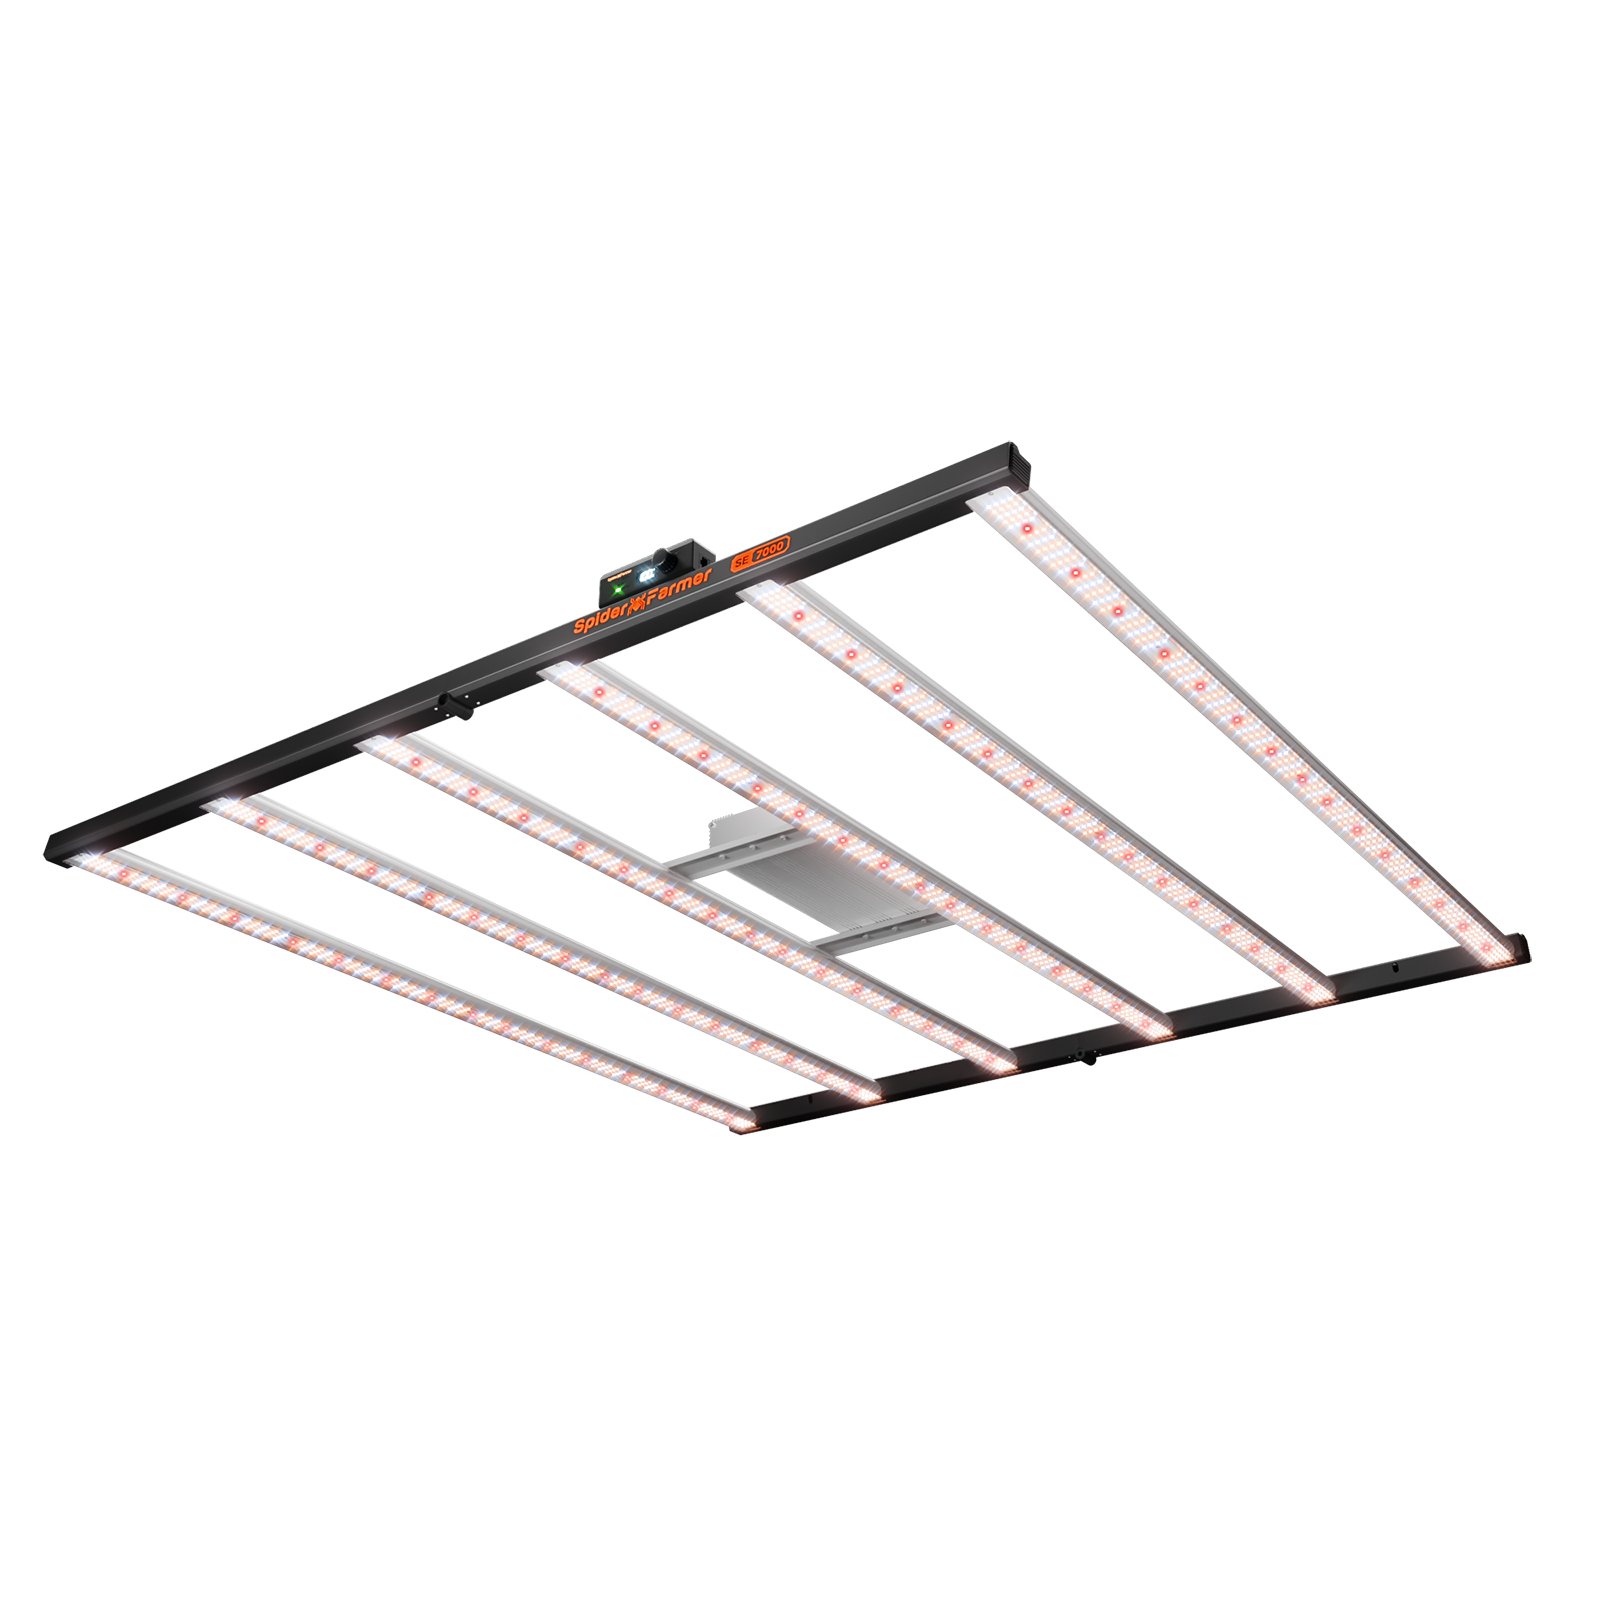
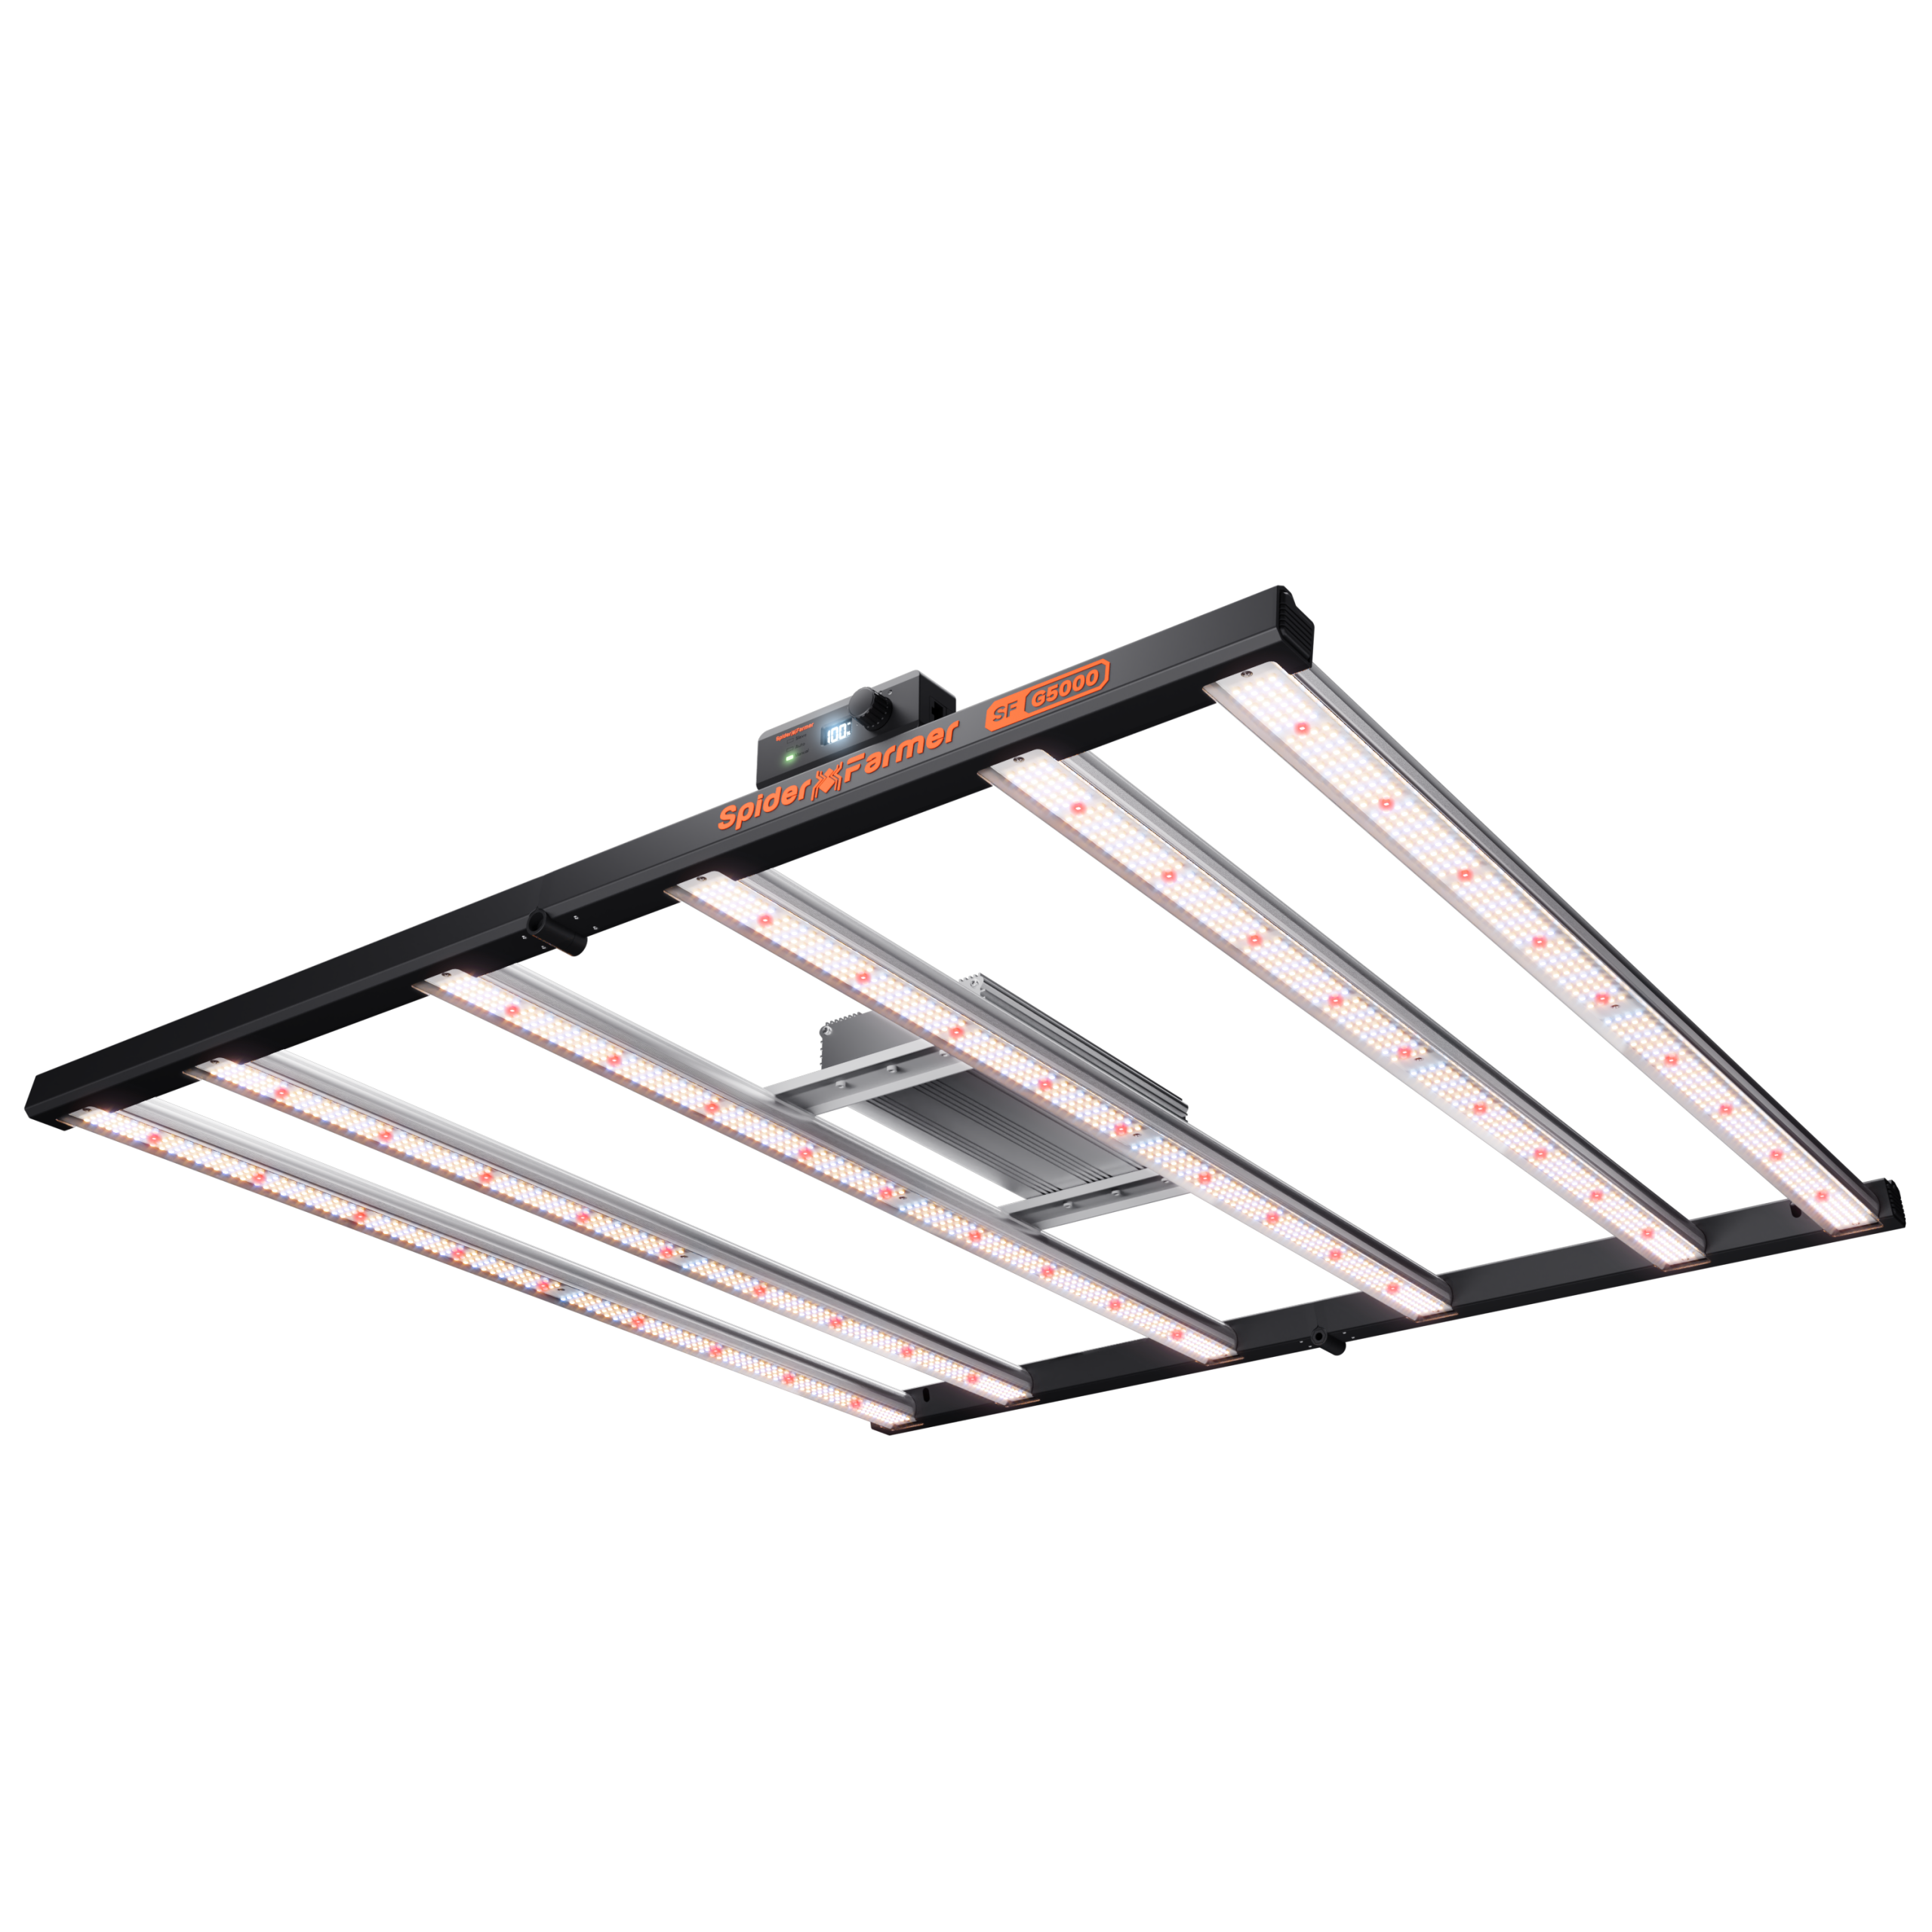
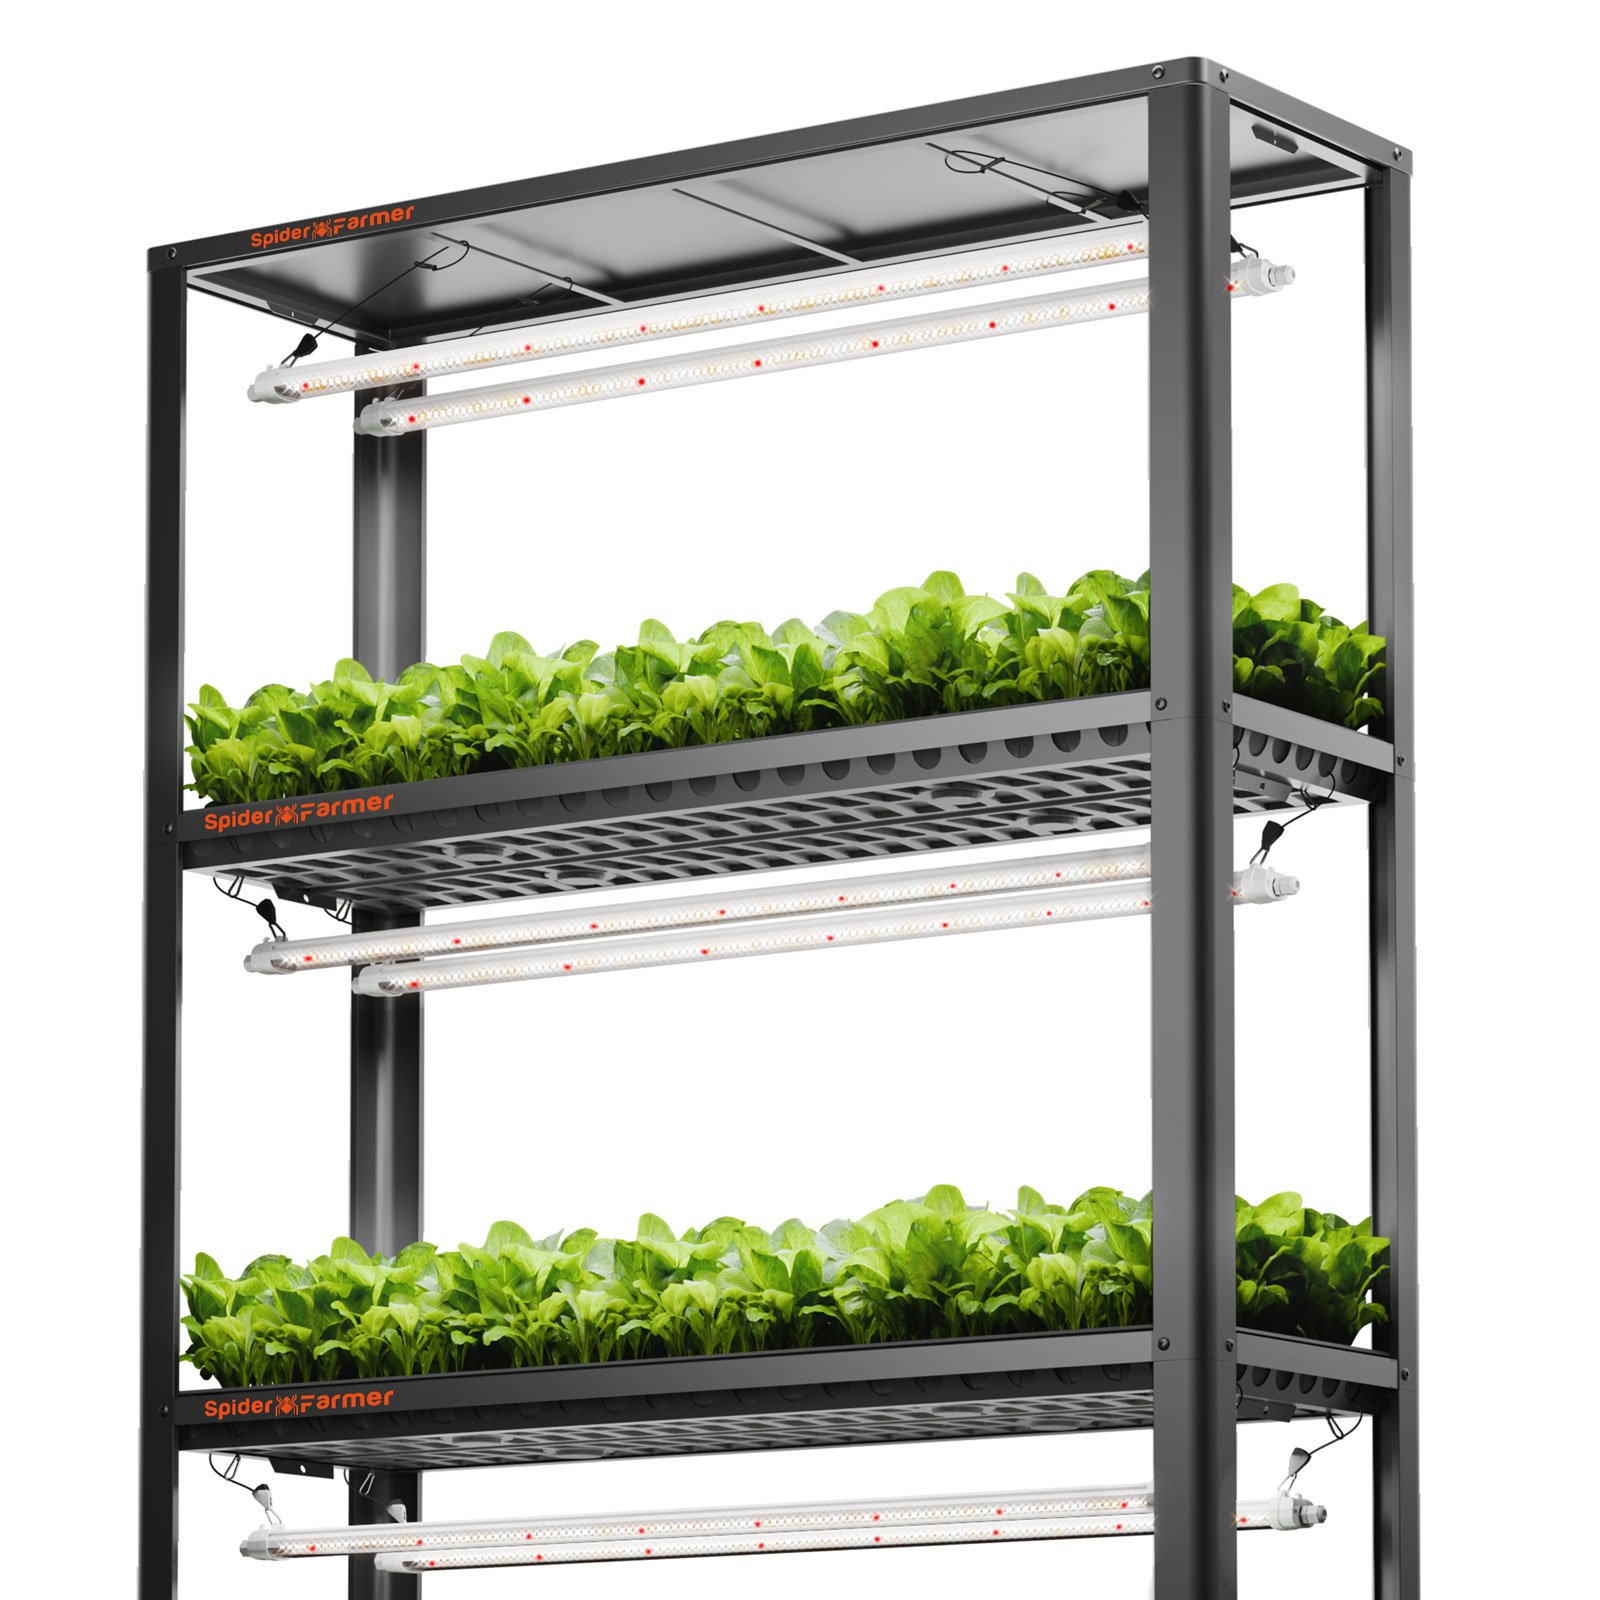
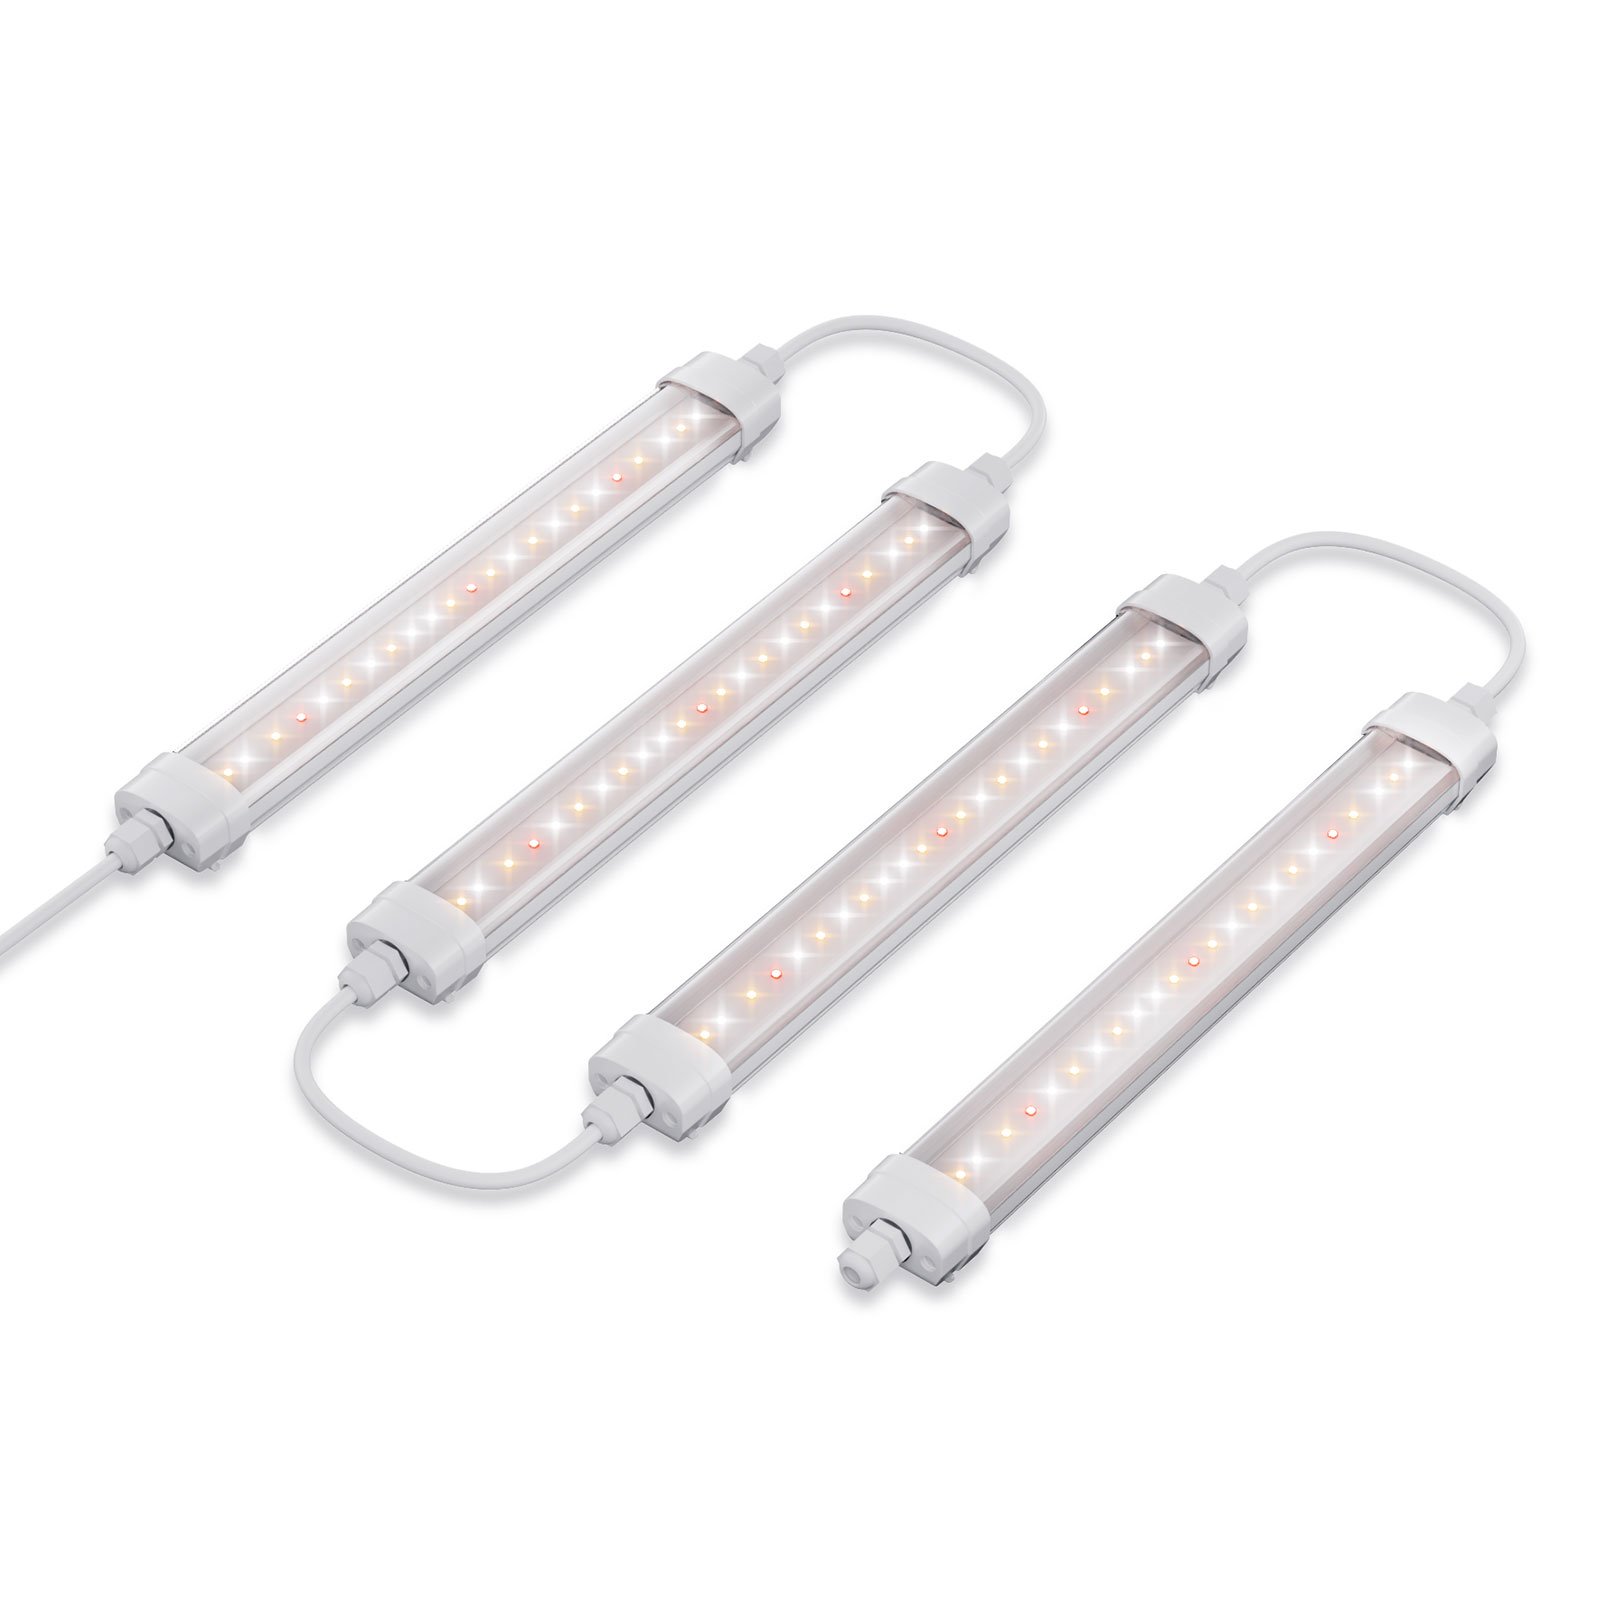
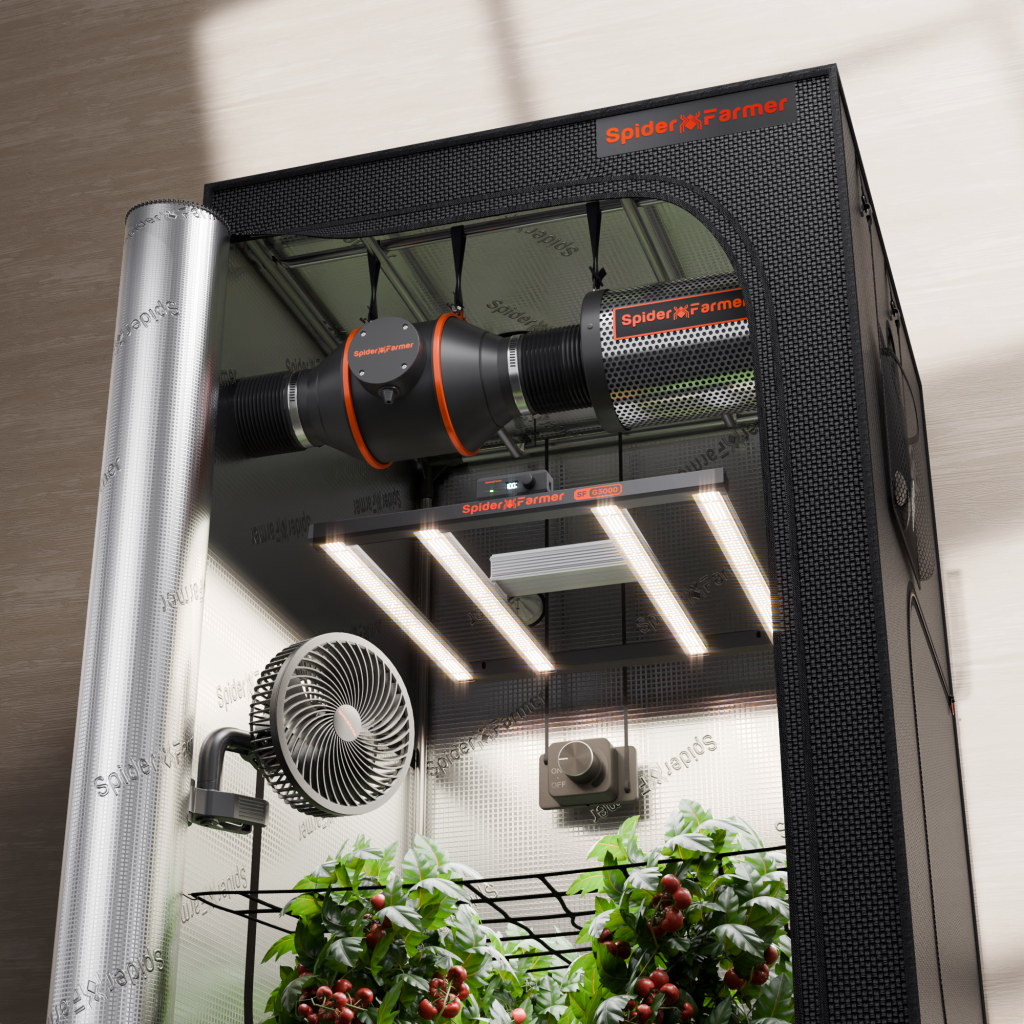
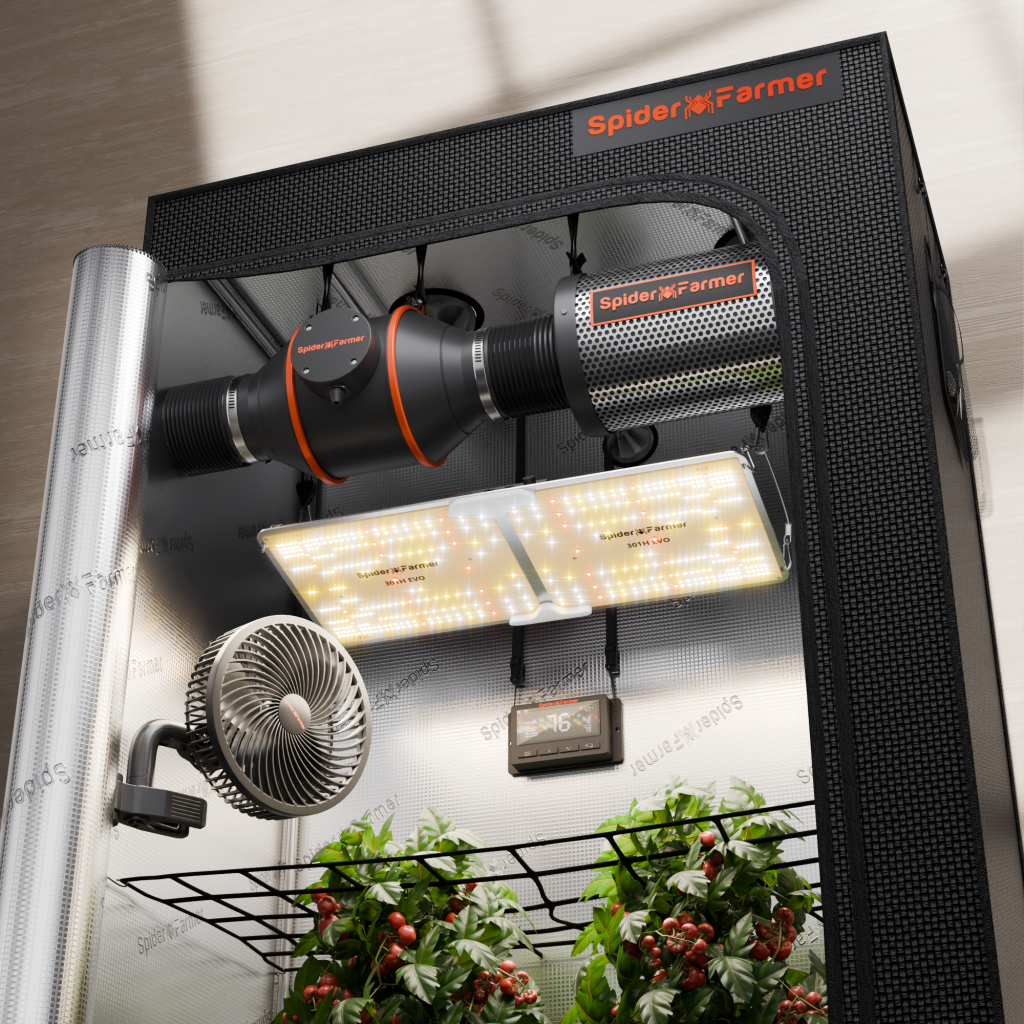
Microgreens need plenty of light. Place your trays in a sunny windowsill or use LED grow lights if natural light is insufficient. Ensure they receive at least 12-16 hours of light per day. This can be achieved by placing the lights a few inches above the plants and using a timer to automate the lighting schedule.
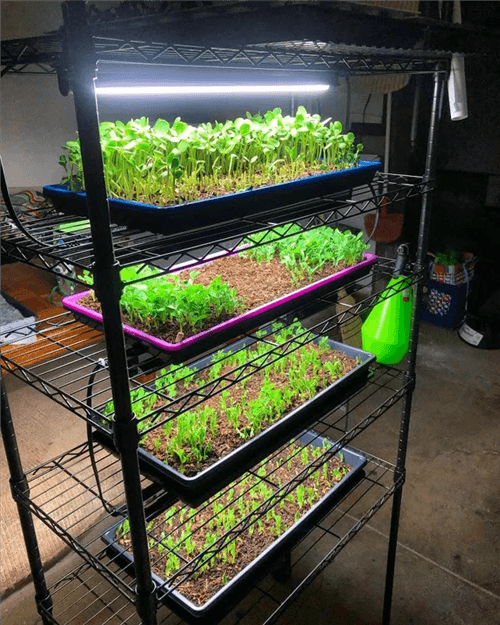
Growing Microgreens Indoors with LED Grow Lights
6. Monitor and Adjust
Monitor the growth of your microgreens daily to ensure optimal development. Ensure they receive adequate light, water, and air circulation. Adjust the light placement or watering schedule as needed to prevent leggy growth or mold.
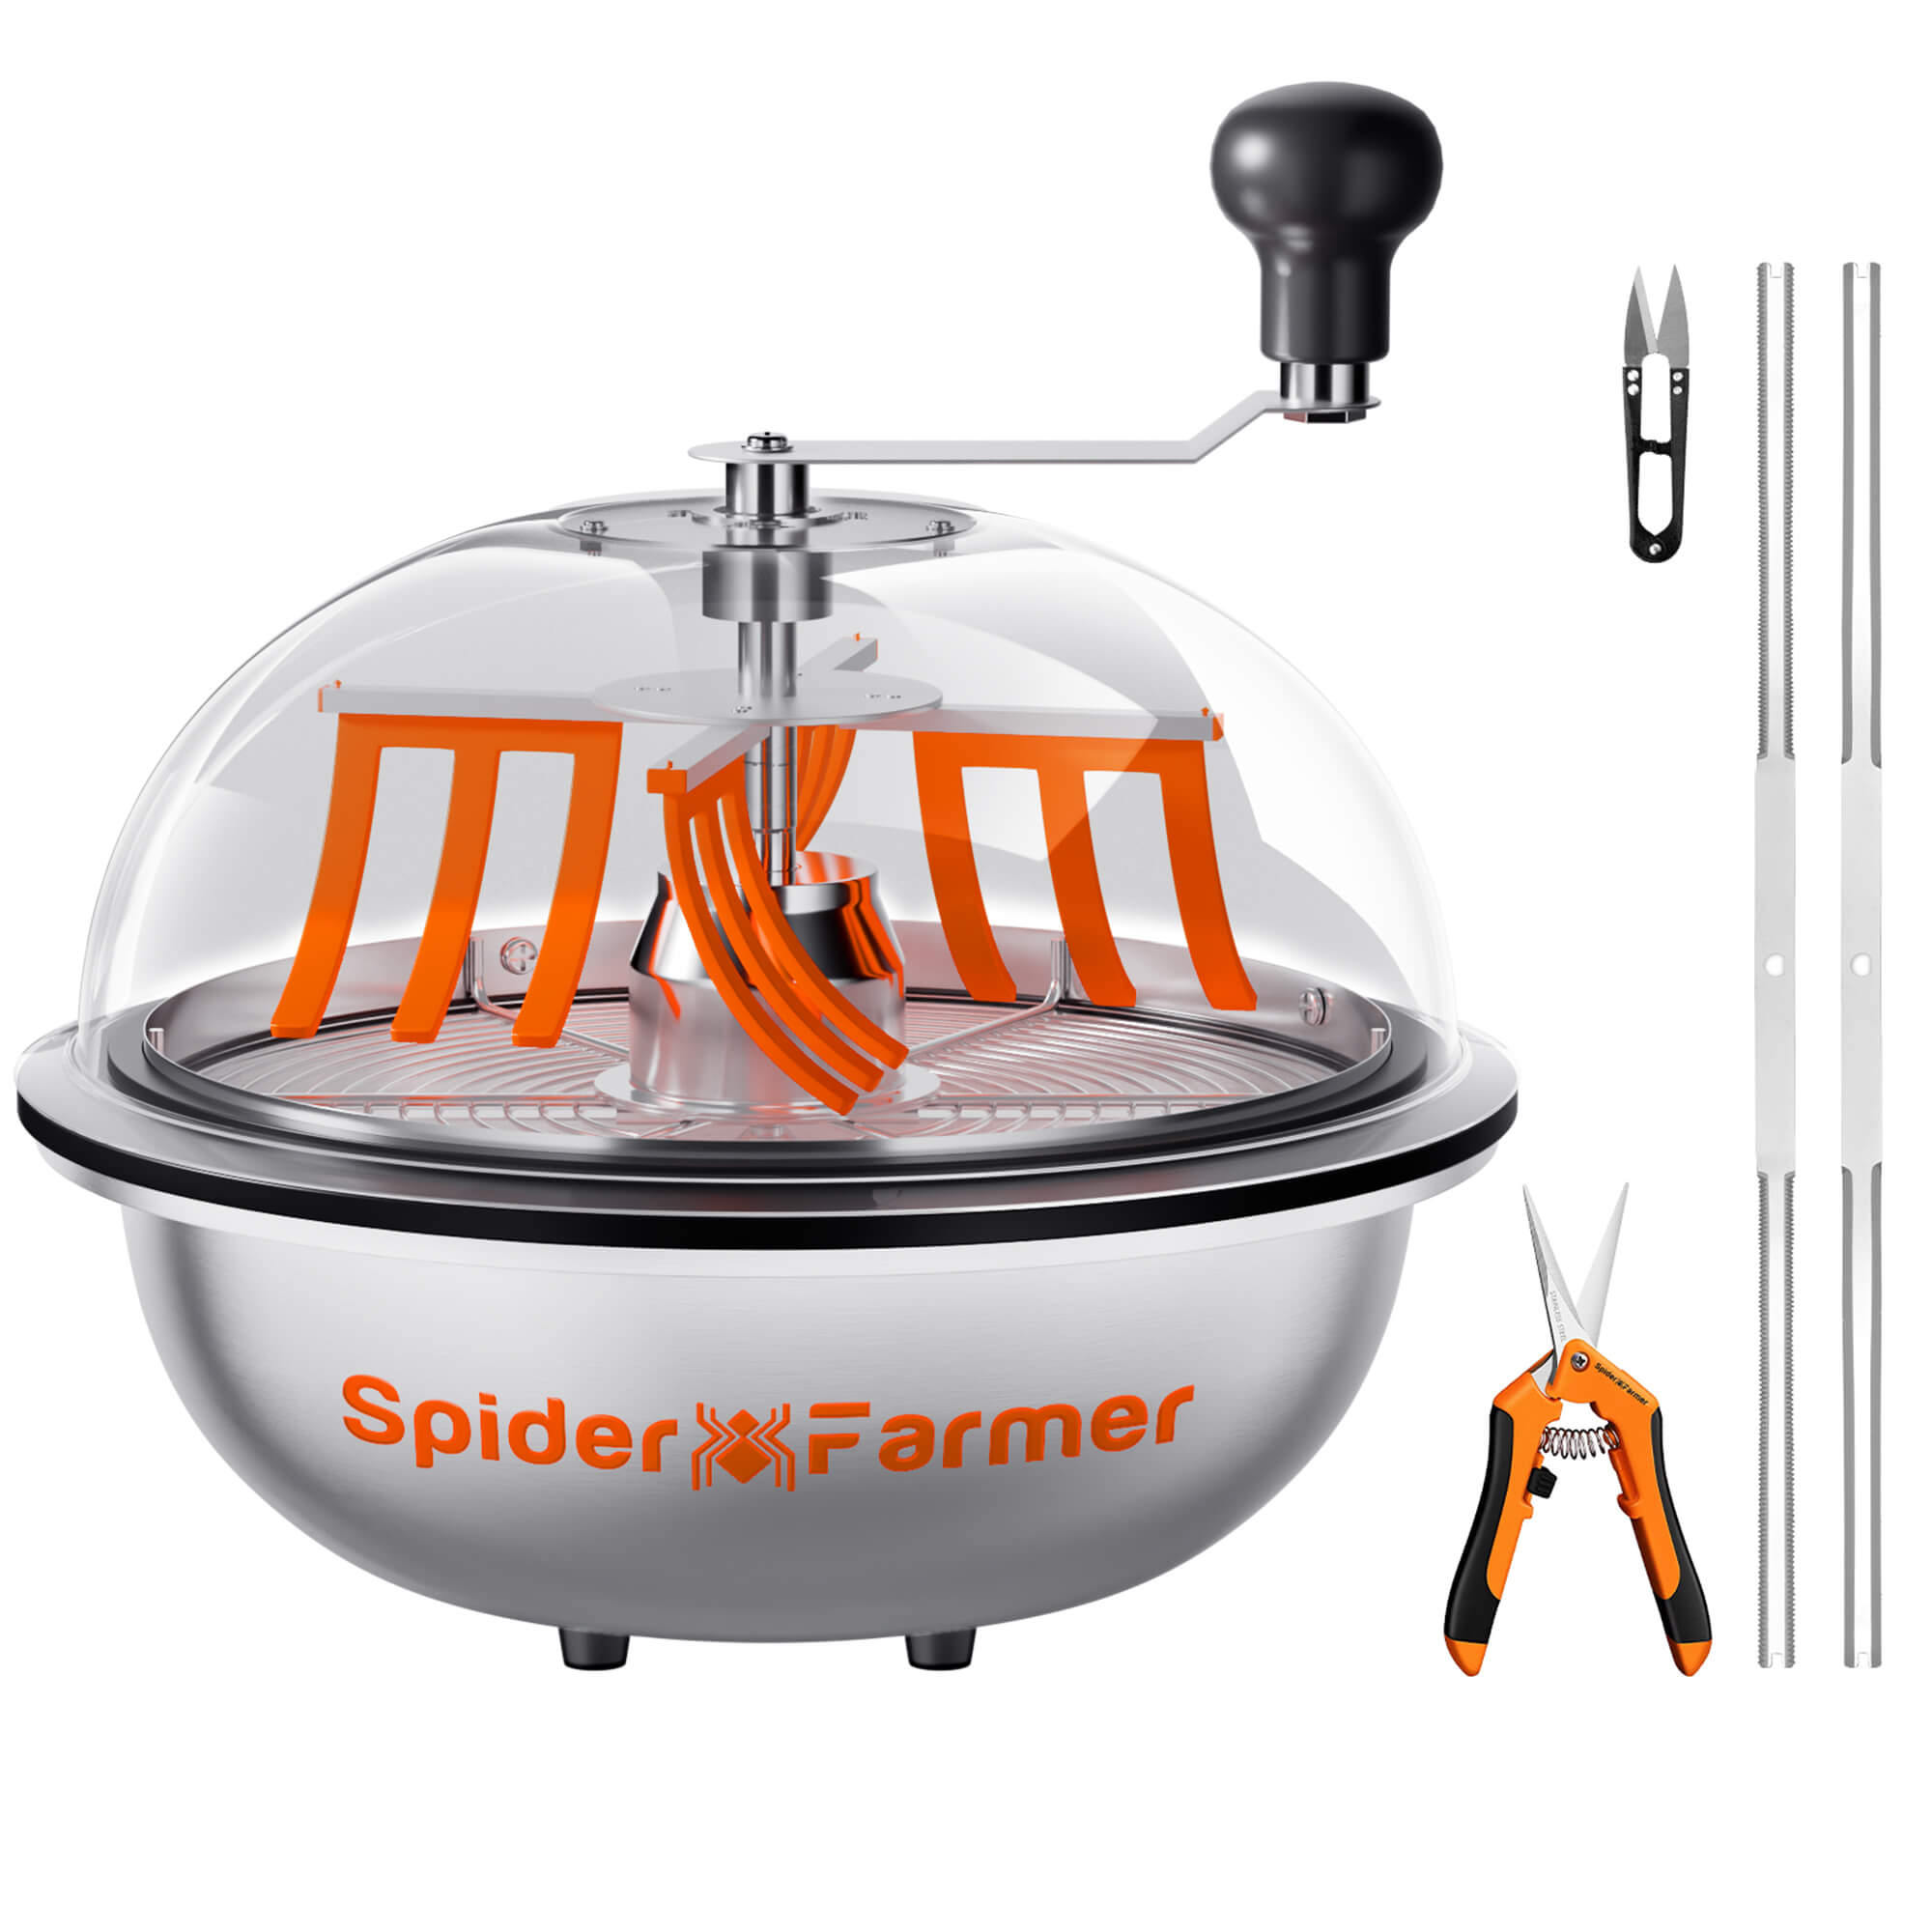
7. Harvest
Microgreens are ready to harvest when they are about 2-3 inches tall, usually within 1-2 weeks of planting. Harvest them by cutting just above the soil line with a pair of scissors. Use them immediately in salads, smoothies, or as garnishes, or store them in the fridge for later use.